19
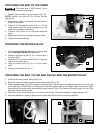
ADJUSTING THE 90° DEGREE TABLE STOP
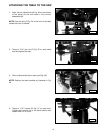
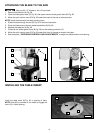
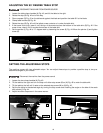
1. Loosen the table clamp handles (A) Fig. 40, and tilt the table to the right.
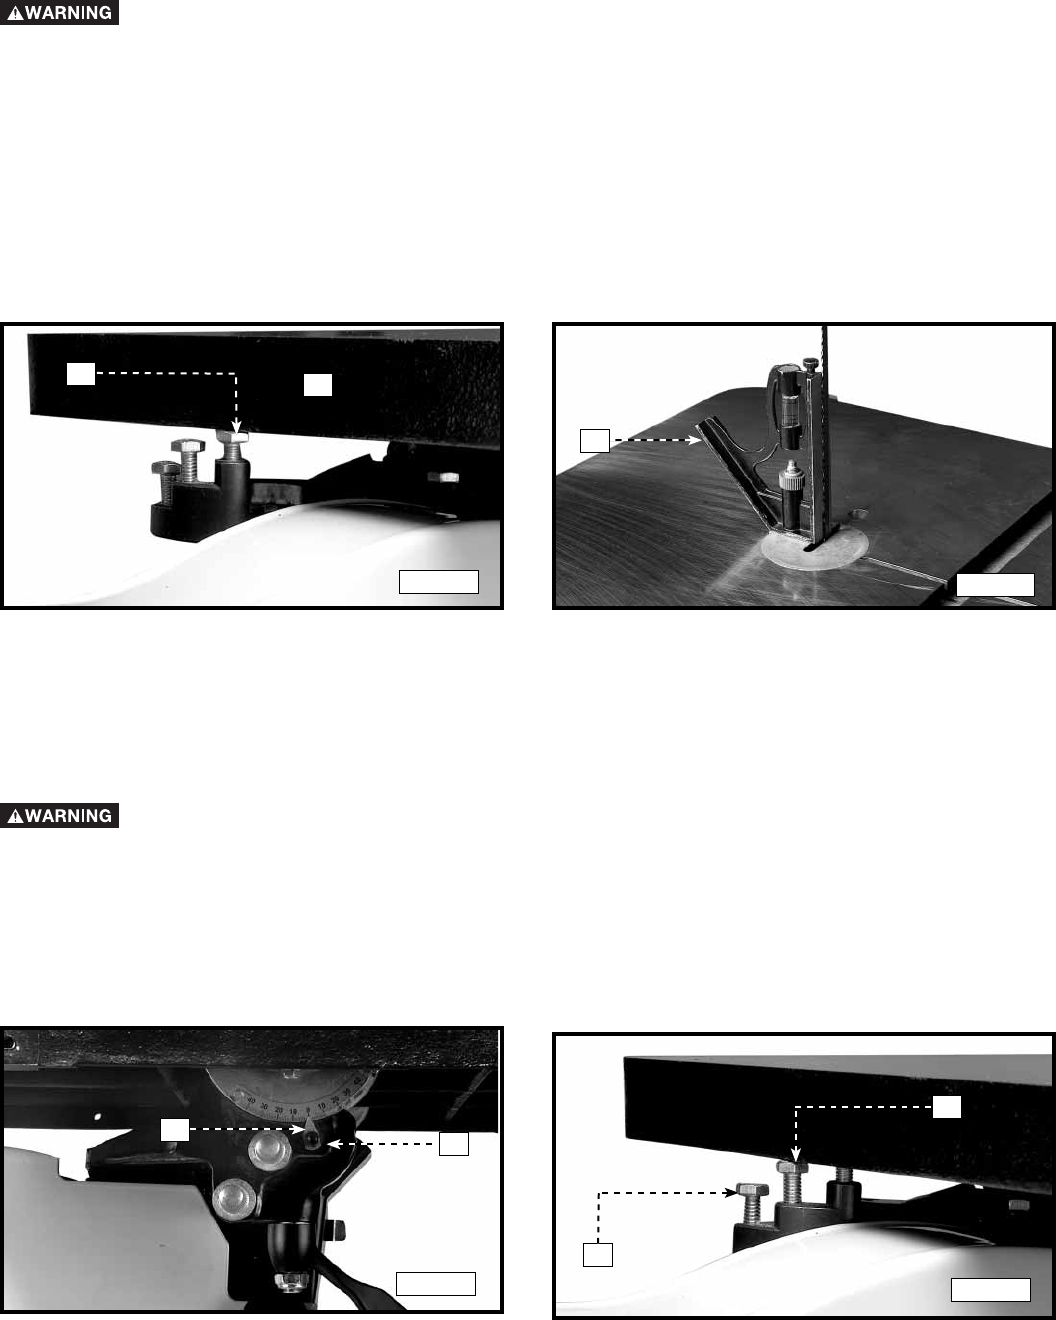
2. Rotate the stop (B) Fig. 42 out of the way.
3. Place a square (G) Fig. 43 on the table and against the blade and position the table 90° to the blade.
4. Clamp table handles (A) Fig. 40.
5. Rotate the stop (B) Fig. 42 until the tallest screw contacts or is under the table skirt.
6. If the screw is too high, lower it until the top of the screw touches the bottom of the table skirt (B) Fig. 42. If the
screw is low, raise it until it touches the bottom of the table skirt.
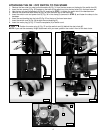
7. Set the pointer (J) Fig. 44 to “0” degree mark by loosening the screw (K) Fig. 44. Move the pointer (J) and tighten
screw (K).
DISCONNECT MACHINE FROM POWER SOURCE!
B
F
G
SETTING THE ADJUSTABLE STOPS
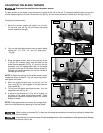
1. Loosen the two clamp handles (A) Fig. 40.
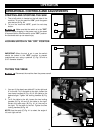
2. Tilt the table to the right and turn the stop until either stop screw (M) or (N) Fig. 45 is under the table skirt.
3. Tilt the table to the left until it rests on the selected stop screw (M) or (N) Fig. 45.
4. Set the the table to the desired angle by turning the stop screw and checking the angle on the side of the scale
with pointer (J) Fig. 44.
5. Adjust the other stop screw in the same manner.
Disconnect the machine from the power source!
J
K
M
N
Fig. 44
Fig. 45
Fig. 42
Fig. 43
The machine comes with two adjustable stops. You can adjust these stops to provide a positive stop at two pre-
determined angles of your choice.


