


11
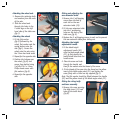
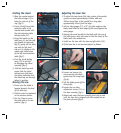
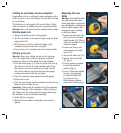
Attaching the wheel axle
1. Remove the retaining bolts
and washers from the ends
of the axle.
2. Slide the wheel axle
through the holes in the
2 stand legs on the left
hand side of the table saw
(fig J).
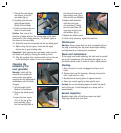
Attaching the wheels
1. Fit the flat washer
(fig K) followed by the
wheel, flat washer and the
spring washer onto the
axle (fig L). Secure the
wheel onto the axle using
the 13mm hex head screw.
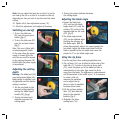
2. Repeat for the opposite side.
3. Position the hubcap over
the wheel (fig M) and
secure from behind using
5 of the ST4.2 x 13mm
Philips head screws with
flat washers (fig N).
4. Repeat for the opposite
side.
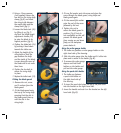
Fitting and adjusting the
rear extension table
1. Remove the 2 self-tapping
screws from the end of
each rod on the rear
extension table (25).
2. Fit the rear extension table
into the 2 positioning
holes on the back of the
table saw (fig 0).
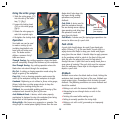
3. Replace the 2 self-tapping screws in each rod to prevent
the rear extension table from sliding out.
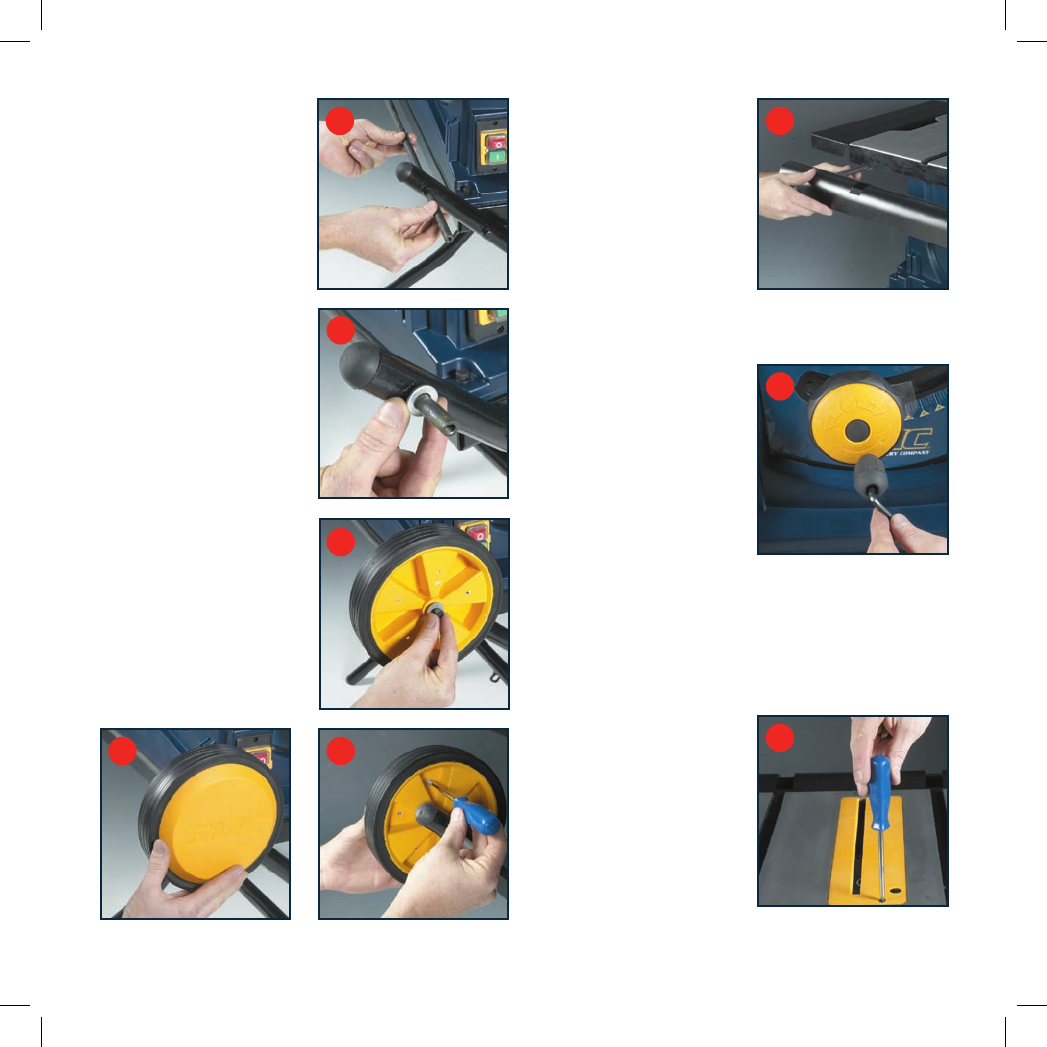
Attaching the height
adjustment handle
1. Fit the blade height
adjustment handle (20)
onto the blade angle wheel
(21) by first placing the
metal handle tube onto the
handle screw.
2. Place the screw and tube
through the handle, and
then fit the washer onto the thread of the screw.
3. Fit the thread of the screw into the thread on the yellow
insert of the blade angle wheel (21) and tighten the
screw firmly with a 5mm hex key supplied (fig P).
Note. The flat washer should be fitted between the handle
(20) and the yellow insert of the blade angle wheel (21).
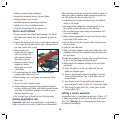
Fitting the riving knife
and laser assembly
1. Remove the screw securing
the table insert (13) and
take off the table insert
(fig Q).
J
M N
O
P
K
L
Q