


13
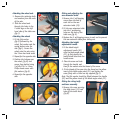
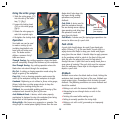
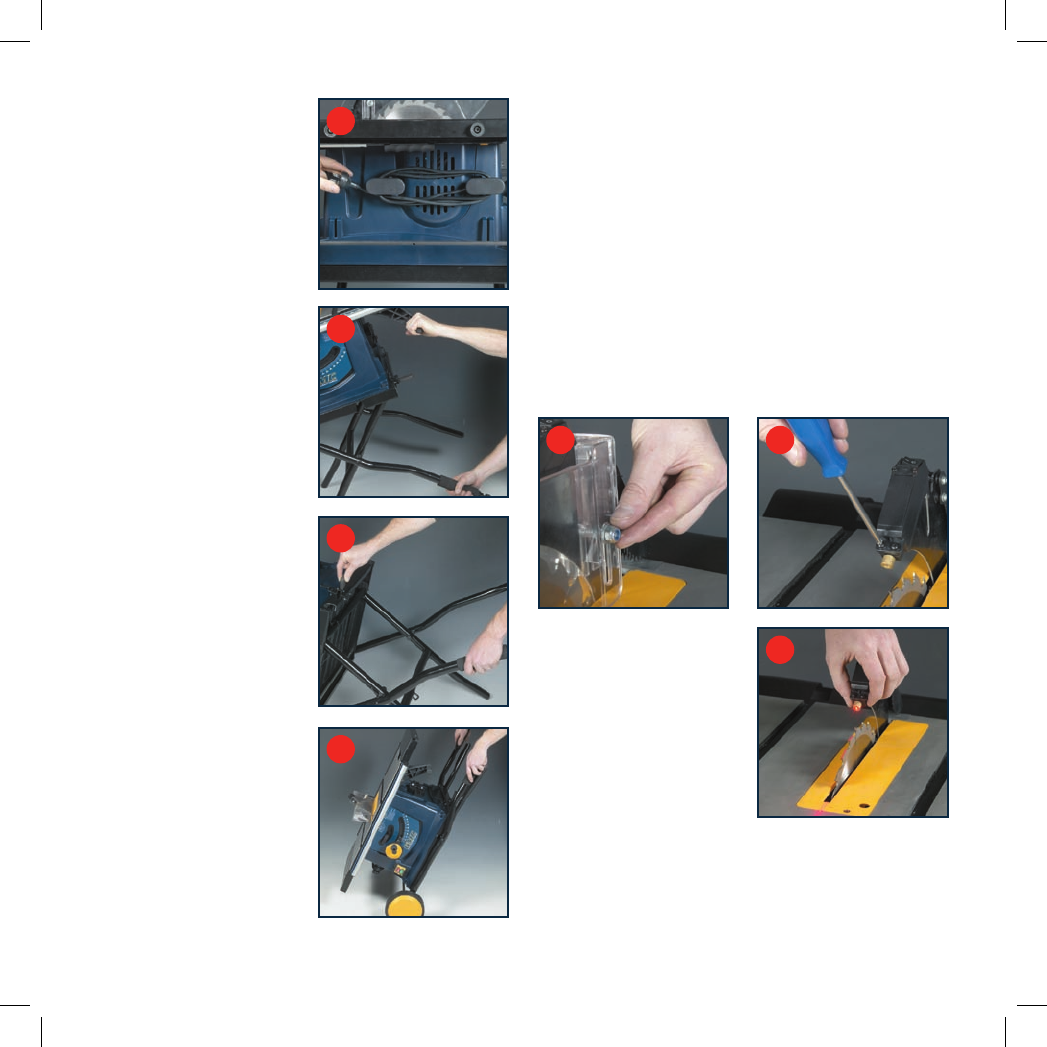
Folding the stand
1. Wrap the cordset around
the cable storage (3) to
keep the cord out of the
way (fig X).
2. Ensure the left hand side
extension table is full
inserted and secured with
the side extension table
locking knobs (27).
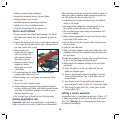
3. Using the handle on the
table saw (4) and the soft
grip handle on the lower
leg (5) gently tilt the table
saw onto its left hand
side so it is resting on the
wheels and rubber stops
of the left hand extension
table (fig Y).
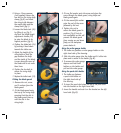
4. Push the stand locking
lever (29) to the left
to disengage the stand
assembly (fig Z).
5. Fold the stand legs and
ensure that the stand
locking lever clicks back
into place indicating that
the stand legs are securely
locked in position.
Moving the saw
1. Ensure that the blade is
lowered beneath the level
of the table top.
2. Fold the stand as explained
in the previous section.
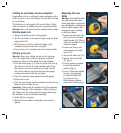
3. Use the 2 legs to move
the table saw to its new
position (fig a).
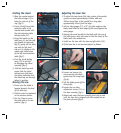
Adjusting the laser line
1. To adjust the laser beam first take a piece of accurately
square cut wood approximately 100mm wide and
300mm long. Draw a line parallel to a long edge
approximately 10mm from the edge.
2. Set the mitre gauge (17) at 0° (at right angles to the
blade) and hold the short edge of the wood against the
mitre gauge.
3. Keeping the wood parallel to the blade with the use of
the mitre fence, move the wood so that the teeth of the
blade touch the marked line.
4. Switch on the laser with the laser on/off switch (10).
5. If the laser line is not accurate adjust as follows.
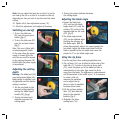
6. Loosen and remove the
screw securing the blade
guard onto the riving knife
(fig b).
7. Lift the blade guard off the
riving knife.
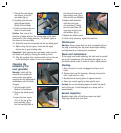
8. Loosen the two laser
adjustment screws (11) on
the laser assembly (fig c).
9. Rotate and move the laser assembly from side to side
until the laser line is aligned with the marked line on
the piece of wood
(fig d).
a
c
Y
Z
X
b
d