


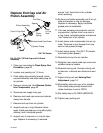
Maintenance
311321H 21
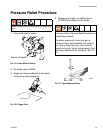
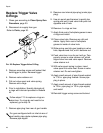
2. Close both manual valves.
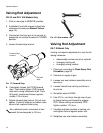
3. Remove gun from coupling block.
4. Attach service block of gun service kit to
spray gun, and then tighten using 5/16 in.
nut driver.
5. Pressurize Service Kit container up to 100
psi. DO NOT EXCEED 100 psi (0.7 MPa, 7
bar).
6. Open one manual valve on service block.
7. Connect air to gun. Set safety stop to
OPEN.
8. Hold gun against grounded waste con-
tainer.
9. Trigger gun and 1-Quart Gun Service Kit.
Spray into waste container until there is a
fine, unobstructed mist of gun cleaner.
10.Release both triggers and close manual
valve on service block.
11.Repeat steps 5-7 for other side of gun.
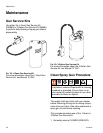
12.After initial cleaning, remove air cap, PCD
retainer, and PCD. Flush a second time to
ensure thorough cleaning.
13.Remove service block of gun service kit
from spray gun.
14.Set safety to CLOSED (SERVICE).
15.Disconnect air supply.
16.Clean screens, check valves and screen
screw as required. See Service Screen
Screw, page 22.
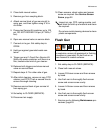
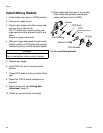
Flush Gun
1. Set safety stop to CLOSED (SERVICE).
2. Close both manual valves.
3. Loosen R-Screen screw and then remove
by hand.
4. Use flush can to thoroughly flush screen
screw and screen screw cavity.
5. Loosen A-Screen screw and then remove
by hand.
6. Use flush can to thoroughly flush screen
screw and screen screw cavity.
7. Service gun by following Maintenance pro-
cedures, page 20.
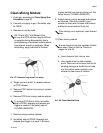
Inspect air cap, PCD, mixing module, and
gun block for build up of material and clean
as required.
Do not use metal cleaning devices to clean
plastic components.
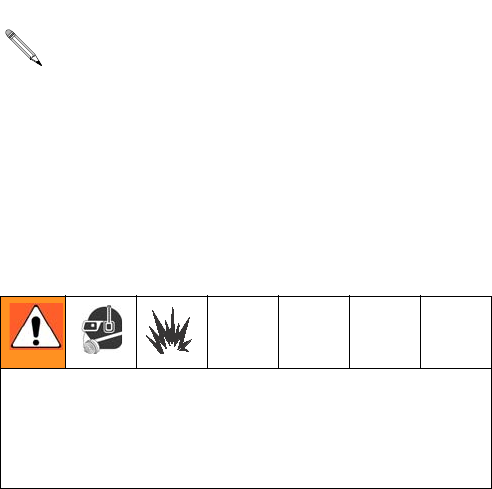
To avoid static sparking that may result in fire
or explosion, ensure all equipment in flushing
procedure is grounded. Do not flush on or
near foamed or coated surfaces.