G0640X 17" Wood/Metal Bandsaw
-23-
Aligning Table
To ensure cutting accuracy when the table is first
installed, the table should be aligned so that the
miter slot is parallel to the bandsaw blade. This
procedure works best with a
3
⁄4" blade installed.
To align the table so the miter slot is parallel
to the bandsaw blade:
1. Make sure that the blade is tracking properly
and that it is correctly tensioned.
2. DISCONNECT BANDSAW FROM POWER!
3. Loosen the table mounting bolts that secure
the trunnions to the table.
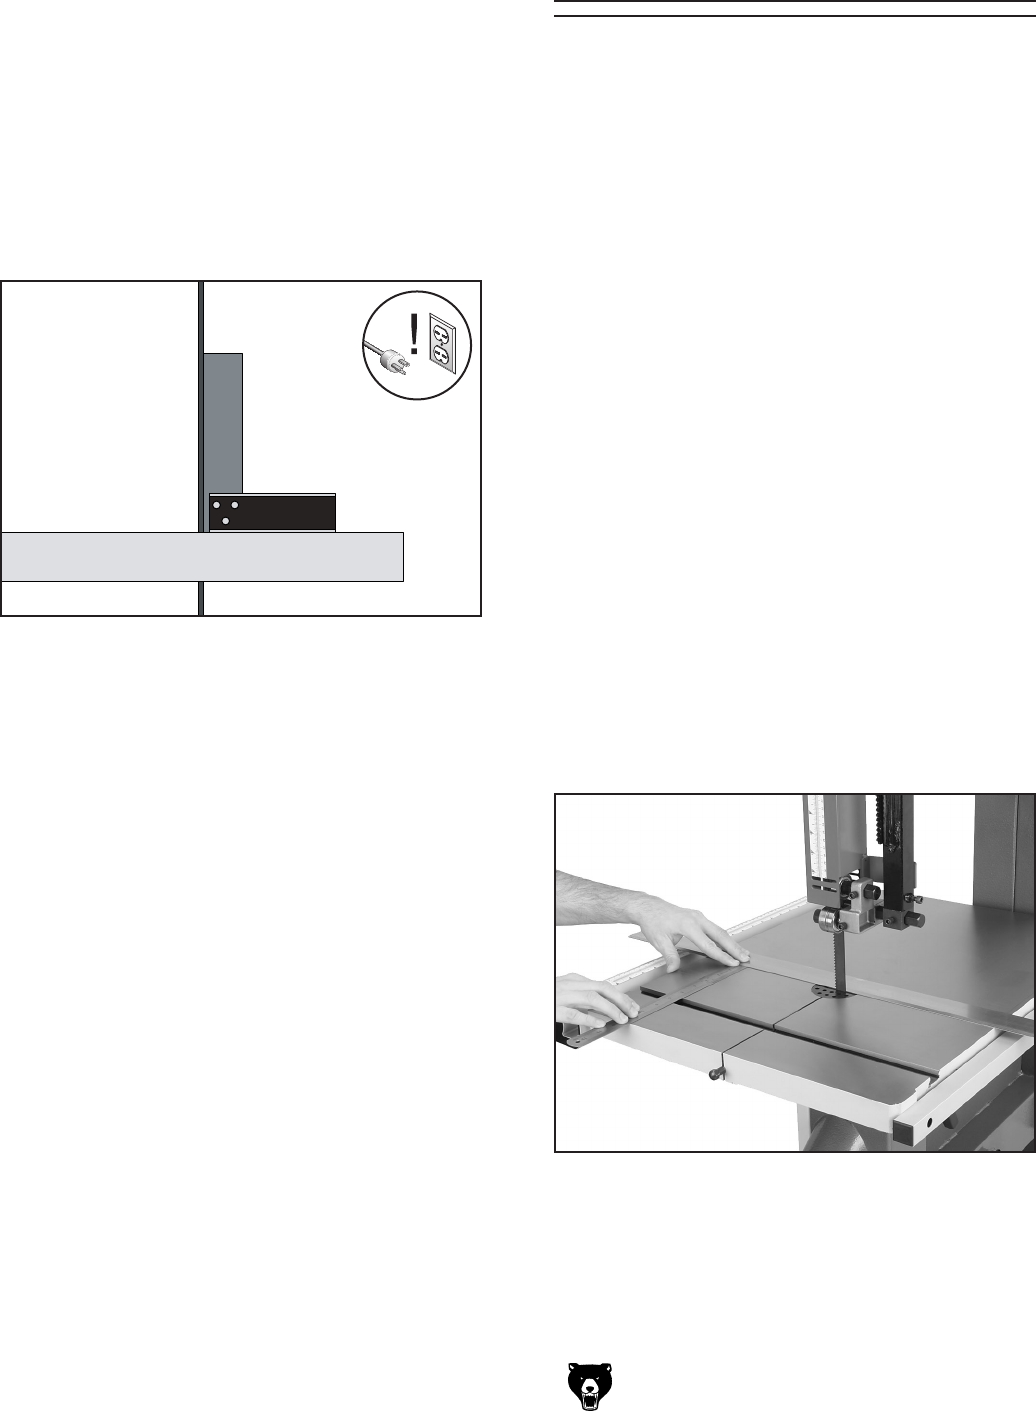
4. Place a straightedge on the table, so it
lightly touches both the front and back of the
blade.
Note: Make sure the straightedge fits between
the teeth so the tooth set does not skew it.
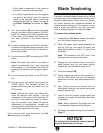
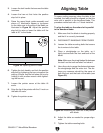
5. Use a fine ruler to gauge the distance between
the straightedge and the miter slot. The dis
-
tance you measure should be the same at
both the front and the back of the table (see
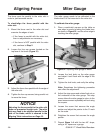
Figure 30).
Figure 30. Measuring for miter slot to be parallel
with blade.
3. Loosen the lock handle that secures the table
trunnions.
4. Loosen the hex nut that locks the positive
stop bolt in place.
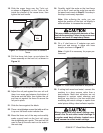
5. Raise the upper blade guide assembly and
place a 6" machinist’s square or try-square
on the table next to the side of the blade, as
illustrated in
Figure 29. Adjust the positive
stop bolt to raise or lower the table until the
table is 90° to the blade.
6. Tighten the lock handle, and lock the positive
stop bolt by tightening the hex nut against the
casting. Ensure that the bolt does not turn by
holding it with another wrench while tighten
-
ing the hex nut.
7. Loosen the pointer screw at the table tilt
scale.
8. Align the tip of the pointer with the 0° mark on
the table tilt scale.
9. Tighten the pointer screw.
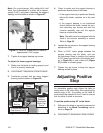
Figure 29. Squaring table to blade.
6. Adjust the table as needed for proper align-
ment.
7. Tighten the table mounting bolts.


