-50-
G0640X 17" Wood/Metal Bandsaw
NOTICE
Lead adjustments will change when new
blades are mounted on the saw.
NOTICE
If the table is shifted, the fence will need
to be re-aligned, and the blade guides and
blade support will need to be re
-adjusted.
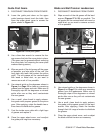
3. Clamp the board to the bandsaw table with-
out moving it. Now slide the fence over to
the board so it barely touches one end of the
board.
4. Loosen the four cap screws on top of the
fence.
5. Skew the fence so it is parallel to the edge of
the scrap piece. You may need to re-adjust
the fence locking mechanisms to gain maxi
-
mum adjustment.
6. While maintaining the skew, tighten the cap
screws.
To shift the table:
1. On a scrap piece of wood, mark a line that is
perpendicular to the front edge.
2. Cut halfway through the board on the line by
pushing it into the blade.
3. Turn the bandsaw OFF and wait for the blade
to stop.
4. Loosen the the table mounting bolts, shift the
table to compensate for the blade lead, then
retighten the bolts.
5. Repeat Steps 1–4 until the blade cuts
straight.
Adjusting Tension
Lever
The tension lever has an adjustment screw that
allows you to adjust how much tension is released
when the lever is used.
Tools Needed: QTY
Hex Wrench 6mm .............................................. 1
Hex Wrench 5mm ..............................................
1
To adjust the tension lever:
1. DISCONNECT BANDSAW FROM POWER!
2. Loosen the tension lever and remove the
blade.
3. Remove the upper wheel by taking out the
cap screw at the center of the wheel.
4. Move the tension lever to the tightened posi-
tion.
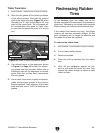
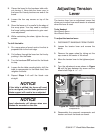
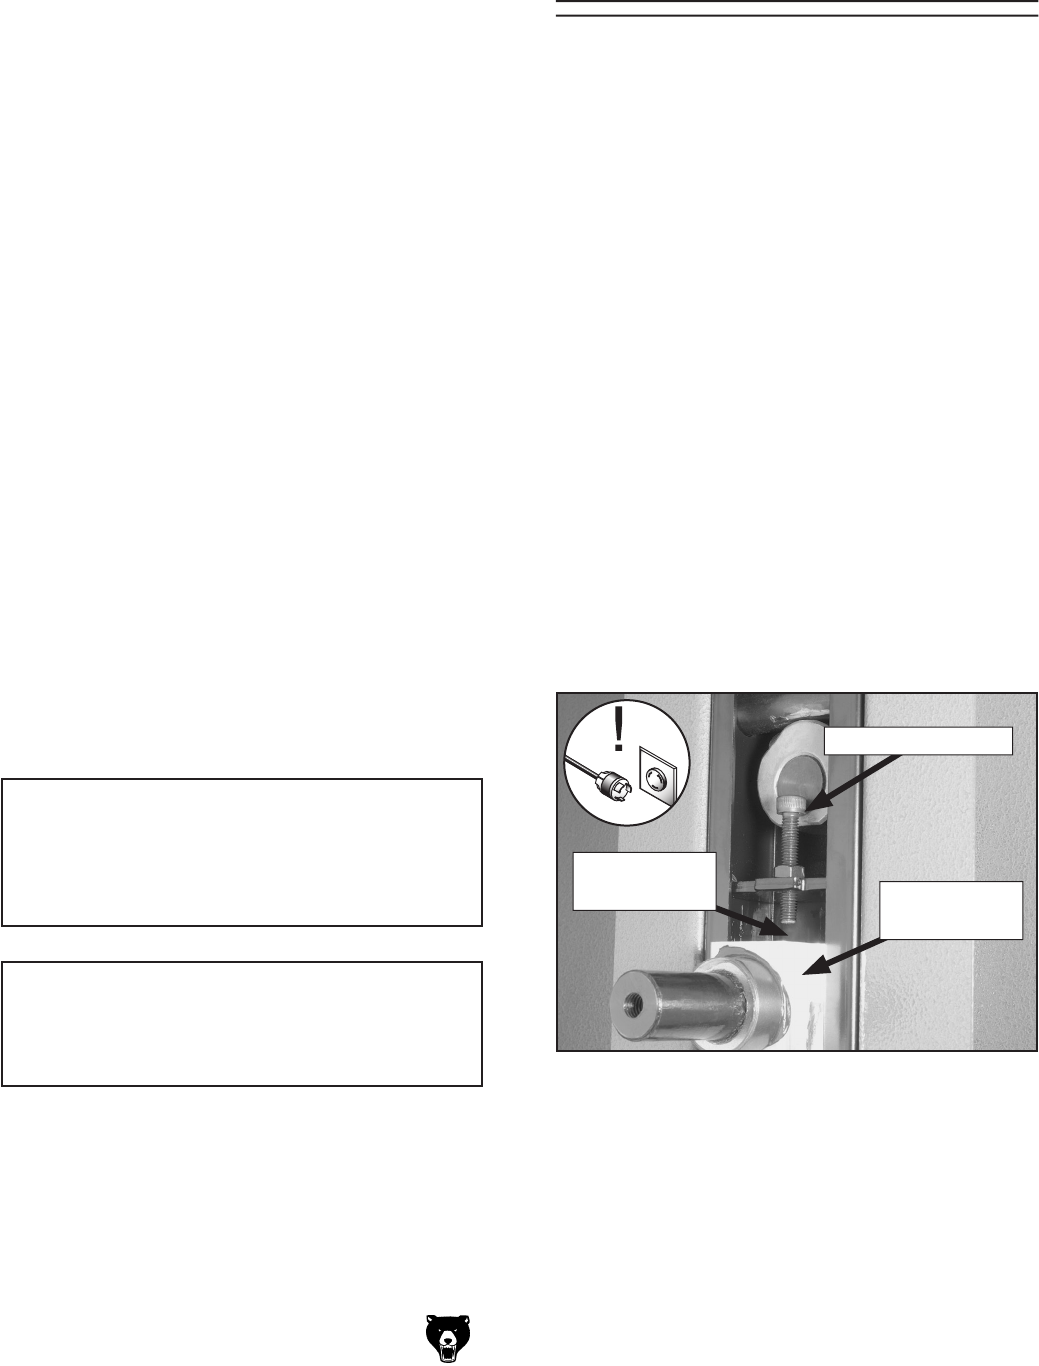
5. Turn the adjustment screw shown in Figure
68 until the gap between the screw and the
wheel shaft hinge is
1
⁄16"–
3
⁄16".
6. Reassemble the removed components and
tension and track the blade as normal.
Adjustment Screw
Wheel Shaft
Hinge
Figure 68. Tension lever adjustment
components.
Adjustment
Gap
1
⁄8"-
3
⁄16"


