-16-
G0555X 14" Extreme Series Bandsaw
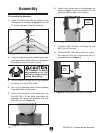
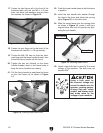
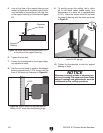
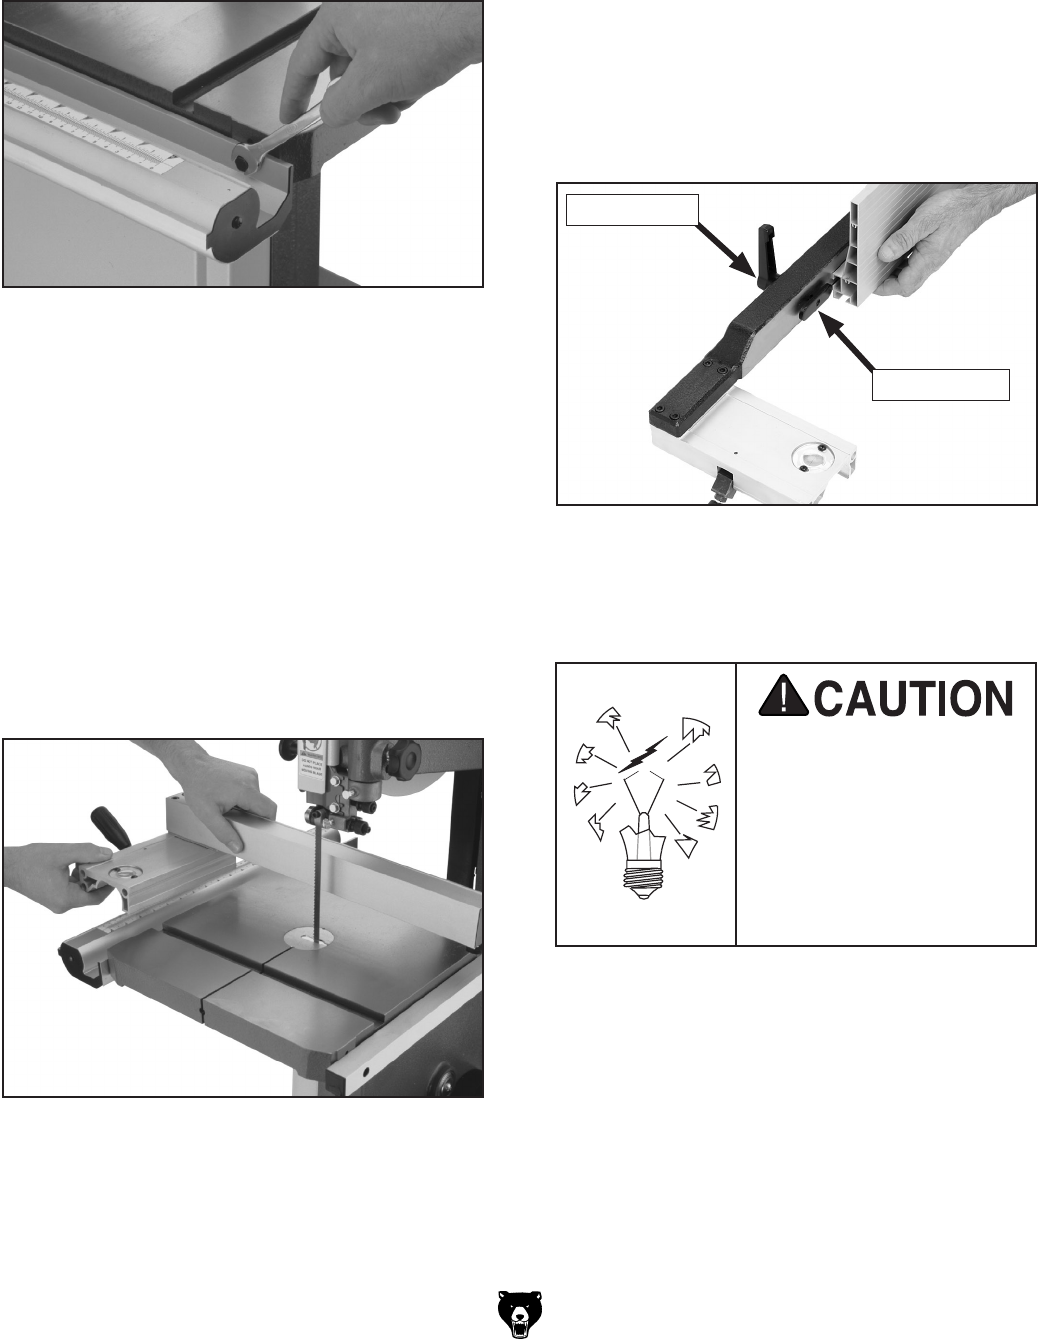
Figure 13. Fastening front fence rail to table.
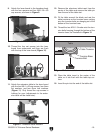
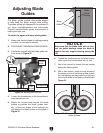
Figure 14. Installing fence onto rails.
18. Fasten the rear fence rail to the back of the
bandsaw with two M6-1 x 16 cap screws.
19. Thread the M8-1.25 hex nut from the hard-
ware bag onto the fence handle threads, then
thread the fence handle into the fence.
20. Tighten the hex nut (already on the fence
handle threads) down to the fence body to
keep the fence handle from rotating.
21. Pull the fence handle up and place the fence
on the front fence rail as shown in
Figure
14.
22. Push the fence handle down to lock the fence
in position.
23. Insert the lock handle with washer through
the hole in the fence and attach the moving
plate (Figure 15) on the other side.
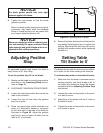
24. Slide the resaw fence over the moving plate
as shown in
Figure 15, center it with your
original fence, then lock it in position by tight
-
ening the lock handle.
17. Fasten the front fence rail to the front of the
bandsaw table with the two M6-1 x 20 hex
bolts, two 6mm lock washers, and two 6mm
flat washers, as shown in
Figure 13.
25. Install a light bulb that is rated for the wired
voltage of the machine. The bulb must not
exceed 60W.
Figure 15. Installing resaw fence.
Moving Plate
Lock Handle
Using a bulb rated for
the incorrect voltage may
cause it to shatter near the
operator, causing person
-
al injury. Only use “safety
coated" and shatter resis
-
tant bulbs rated for the
voltage of your machine.


