-27-
G0668 20" Vertical Metal-Cutting Bandsaw
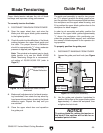
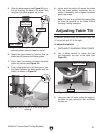
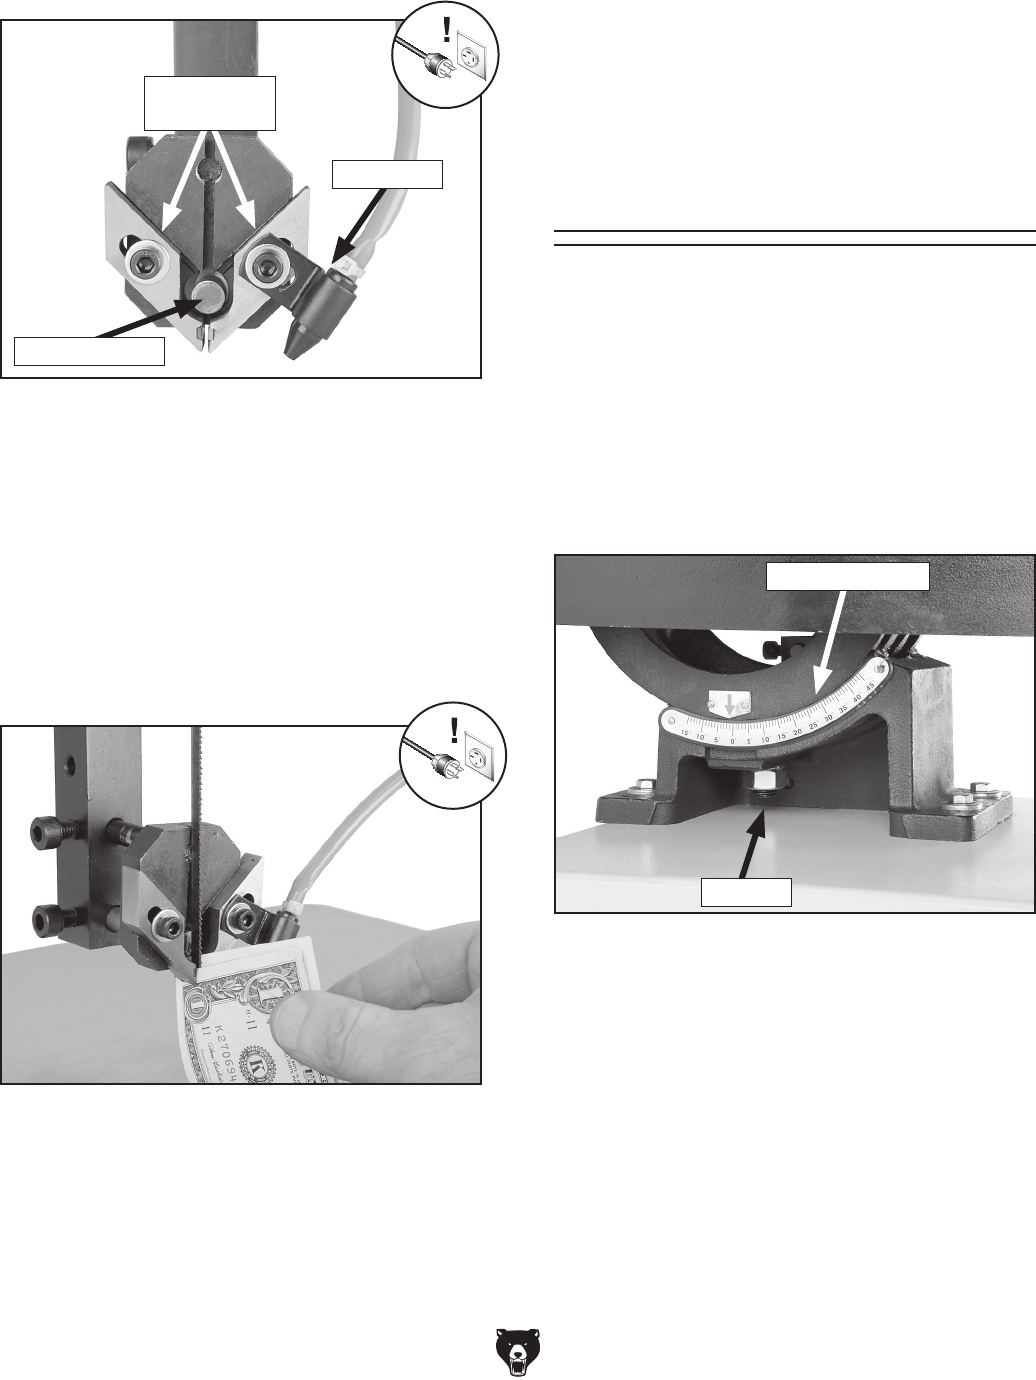
5. Slide the blade support (see Figure 23) up to,
but not touching, the back of the blade, then
re-tighten the blade support cap screw.
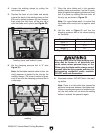
Figure 23. Blade guide assembly (upper
assembly shown without blade for clarity).
Blade Support
Blade Guide
Cap Screws
Air Nozzle
6. Rotate the upper wheel by hand so that the
blade weld is between the blade guides.
7. Use a 4mm hex wrench to loosen the blade
guide cap screws (see
Figure 23).
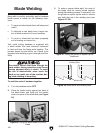
8. Fold a crisp dollar bill in half and place it over
the blade (between the blade guides and the
blade), as shown in
Figure 24.
Figure 24. Using a dollar bill to set blade guide
spacing.
9. Lightly pinch the dollar bill against the blade
with the blade guides, re-position the air
nozzle if necessary, then re-tighten the blade
guide cap screws.
Note: The goal is to position the blade guides
as close as possible to the blade without
touching it during operation.
Adjusting Table Tilt
To perform beveled cuts, the bandsaw table tilts
15° to the left and 45° to the right.
To adjust the table tilt:
1. DISCONNECT BANDSAW FROM POWER!
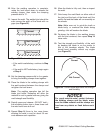
2. Use a 23mm wrench to loosen the hex
nut underneath the rear of the table (see
Figure 25).
Figure 25. Table tilt scale and hex nut.
Table Tilt Scale
Hex Nut
3. Using the table tilt scale, adjust the angle of
the table for your operation, then re-tighten
the hex nut.


