-28-
G0668 20" Vertical Metal-Cutting Bandsaw
Blade Welding
Being able to quickly and safely weld a bandsaw
blade comes in handy for the following situa
-
tions:
• To repair a broken blade that is still sharp and
useful.
• To fabricate a new blade from a larger sec
-
tion of blade material to fit your bandsaw.
• To re-join a blade that has been purposely
cut for making an internal cut.
Your metal cutting bandsaw is equipped with
a blade welder that uses electrical resistance
to heat and fuse the blade ends together. This
process leaves the joint brittle, so it needs to be
annealed after welding to give it strength and flex
-
ibility.
The electric current that flows through the
blade welder during operation could cause
serious personal injury or death. To avoid
the risk of electrocution, never touch the
blade or any metal part of the machine dur
-
ing blade welding or annealing.
To weld the ends of bandsaw together:
1. Turn the bandsaw motor OFF.
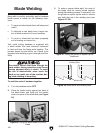
2. Place the blade evenly against the back of
the blade shear and firmly pull the handle
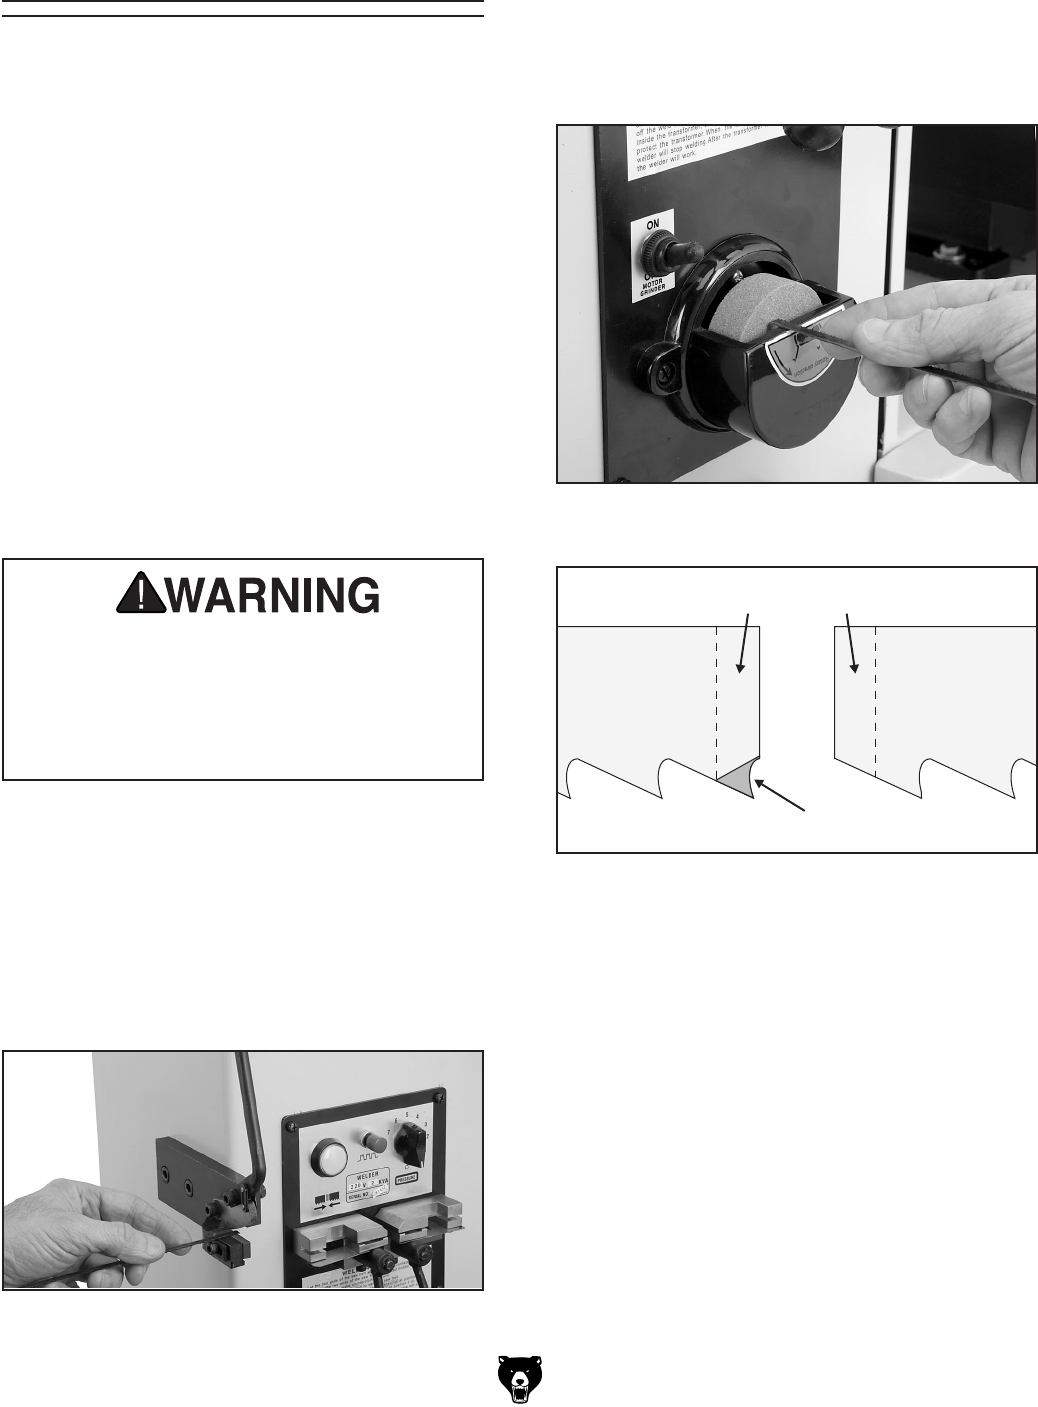
down to square off the blade end (see
Figure
26).
Figure 26. Using the blade shear to cut the
blade.
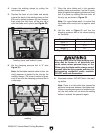
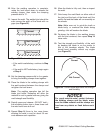
3. To make a proper blade weld, the ends of
the blade must be evenly butted together
during the welding process. If necessary, use
the grinder to square up the ends or remove
any teeth that are in the welding zone (see
Figures 27–28).
Figure 27. Using the grinder to square up the
blade end.
Figure 28. Blade ends and welding zone.
blade welding


