


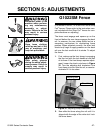
-22- G1022 Series Contractor Saws
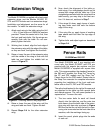
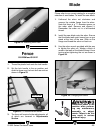
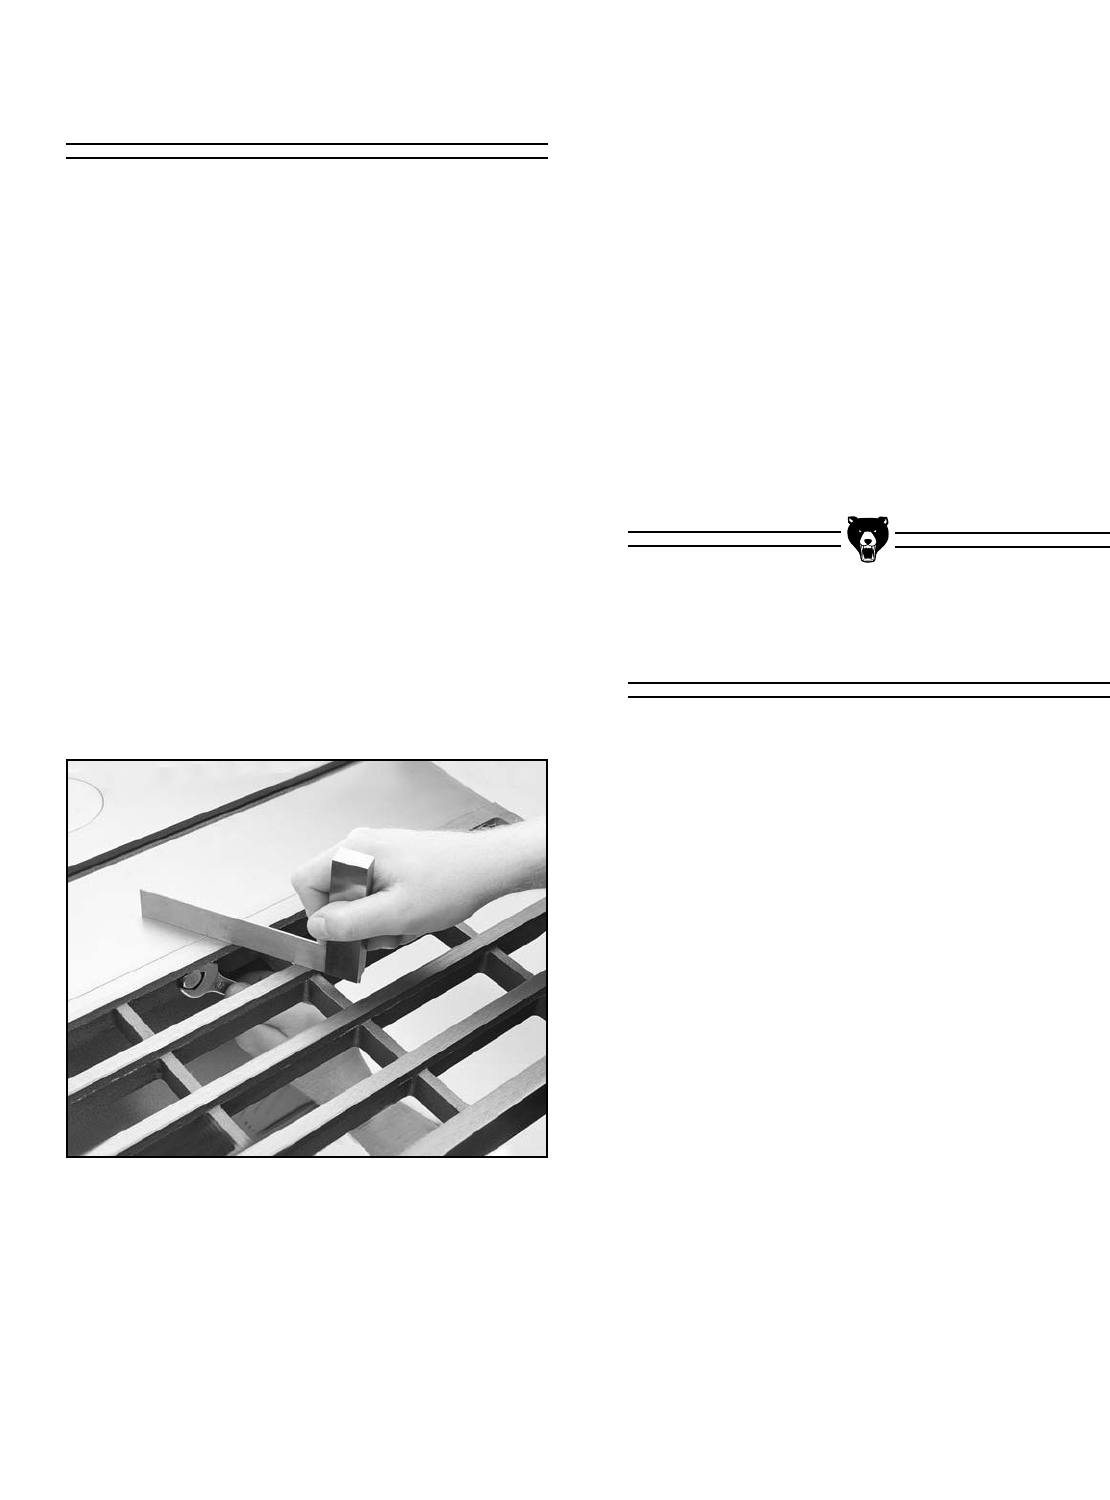
Figure 21. Checking table to wing alignment.
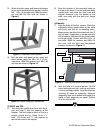
4. Raise or lower the rear of the wing until the
wing and table are flush. Tighten the bolt.
5. Repeat Steps 2-4 for the other extension
wing.
6. Now, check the alignment of the table vs.
both wings. Your straightedge should run flat
across both wings and the table top. If the
straightedge contacts both the wings and the
table evenly, you may skip to the next sec-
tion. If it does not, continue to Step 7.
7. If the wings tilt down, apply layers of mask-
ing tape under each bolt near the bottom
edge of the wing.
8. If the wing tilts up, apply layers of masking
tape above each bolt near the top edge of
the wing.
9. Tighten bolts and adjust again as described
in Steps 2-4.
Fence Rails
The rails should extend to the right of the saw and
are attached to the table top with special bolts
and dished spacers. The rails come packed in a
separate box. To mount the rails:
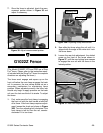
1. The two center bolts for each rail thread
directly into the table top, and the outer two
bolts secure from the back side of the exten-
sion wing with hex nuts as shown in Figure
22. Be sure that the rail with the built-in mea-
suring rule is mounted on the front side of the
machine, with the markings facing up.
2. Insert the round, plastic plugs into the ends
of each rail.
The Model G1022SM and Z are supplied with
round rails, the Model G1022ZF and ZFX are
supplied with flat angular bar sections and the
Model G1022PRO is supplied with square tube
rails. This accommodates the standard fence for
the SM and Z models, the Shop Fox
®
fence for
the ZF and ZFX models and the Shop Fox
®
Classic fence for the PRO model. Please refer to
the Shop Fox
®
manuals for complete information
regarding the installation of the front and back
fence rails on the ZX, ZXF and PRO models.
Extension Wings
The Model G1022SM is supplied with sheet metal
extension wings, and the Models G1022Z, ZF,
ZFX and PRO include cast iron extension wings.
Installation and adjustment are the same for all
the models. To install the extension wings:
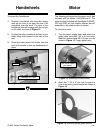
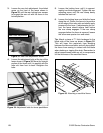
1. Attach each wing to the table using the
M10
- 1.50 x 25 hex bolts and 10MM flat washers
provided. Thread the center bolt in first, then
the front and back bolts. Get the wings rea-
sonably flush with the table. Do not com-
pletely tighten the bolts.
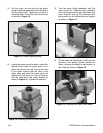
2. Working front to back, align the front edge of
the extension wing with the edge of the table,
so they are flush, and tighten the front bolt.
3. Raise or lower the rear of the extension wing
until the middle of the wing is flush with the
table top and tighten the middle bolt as
shown in Figure 21.
G1022SM and G1022Z