


G1022 Series Contractor Saws -29-
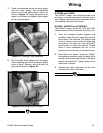
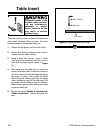
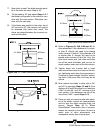
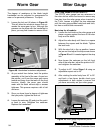
Figure 36. Adjust measurement pointer.
7. Once the fence is adjusted, check the mea-
surement pointer shown in Figure 36 and
adjust if necessary.
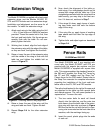
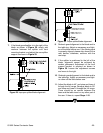
Figure 36B. Adjusting clamp mechanism.
G1022Z Fence
(The Model G1022ZF, ZFX and PRO use a Shop
Fox
®
fence. Please refer to the instruction manu-
al included with the Shop Fox
®
fence for complete
directions on adjusting the fence.)
The fence must engage and square up on the
front rail before the rear clamp engages the back
rail. In essence, the rear clamp should act as a
secondary mechanism for maintaining fence
position. When adjusted correctly, the lever lock
should only begin to apply pressure on the back
rail over the last one-third of its stroke. To adjust
the fence:
1. First, make sure the front clamp is engaging
the front rail with the lock handle at one-half
of its throw. If the front clamp requires adjust-
ment, loosen the check nut shown in Figure
36B. Turn the adjusting bolt clockwise if the
front clamp is too far from the rail, counter-
clockwise if it is too close.
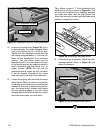
2. Now slide the fence along the rail until it is
aligned with the edge of the miter slot. Lock
the fence down.
Check Nut
Adjusting Bolt
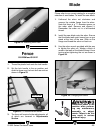
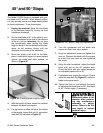
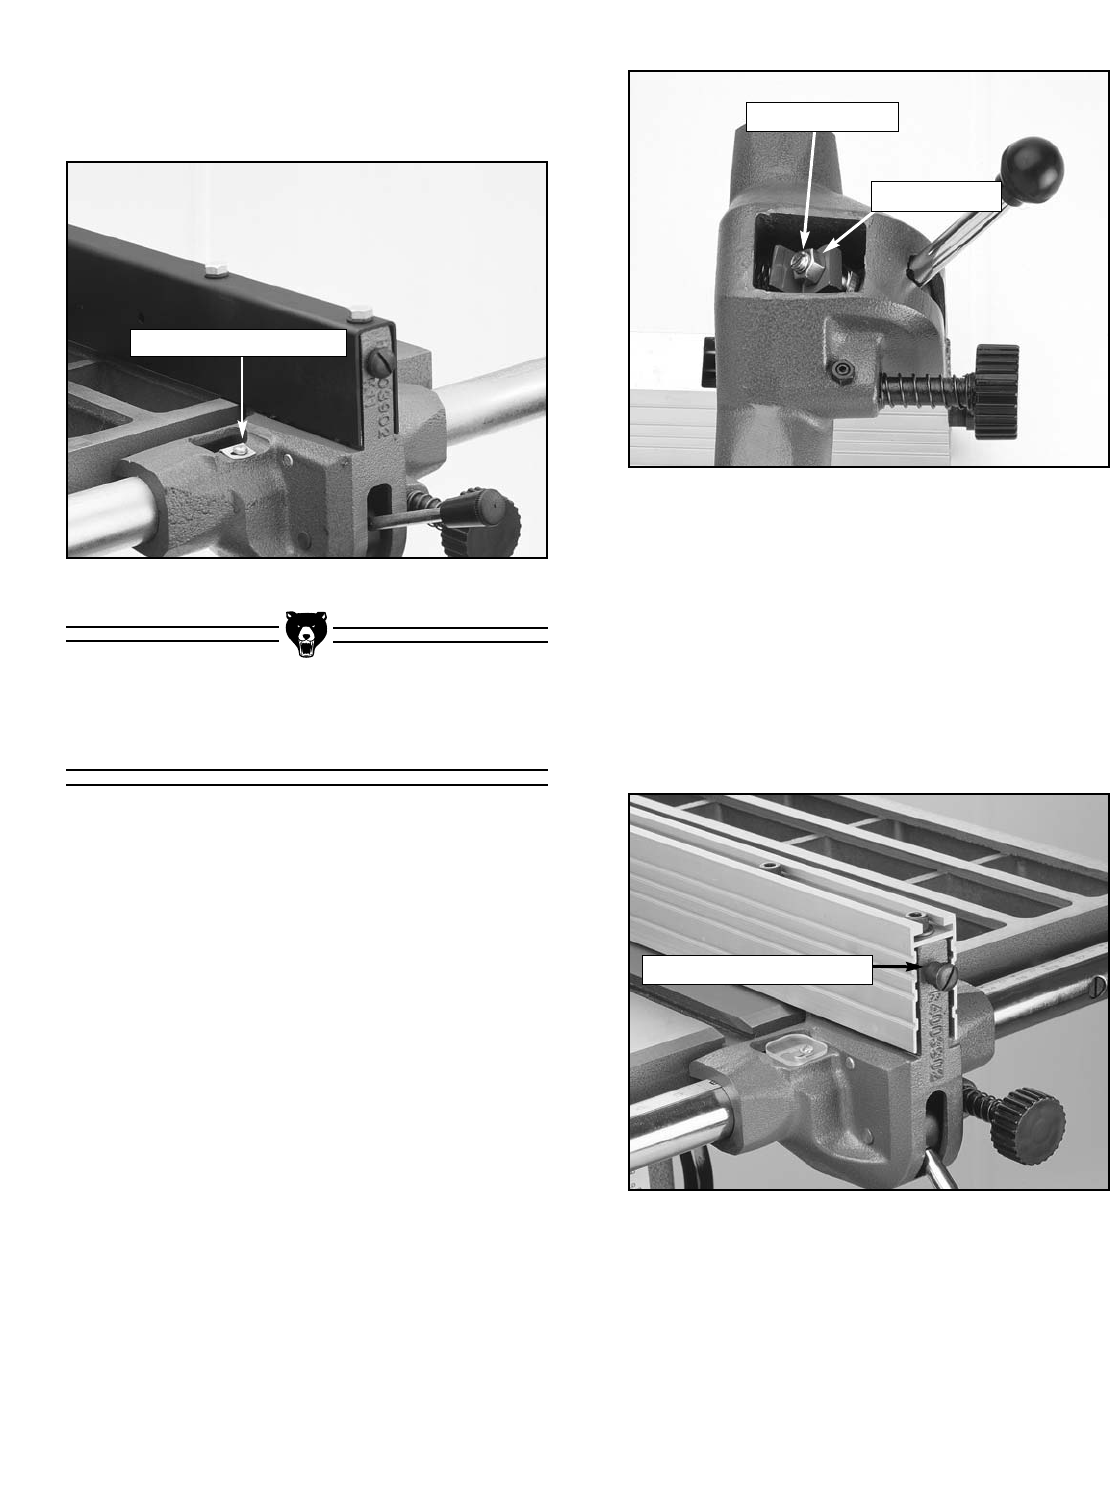
Figure 37. Rear lock adjustment screw.
3. Loosen the rear lock adjustment, the slotted
screw on the front of the fence shown in
Figure 37, until the rear locking lever ceases
to engage the rear rail with the fence in the
locked position.
Rear Lock Adjustment
Measurement Pointer