


G1023 Heavy-Duty Table Saw -9-
Figure 3.
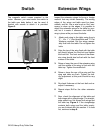
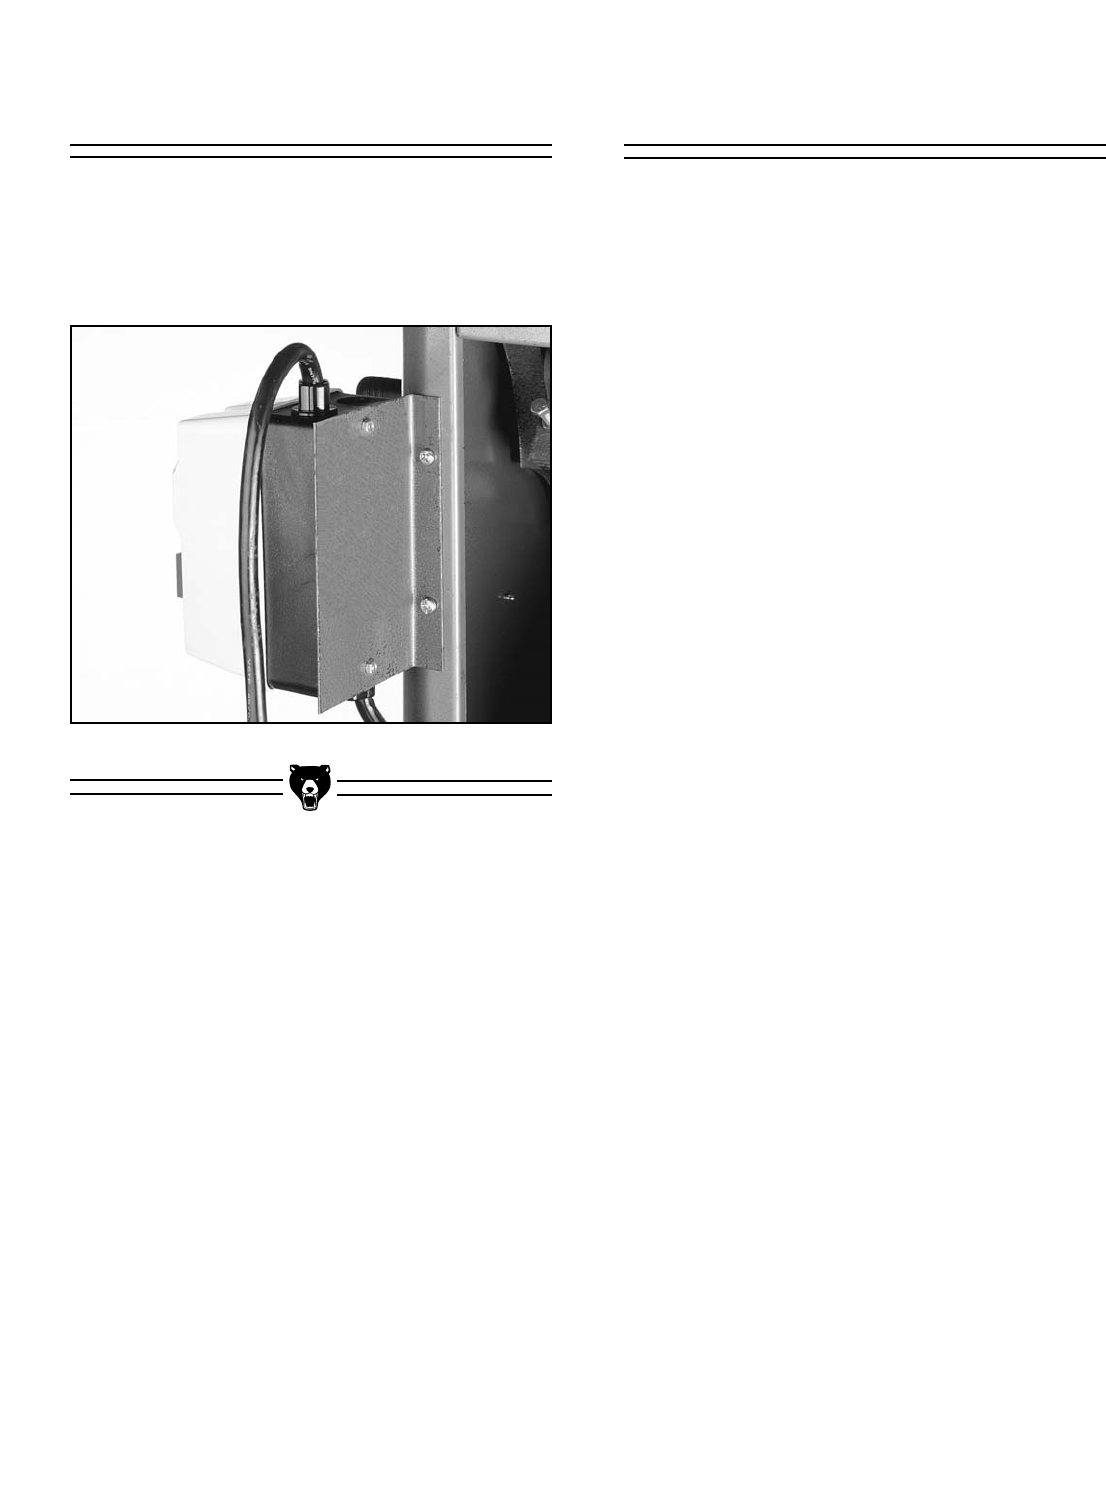
Switch
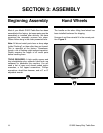
The magnetic switch comes prewired to the
motor. However, you must mount the switch to
the table saw body before it can be used. A
bracket with screws to attach it is provided.
Figure 3.
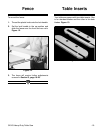
Extension Wings
Inspect the extension wings for burrs or foreign
material that may inhibit assembly. The mating
edges of the wings and table must be clean,
smooth, and flat. Use a wire brush or file if nec-
essary to clean up the edges. It is possible to
attach the extension wings to the table by your-
self, but it is easier if someone else holds the
wing in place while you insert the bolts.
1. Attach each wing to the table using the six
3
⁄8" - 16 x 1
1
⁄4" Hex Head Bolts and
3
⁄8" Flat
Washers provided. Get the wings reason-
ably flush with the table. Do not tighten the
bolts.
2. Align the top of the wing flush with the table
top directly above the front bolt and tighten
the front bolt. The front surface of the exten-
sion wing should also be flush with the front
surface of the table.
3. Raise or lower the rear of the extension wing
until the middle of the wing is flush with the
table top. Tighten the middle bolt.
4. Raise or lower the rear of the wing until the
wing and table are flush. Tighten the bolt.
Any adjustment at this point should be very
slight.
5. Re-check flushness at the front bolt and re-
adjust if necessary.
6. Repeat steps 2-4 for the other extension
wing.
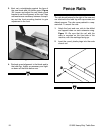
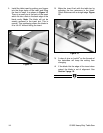
7. Now, check the alignment of the table and
both wings with a straight edge. The straight-
edge should run flat across both wings and
the table top. Figure 4. If the straightedge
contacts both wings and the table evenly,
you are finished with this section. If it does
not, continue to step 8.