-20- G1023 Heavy-Duty Table Saw
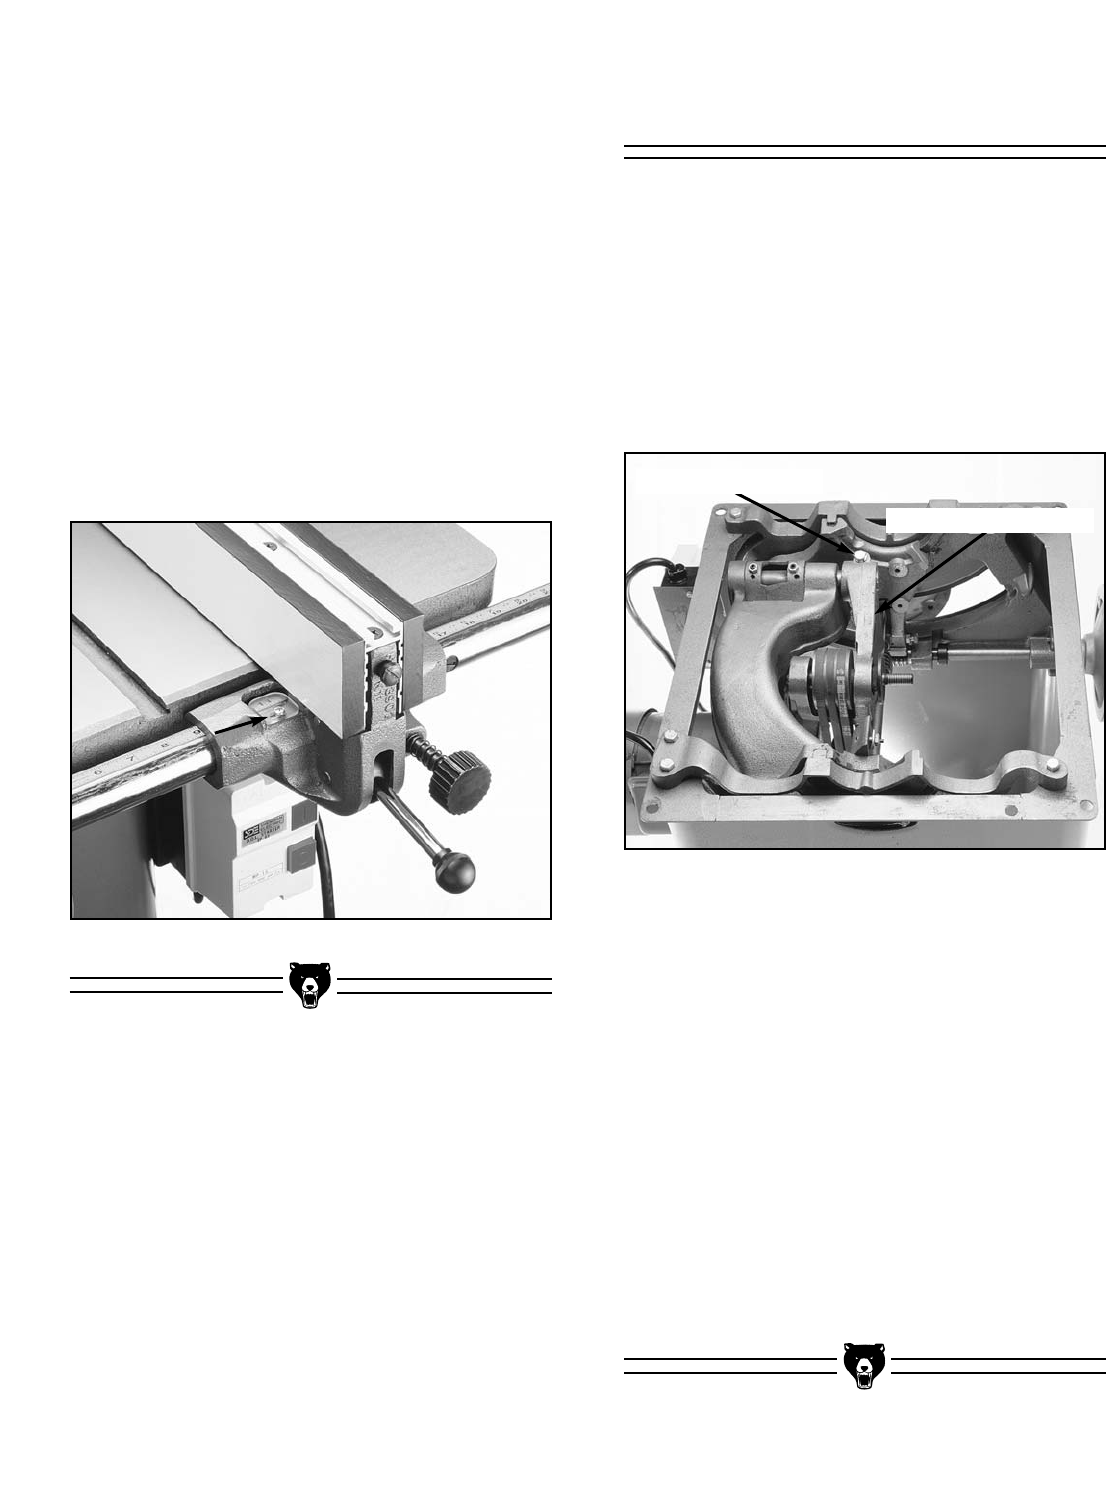
Figure 29.
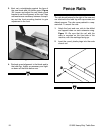
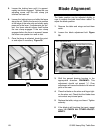
5. Loosen the locking lever until it is approxi-
mately two-thirds engaged. Tighten the rear
adjusting screw until the rear clamp just
touches the back rail.
6. Loosen the locking lever and slide the fence
along the rail. Return the fence to its position
at the edge of the miter slot and slowly apply
pressure to the lever. If adjustments are cor-
rect, the fence should square itself before
the rear clamp engages. If the rear clamp
engages before the fence is squared, loosen
the screw one quarter turn and re-test.
7. Once the fence is adjusted, check the point-
er and adjust if necessary. Figure 29.
Figure 30.
Blade Adjustment Bolt
Geared Bearing Housing
Blade Alignment
The blade position can be adjusted slightly in
case it contacts the table insert when raised. To
adjust the blade position:
1. Remove the table and wings and set them
aside.
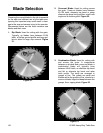
2. Loosen the blade adjustment bolt. Figure
30.
3. Shift the geared bearing housing in the
appropriate direction. WARNING: This
adjustment should not exceed
1
⁄16". Over
adjustment will cause the blade to hit internal
parts of the saw.
4. Place the blade on the arbor and finger tight-
en the arbor nut. Check that the blade does
not contact any internal parts.
5. Replace the table, wings, and insert. Tighten
securely.
6. If the blade is still touching the insert, repeat
steps 1-6. CHECK ALL OTHER ADJUST-
MENTS.


