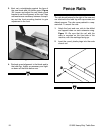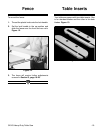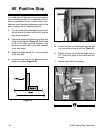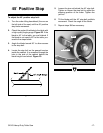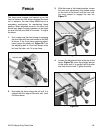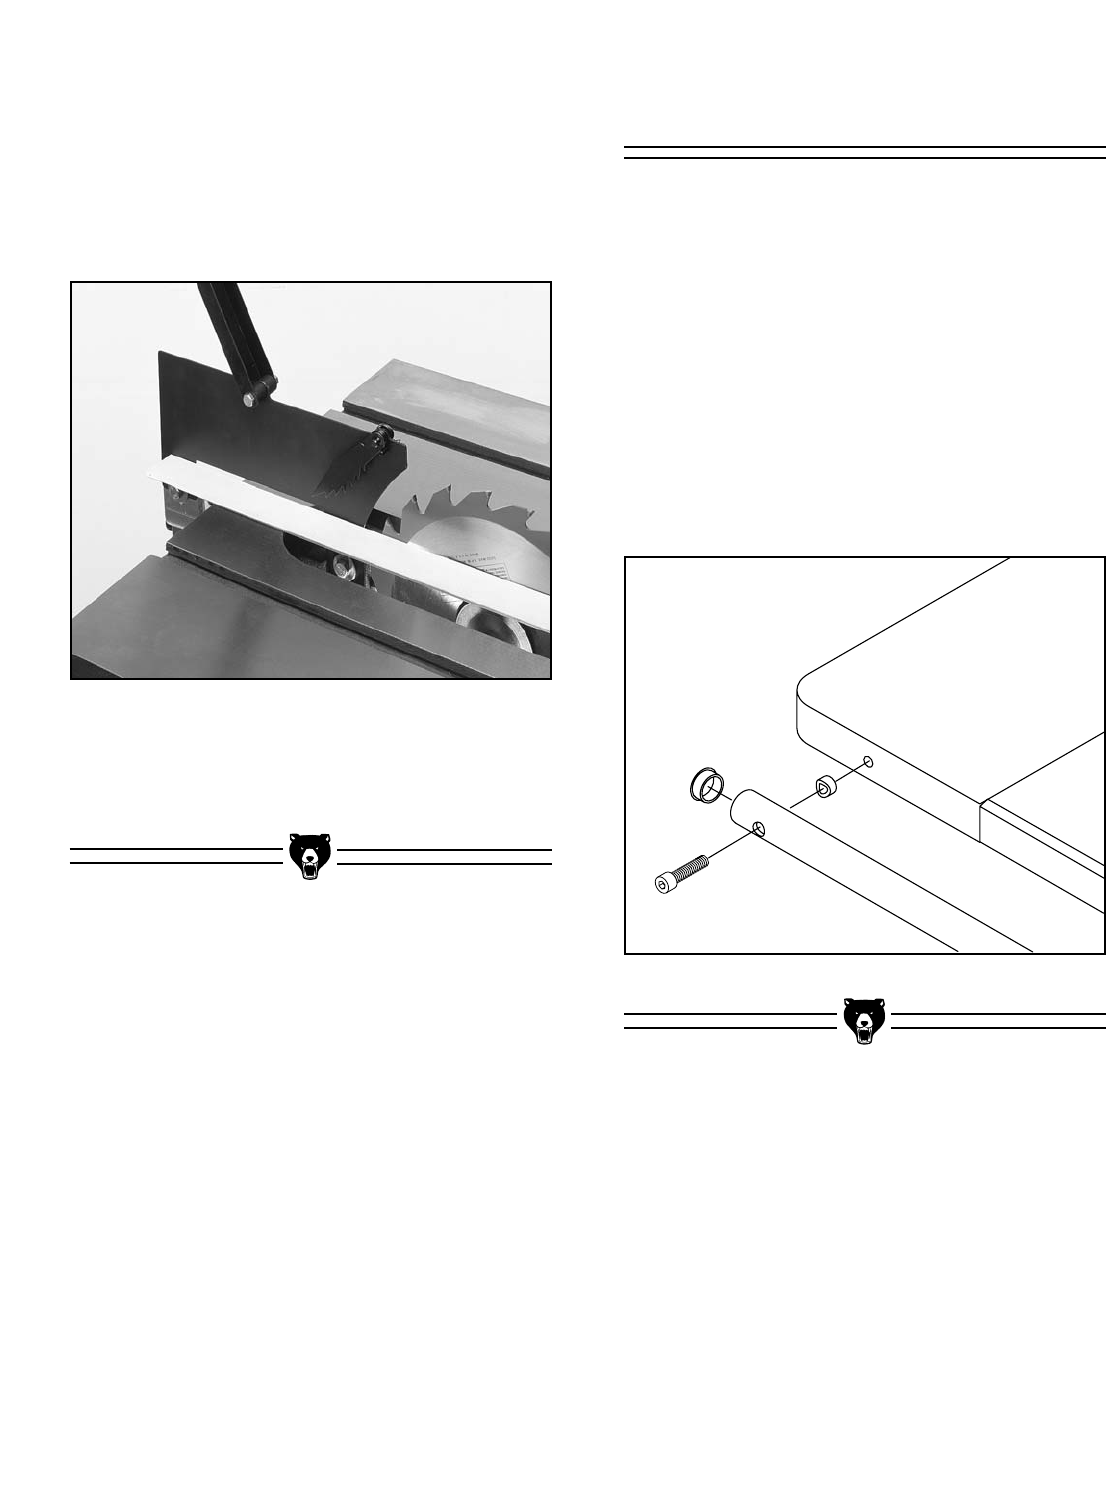
Figure 11.
-12- G1023 Heavy-Duty Table Saw
4. Recheck guard alignment to the blade and to
the table top. Adjust as necessary and tight-
en down all the bolts before use.
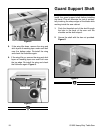
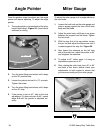
3. Next, set a straightedge against the face of
the saw blade and the blade guard. Figure
10. Loosen and adjust the rear blade guard
bracket to set the alignment at the rear, then
add washers as necessary between the split-
ter and the front mounting bracket to gain
adjustment in the front.
Figure 10.
Fence Rails
The rails should extend to the right of the saw and
are attached to the table top with cap screws and
dished spacers. The rails come packed in a sep-
arate box. To mount the rails:
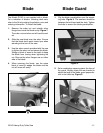
1. Attach the front and rear rails to the drilled
and tapped holes on each extension wing.
Figure 11. Be sure that the rail with the
scale is mounted on the front side of the
machine, with the markings facing up.
2. Insert the round, plastic plugs into the ends
of each rail.


