-10-
G1052 9" Bandsaw
Blade Adjustments
Blade tension and tracking are two of the most
important factors affecting bandsaw perfor-
mance. When the blade is properly tensioned and
tracked, blade life will be extended, cuts will be
straighter, and the bandsaw will run more
smoothly. In order to optimize tension and track-
ing, the two wheels must be co-planar (or in the
same plane).
Follow the steps outlined here in the order pre-
sented for best results: (A) adjust tension, (B)
check co-planarity, (C) adjust co-planarity (D)
check tracking, and (E) adjust tracking.
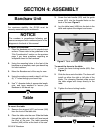
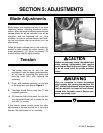
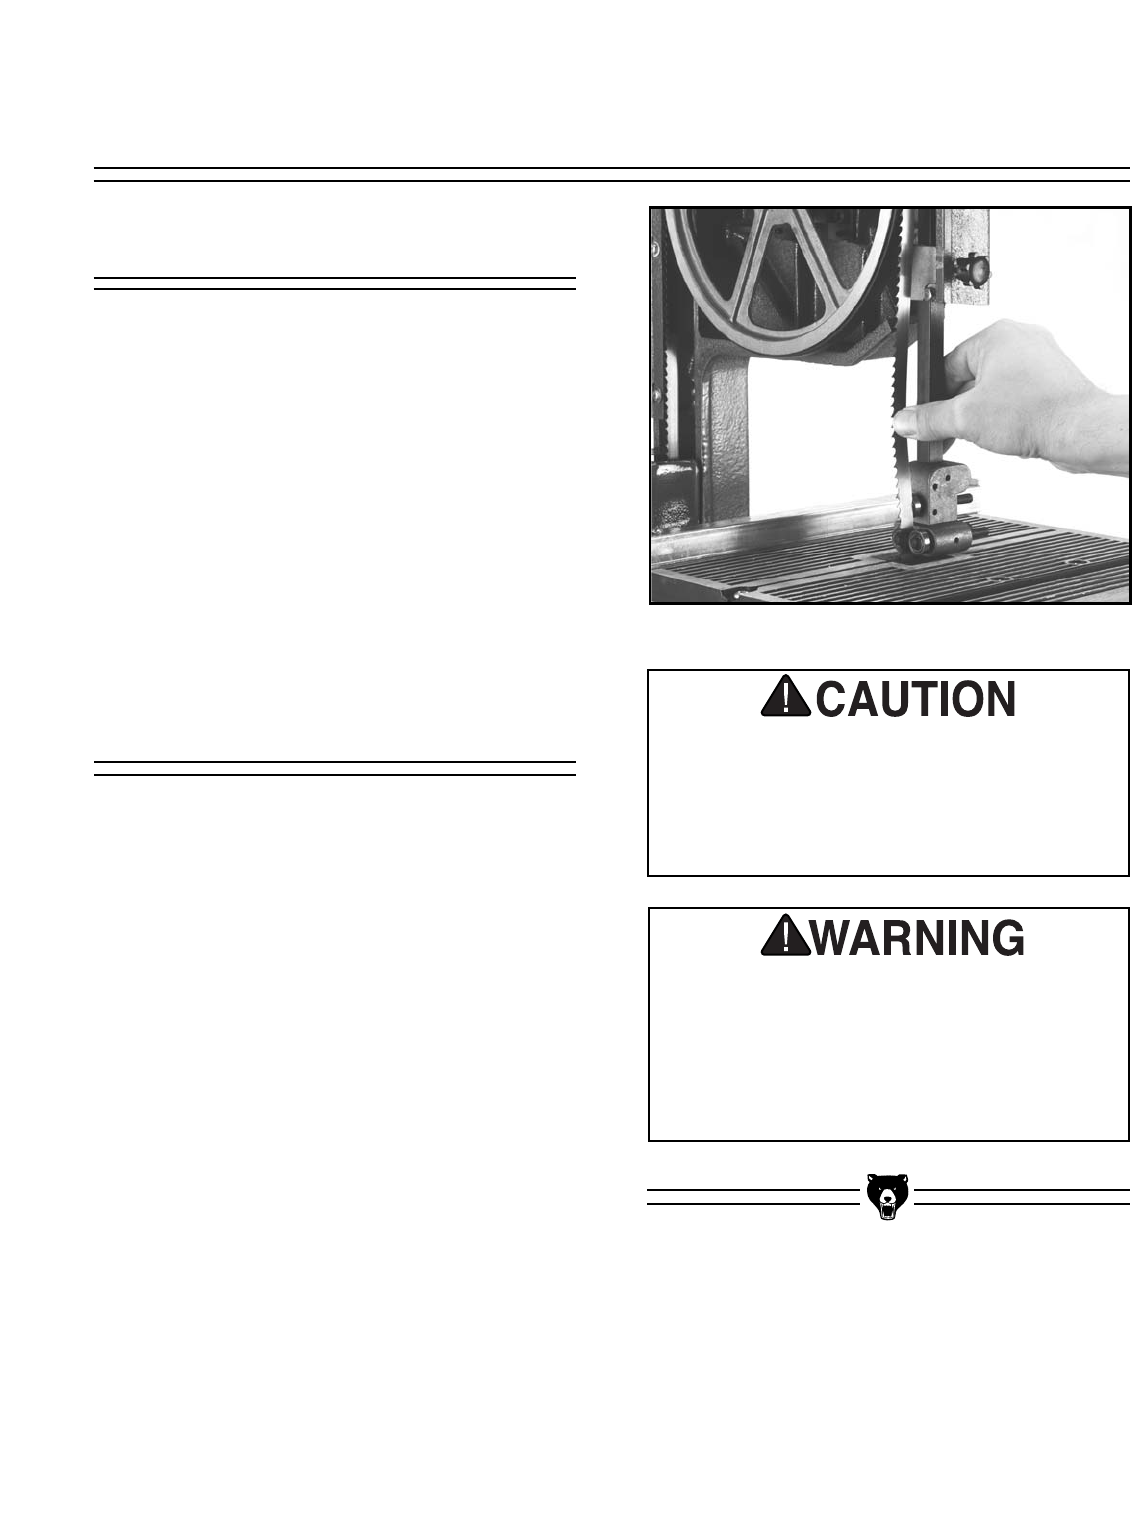
Figure 4. Checking blade deflection.
Blades are extremely sharp. Use added care
when making adjustments that require
touching the blade with your fingers. Failure
to do so could result in serious personal
injury.
Tension
With the exception of those procedures
which require test running the machine, DO
NOT attempt adjustments without ensuring
that the machine is turned off and discon-
nected from its power source. Serious per-
sonal injury may occur.
SECTION 5: ADJUSTMENTS
1. The power must be off with the saw
unplugged. Lower the upper guide assembly
all the way by loosening the guide post
securing knob (#31) and lowering the
assembly.
2. Press, with moderate pressure, on the face
of the blade with your thumb. Figure 4.
3. The blade should flex no more than
1
/2" with
moderate pressure.
4. If it flexes too little or too much, turn the ten-
sion adjustment knob (#2) to modify the ten-
sion until it is correct.
If the tension seems correct, make the other
adjustments to the saw and test run it. Re-adjust
tension if the blade does not cut correctly.


