


-14- G1073/G1073Z 16" Bandsaw
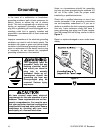
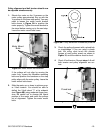
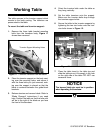
Figure 11. Trunnions removed from bandsaw.
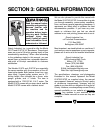
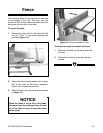
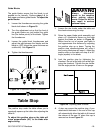
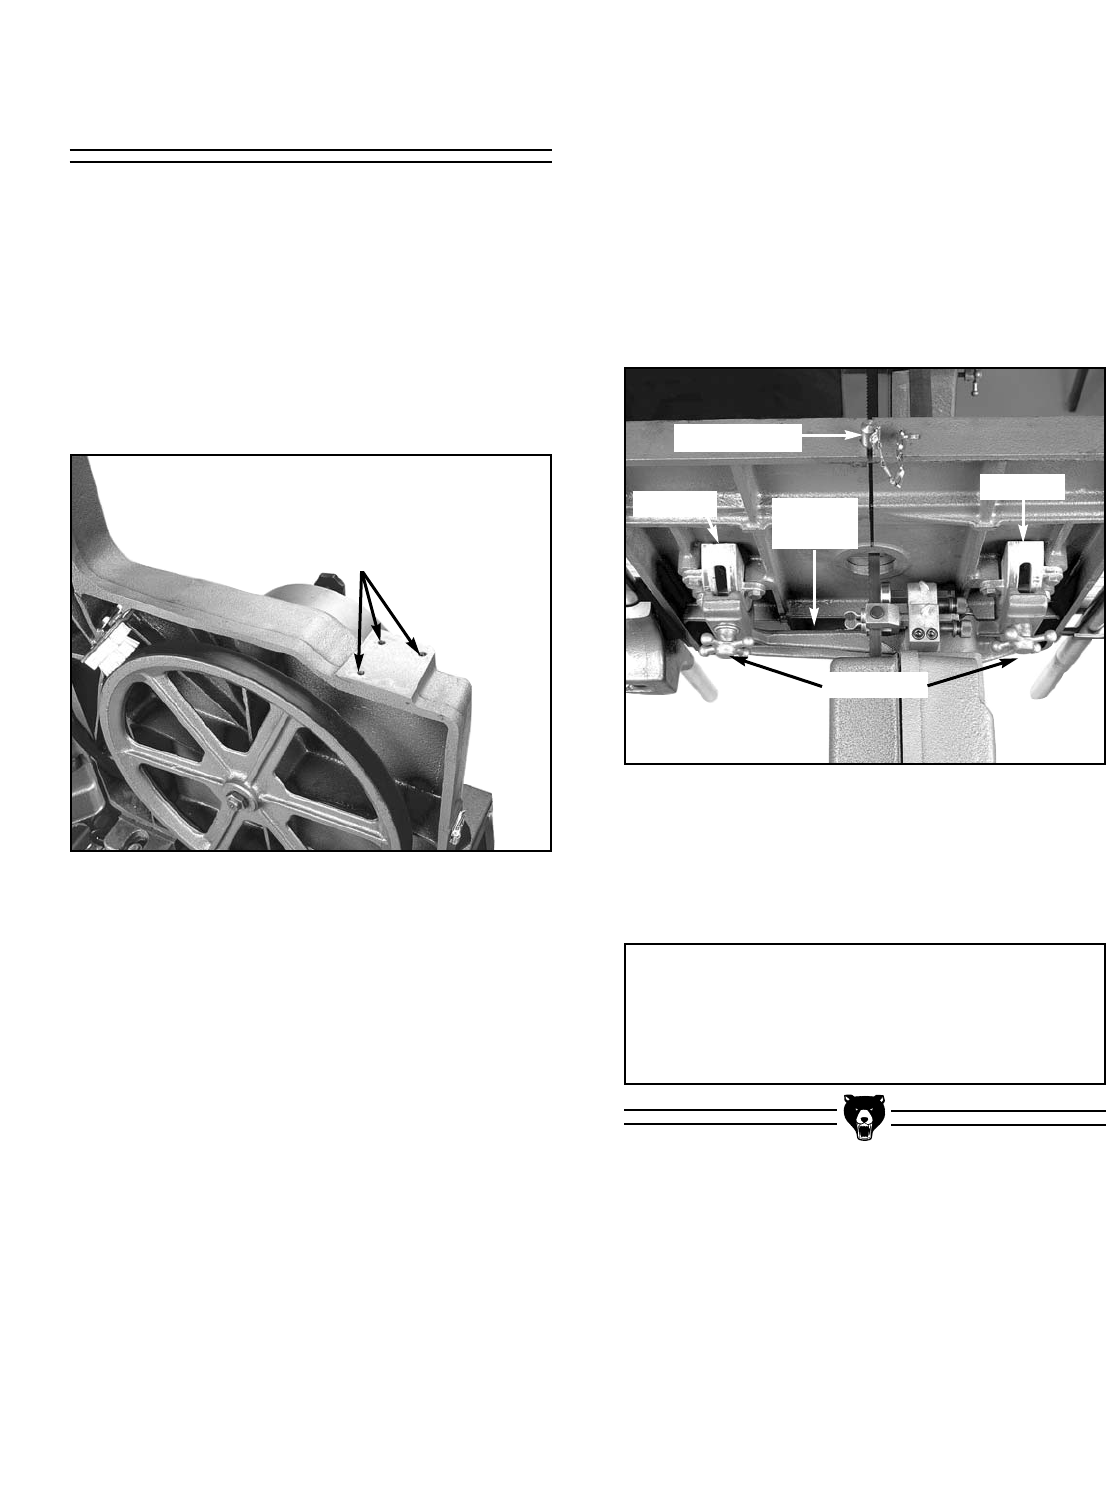
Figure 12. Under table controls.
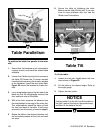
7. Place the table insert in the table top and
slide the table pin so it fits snugly in the hole
on the right side of the table. DO NOT use
excessive force.
2. Place the trunnion support on the body cast-
ing over the mounting holes, and secure it
with the three bolts you just removed, mak-
ing sure the support is placed so that the
blade is centered between the guide-block
brackets.
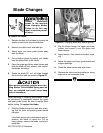
3. Release tension and remove blade. Refer to
“Blade Changes” instructions if you need
help. Position the table so that the miter slot
will be to the right of the blade as you face
the front of the bandsaw.
4. Orient the trunnion bolts under the table so
they hang vertically.
5. Set the table trunnions onto the support.
Make sure the trunnion bolts drop through
the trunnion support slots.
6. Secure the table to the trunnion supports by
tightening the two star knobs onto the trun-
nion bolts shown in Figure 12.
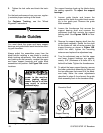
Working Table
The table secures to the trunnion support which
mounts to the body casting. The trunnions are
premounted to the table.
To mount the table and trunnion support:
1. Remove the three table bracket mounting
bolts from the bandsaw body. Figure 11
shows them removed.
Star Knobs
Trunnion
Table Pin
Trunnion
Trunnion
Support
Trunnion Support Mounting Holes
NOTICE
The tapered table pin must be in position
when operating the bandsaw.