


-18- G1073/G1073Z 16" Bandsaw
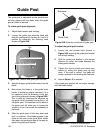
Blade Guides
You must check the upper and lower support
bearings and guide blocks each time before start-
ing your bandsaw.
Always adjust the assemblies away from the
blade before installing a new blade or making
blade tracking adjustments. After blade tension
and tracking are set correctly, readjust the upper
and lower support bearings and guide block
assemblies into position. See Figure 18A control
locations.
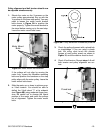
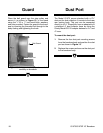
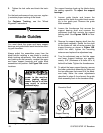
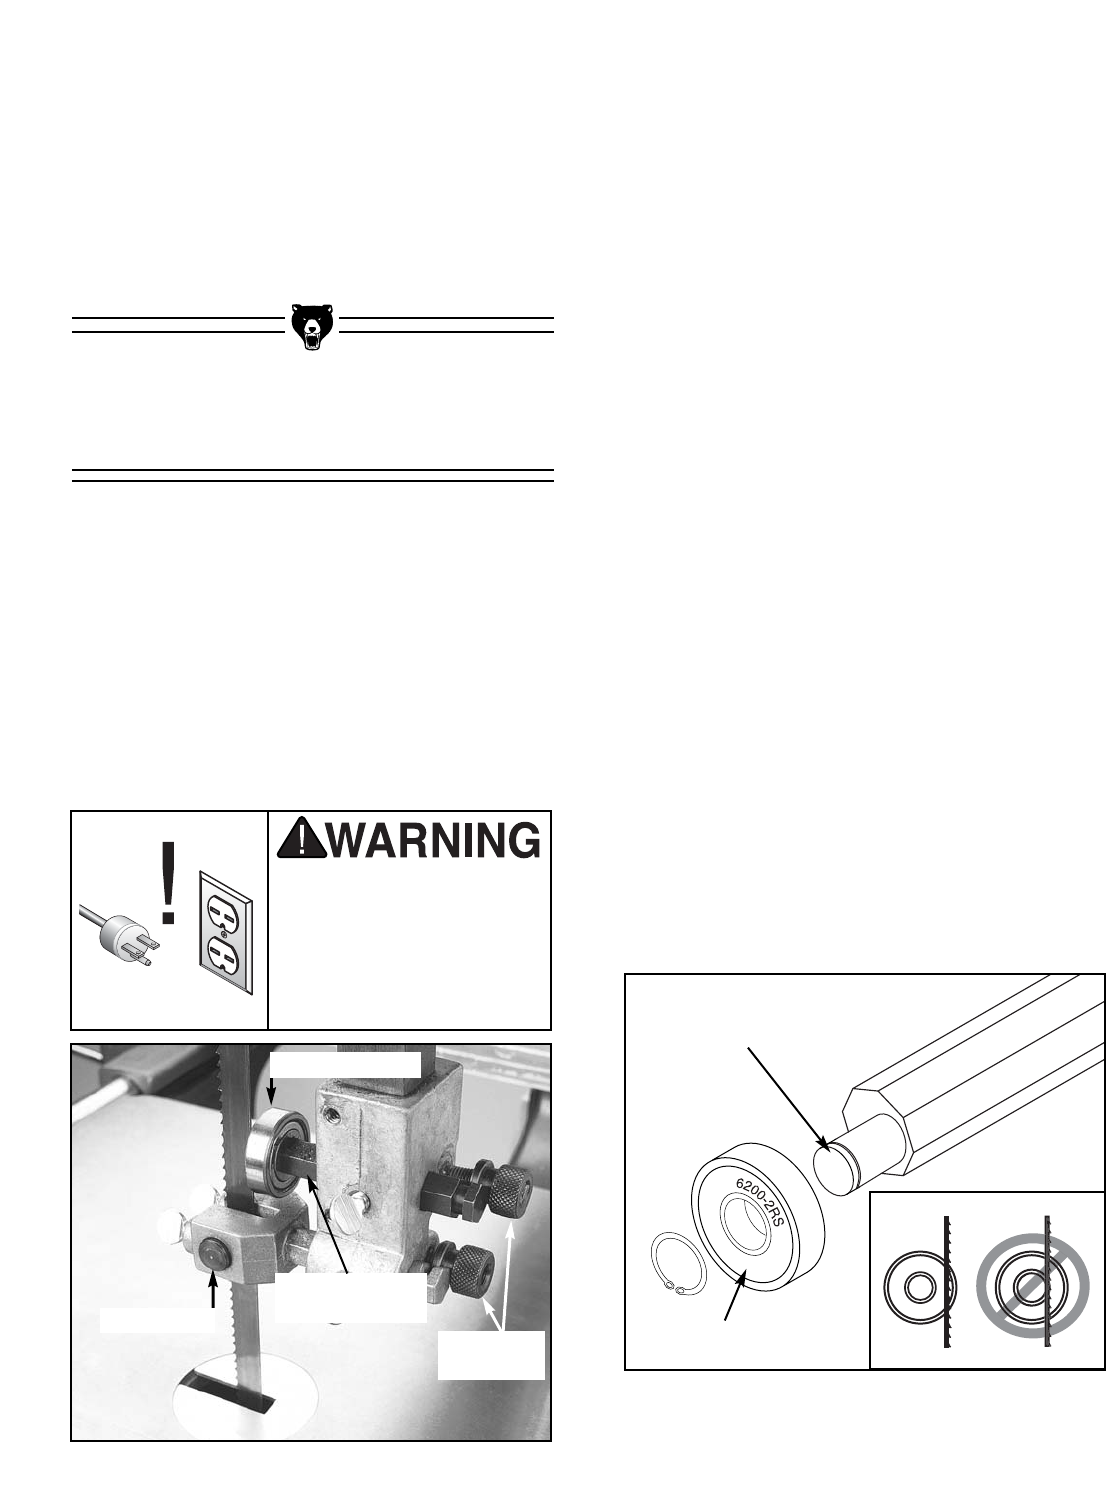
Figure 18A. Upper guide assembly.
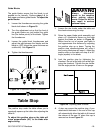
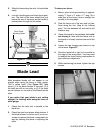
Figure 18B. Eccentric blade support.
Adjustment
Knobs
The support bearings back-up the blade during
the sawing operation. To adjust the support
bearings:
1. Loosen guide blocks and loosen the
setscrew that holds the guide block assem-
bly to the guide post. Remove the guide
block assembly.
2. Loosen the thumbscrew that secures the
support bearing shaft and unscrew the
adjustment knob that controls the support
bearing shaft. See Figures 18A/B for loca-
tions.
3. Remove the support bearing shaft from the
guide block assembly. Rotate the the shaft
so the blade will ride off-center against the
support bearing as shown in Figure 18B.
Install the shaft, tighten the mounting
setscrew and replace the adjustment cap.
4. Turn the adjustment cap so that the upper
and lower support bearings are approxi-
mately .016" (thickness of a dollar bill x 4)
behind the blade. Tighten the thumbscrews.
5. To adjust the lower support bearing, remove
the lower guide block assembly by taking out
the two setscrews that mount it to the band-
saw body. Make the same adjustments
described in steps 2-4 and mount the guide
block assembly back to the bandsaw body.
Support Bearing
Support Bearing
Shaft
Guide Block
Eccentric Shaft
Support Bearing
Always disconnect
power to the machine
when making adjust-
ments. Failure to do this
may result in serious
personal injury.
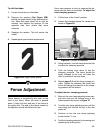
3. Tighten the lock collar and check the track-
ing.
For the best performance from your saw, regular-
ly maintain proper tracking of the blade.
For Coplanar Tracking, see the “Wheel
Alignment” instructions.