


-16- G1066/G1066Z/G1079 Drum Sander
To provide increased operator control, the Model
G1066Z features height adjustment controls for
the feed roller. These controls are located on the
underside of the roller pressure spring controls
and consist of a hex bolt and jamnut setup, exact-
ly like the roller pressure spring tension controls.
To adjust the pressure roller height on the
Model G1066Z:
1. Disconnect sander from the power
source!
2. The “Drum Alignment” instructions must be
followed before this adjustment can be per-
formed. Use the same 2x4 for this procedure.
3. With the 2x4 in place on one end of the table,
raise the table up to reference height #1.
4. Lower the table 1 full turn with the hand-
wheel.
5. On the same side as the 2x4, loosen the jam-
nuts on the roller height hex bolts.
6. Adjust all 3 pressure rollers by turning the
hex bolts. The pressure rollers should barely
touch the surface of the 2x4, allowing just
enough room to rotate. At this position, tight-
en the jamnut on the bolt so it does not
move.
7. Repeat steps 3-6 with the other side to make
sure all pressure rollers are even and paral-
lel to the table.
These adjustments should be used as a starting
point. Once you are familiar and comfortable with
the adjustment procedures, you should experi-
ment to arrive at the best settings for your specif-
ic application.
Pressure Rollers
The spring tension of the pressure rollers can be
adjusted to reduce snipe. (Note: roller pressure is
also affected by the drum height.)
To adjust the pressure rollers:
1. Disconnect the sander from the power
source!
2. Remove sanding head cover (disconnect
dust collector hose if attached).
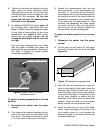
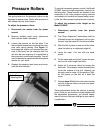
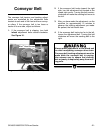
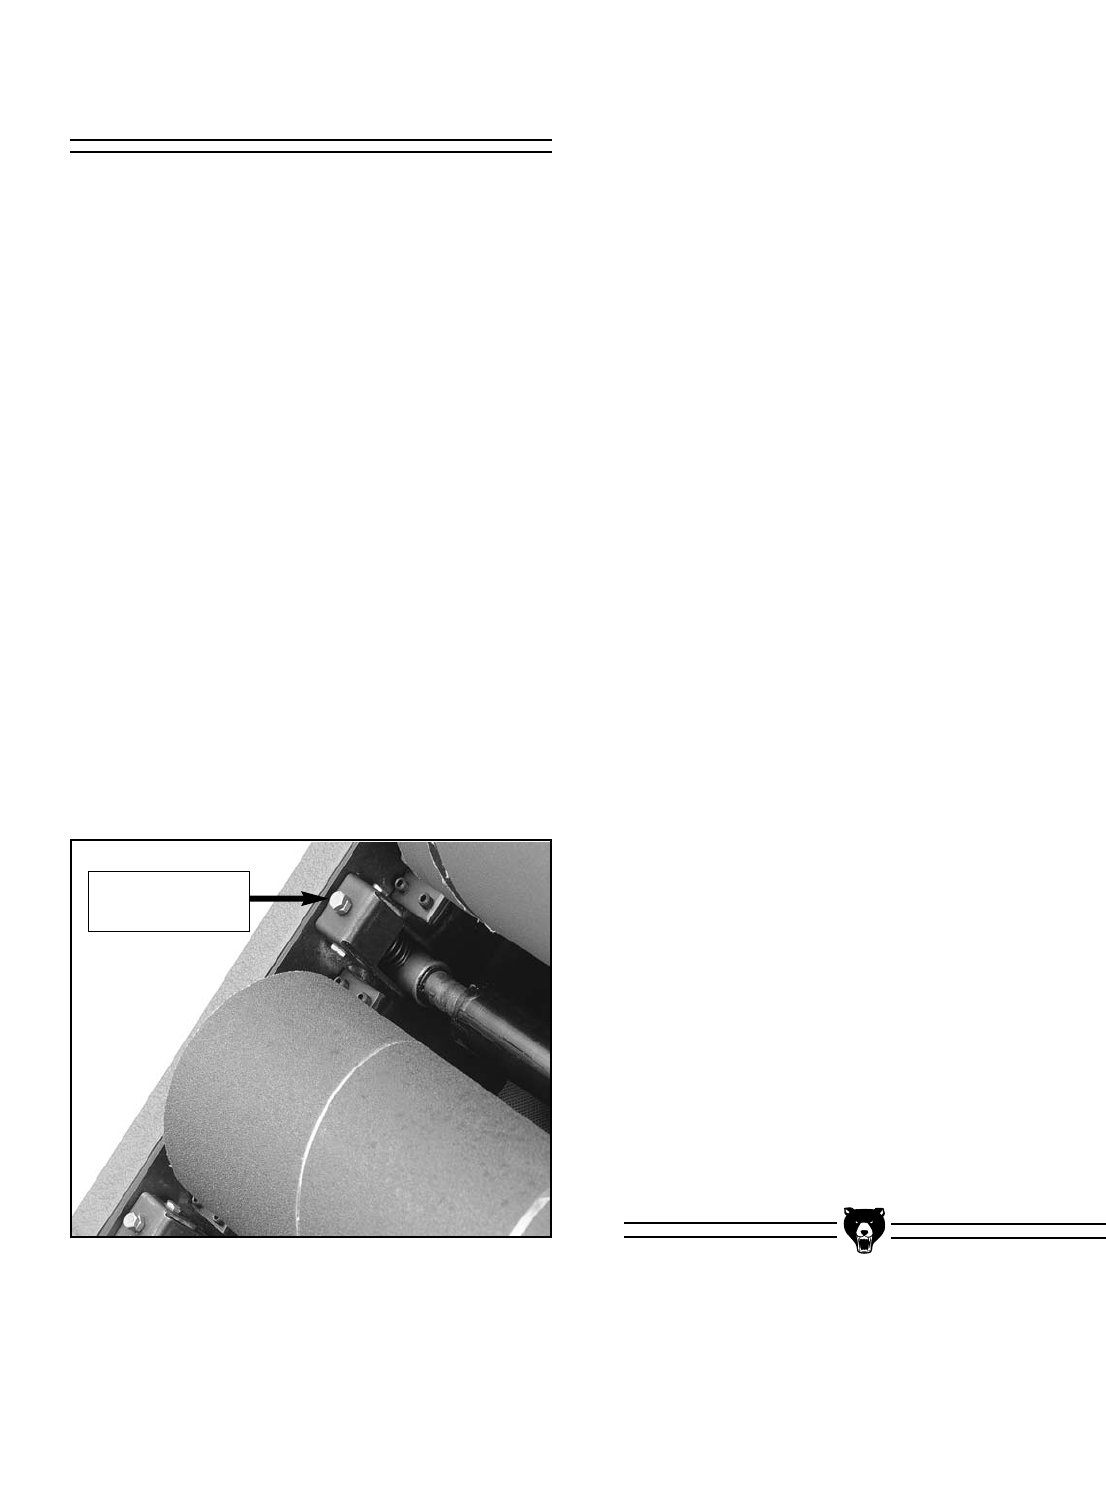
3. Loosen the jamnuts on the hex bolts. Turn
the hex bolts downward to increase the pres-
sure roller spring tension. See Figure 11.
Increasing the tension will increase the pres-
sure of the board on the conveyor belt, but
will also be less forgiving of irregularities in
the board and could cause jamming. You will
need to determine experimentally the optimal
tension for your stock.
4. Replace the sanding head cover and recon-
nect the dust collector.
Roller Pressure
Adjusting Bolt
Figure 11. Location of pressure roller tensioners.