


SKU 45804 PAGE 13
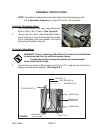
FIGURE I
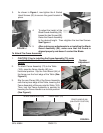
FIGURE J
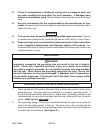
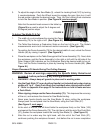
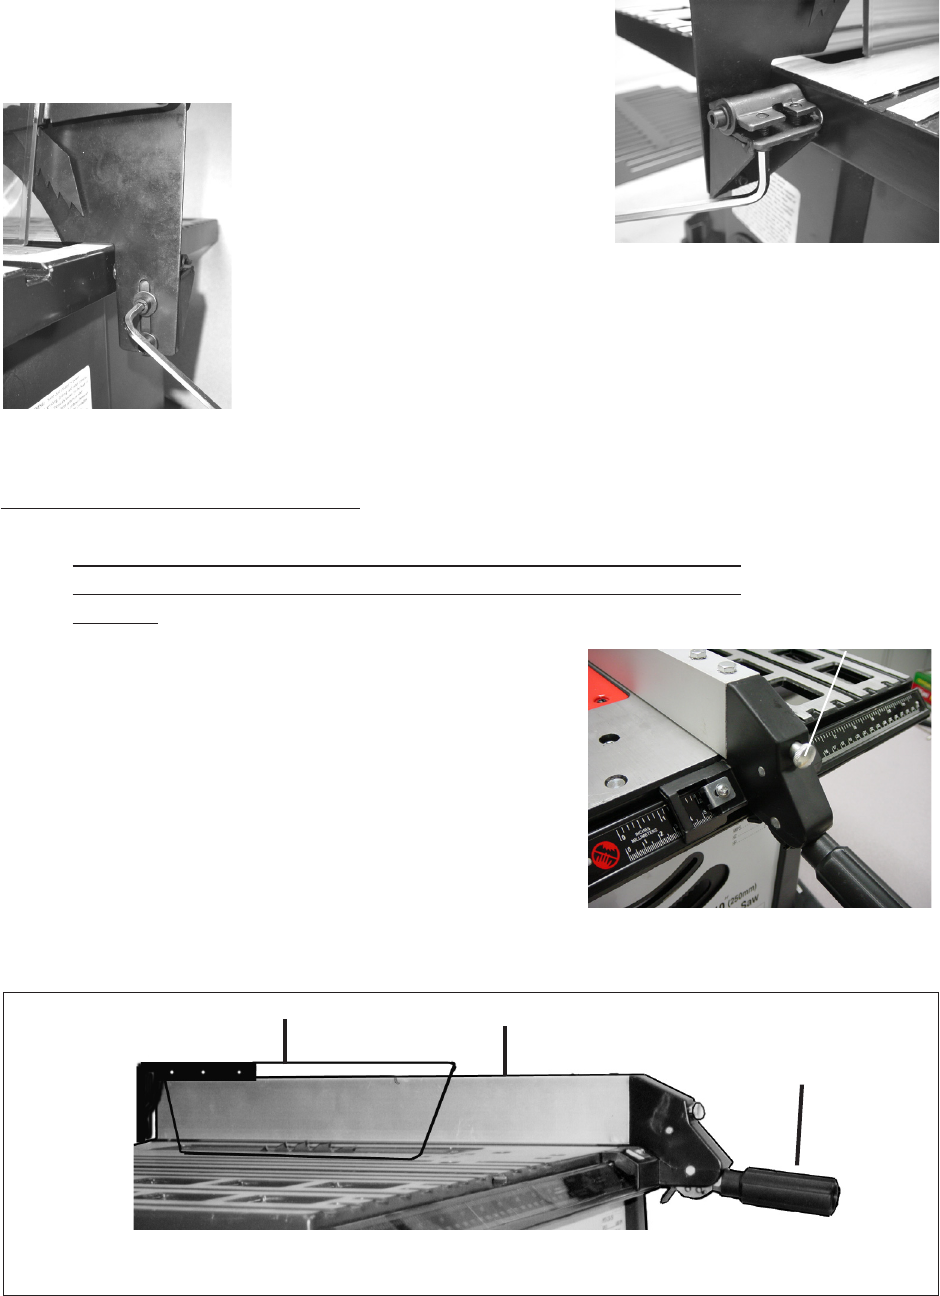
3. As shown in Figure I, now tighten the 4 Socket
Head Screws (65) to secure the guard bracket in
place.
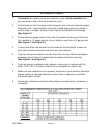
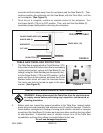
4. To adjust the height of the
Blade Guard Assembly (50),
loosen the Hex Screws (68).
Raise the Guard Assembly
to the desired height. Then retighten the two Hex Screws.
See Figure J.
5. After making any adjustments to or installing the Blade
Guard Assembly (50), make sure that the Guard is
aligned properly and doesn’t contact the Blade.
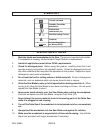
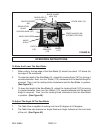
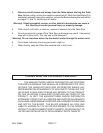
FIGURE K
Tension
Adjustment
Screw
To Attach The Fence Assembly:
1. CAUTION! Prior to installing the Fence Assembly (75), make
sure the Table Saw is disconnected from its electrical power
source.
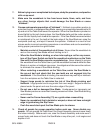
2. To attach Fence Assembly (75) to the Table
(105), raise the Fence Handle (80) to a
horizontal position. Slip the Front Board (94) of
the fence over the front edge of the Table. (See
Figure K)
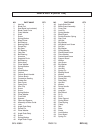
3. Slip the rear Clamp (89) of the Fence Assembly
onto the top/rear edge of the Table, lowering the
Fence Assembly all the way onto the Table (105).
Then, lock the Fence Assembly in position by
lowering the Fence Handle to a vertical position.
(See Figure L)
FENCE ASSY. (75)
FENCE HANDLE (80)
(UNLOCKED POSITION)
FIGURE L
BLADE GUARD ASSY. (50)