


– 10 –
##$
###"#
"#+8.#
#$
$#!%
9<-9./=
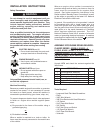
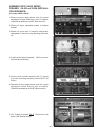
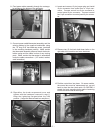
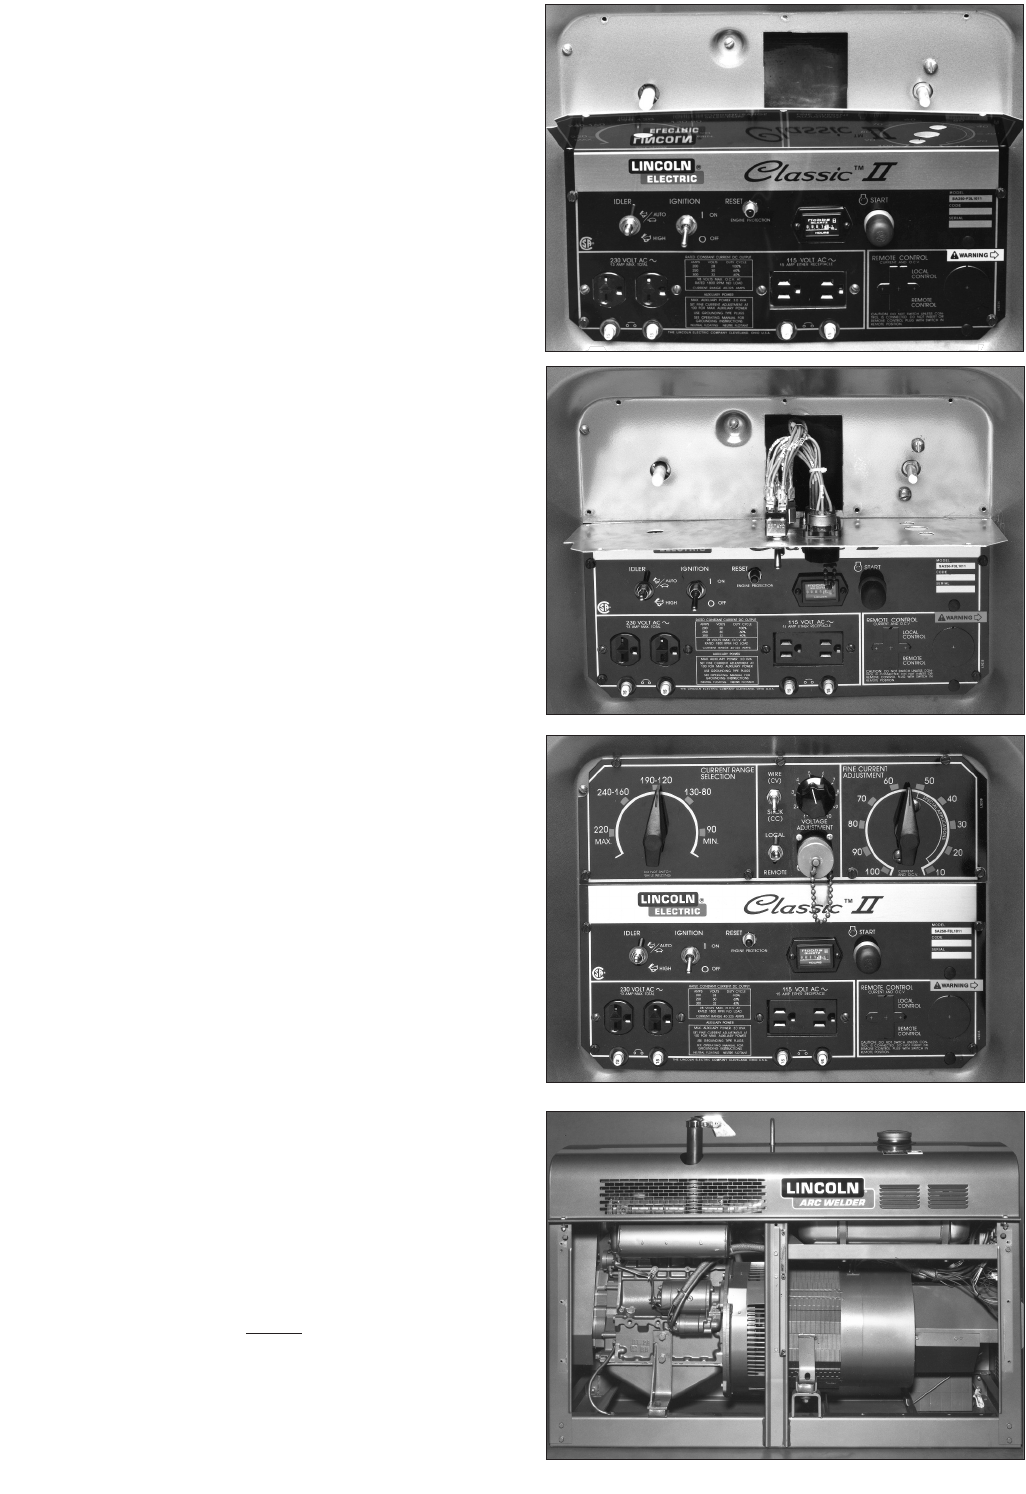
1) Remove current range selector and fine current
adjustment control knobs from front of machine.
(small flat screwdriver and 3/32” Allen wrench.)
2) Remove 5 upper nameplate screws, or fastener
buttons.
3) Break-off upper half of machine nameplate.
Nameplate is scored for easy bending and break-
off.
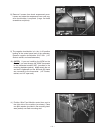
4) Install control panel assembly. (Wiring connec-
tions will be made later).
5) Secure control panel assembly with (7) screws
from the mounting hardware packet.(5/16” Nut
Driver)
6) Reinstall current range selector and fine current
adjustment control knobs to front of machine.
(Small flat screwdriver and 3/32” Allen wrench).
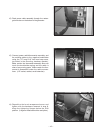
7) (For Classic II models ONLY
) Remove the side
panel. (3/8” Socket wrench).