


. A complete Parts List is available at www.MillerWelds.com
OM-1327 Page 25
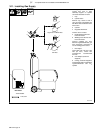
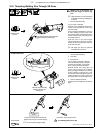
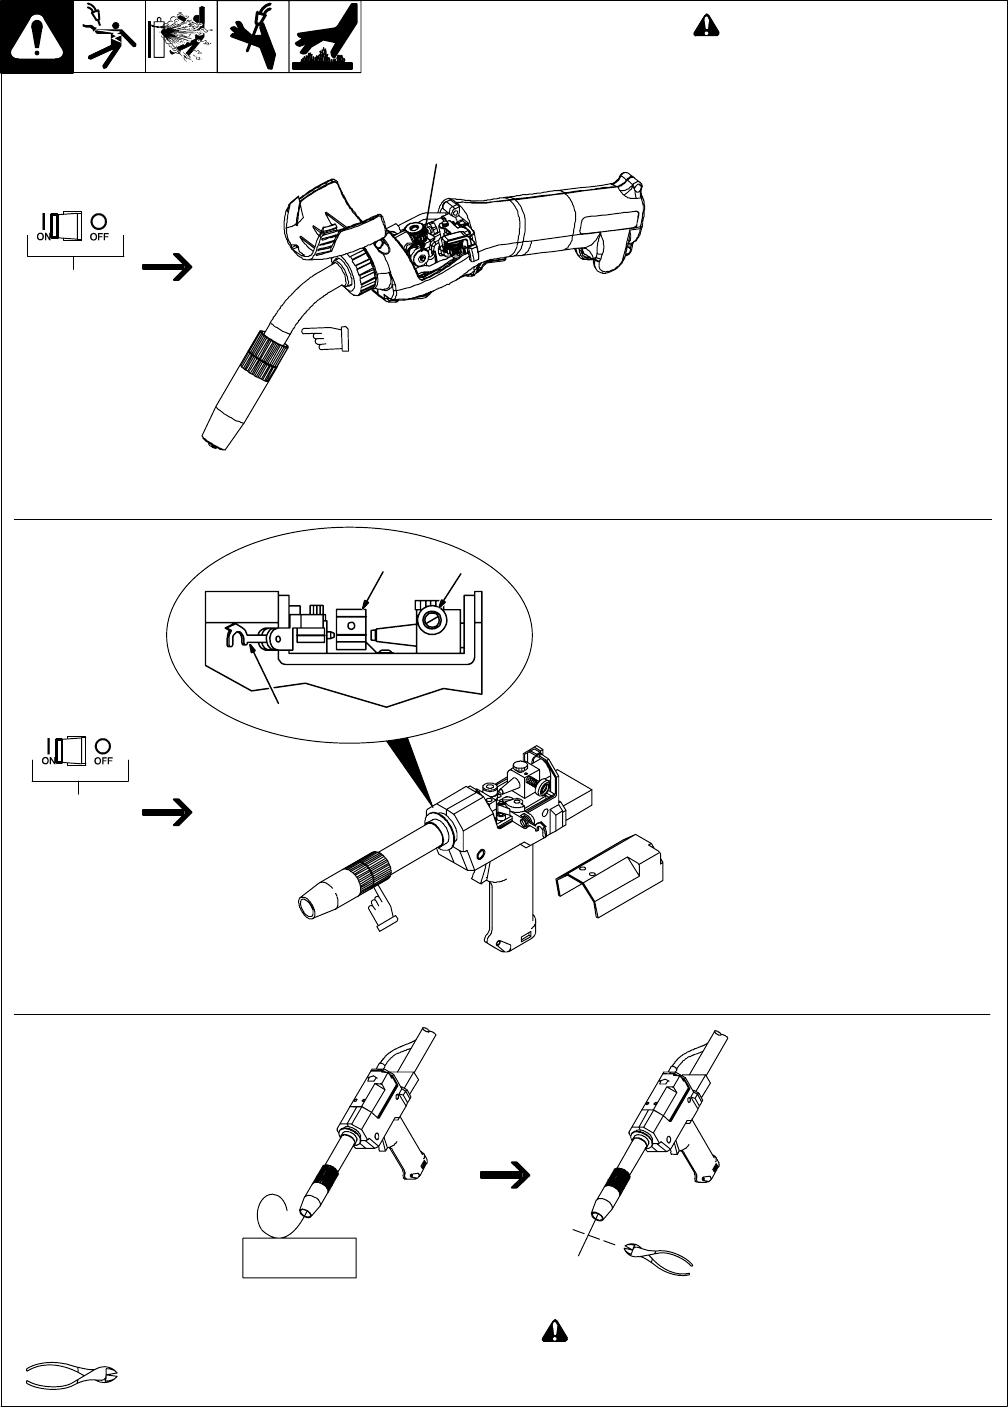
3-19. Threading Welding Wire Through XR Guns
Ref. 802 193-A / 801 556 / Ref. 151 666-C
Tools Needed:
! Welding wire is electrically live
when gun trigger is used to jog
wire.
. Refer to Section 3-18 for instructions
on feeding wire through welding pow-
er source.
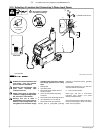
1 Pressure Roll Assembly
Lay gun cable out straight.
Open top cover, and open pressure roll as-
sembly. If not already done, remove gun
barrel assembly.
Press gun trigger until about 4 in (102 mm)
of wire is sticking out front of gun. Insert
wire into barrel liner and tighten barrel as-
sembly. Install correct size contact tube
and install collet nut.
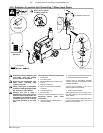
Close top cover on gun. Press trigger
switch until about 6 in (152 mm) of wire is
sticking out end of contact tip. Cut off wire.
Close and latch door.
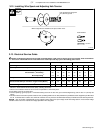
. XR Edge gun drive roll pressure
should be set at minimum.
Feed wire to check drive roll pressure.
Tighten knob enough to prevent slipping.
. Do not exceed midrange setting.
Cut off wire. Close and latch door.
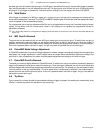
! Turn welding power source Off.
Nonconductive
Surface
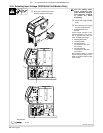
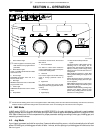
For XR-A Edge Gun:
For XR-A Pistol Gun:
1 Pressure Roll Assembly
2 Drive Roll
3 Thumbscrew
Lay gun cable out straight. Open top
cover, and lift pressure arm and open
pressure roll assembly. If not already
done, remove gun barrel assembly.
Manually thread wire along drive roll
groove. Close pressure roll assembly.
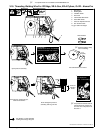
Press gun trigger until about 4 in (102 mm)
of wire is sticking out front of gun. Insert
wire into barrel liner and tighten barrel as-
sembly. Install correct size contact tube
and install collet nut. Reinstall gun cover.
4 Pressure Adjustment Knob
See final pressure adjustment at bottom of
page.
1
2
Turn On
Welding Power
Source.
Turn On
Welding Power
Source.
1
3
Remove barrel assembly before
threading wire through gun.
Remove barrel assembly
before threading wire
through gun.
For XR-A Pistol Gun: