13
TOOLSTORAGE
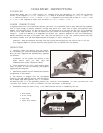
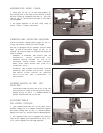
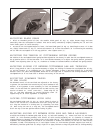
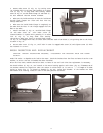
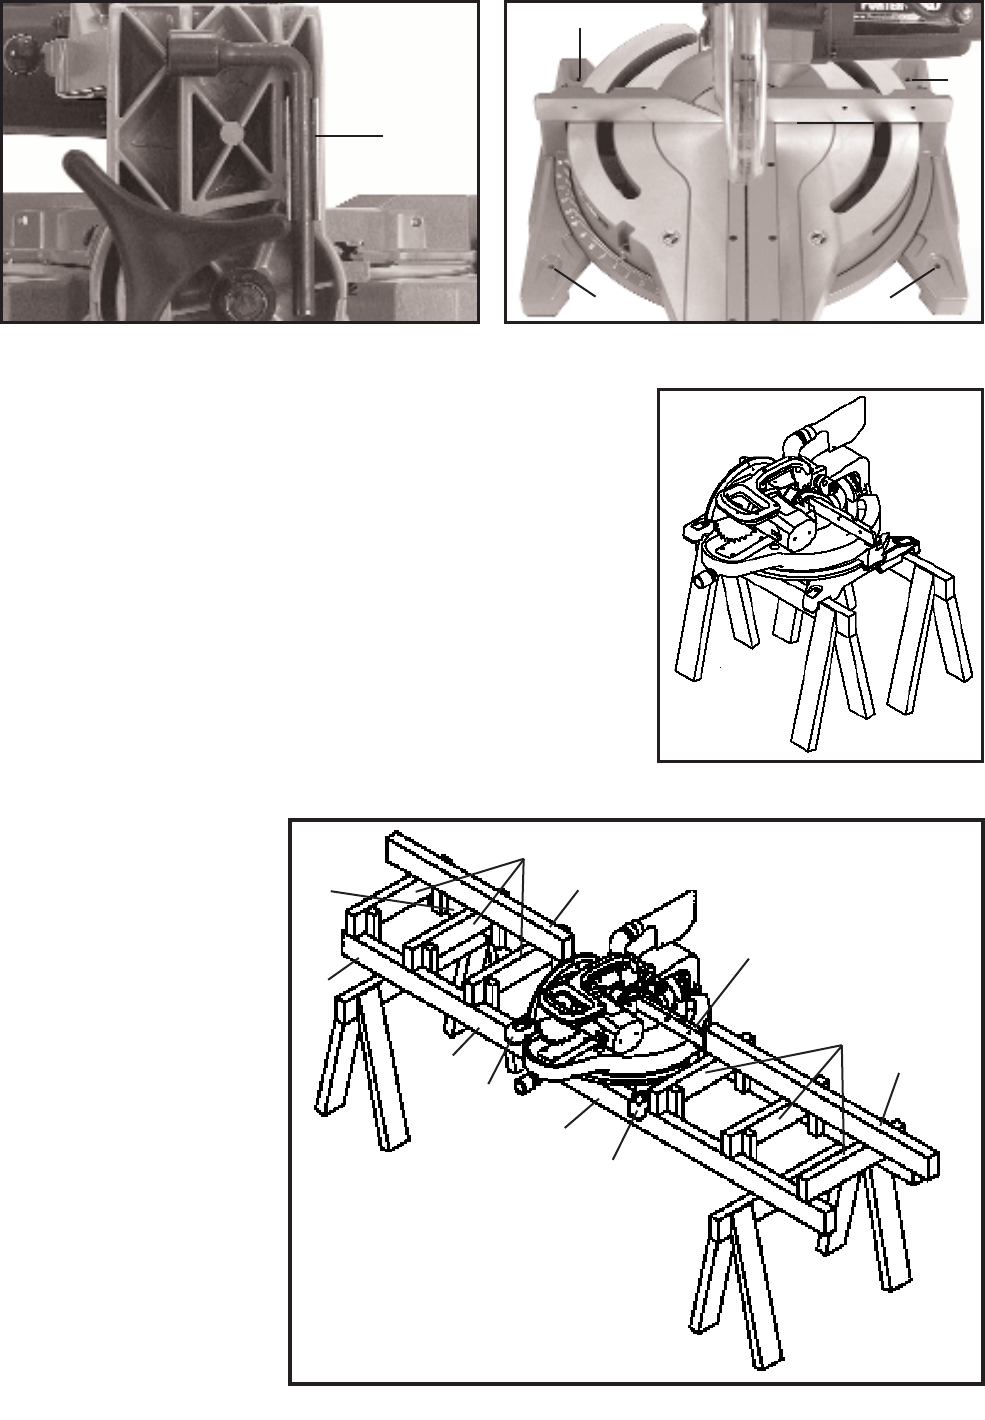
A clip is provided on the rear of the saw and provides a convenient
storage area for wrench (A) Fig. 35, as shown.
FASTENING THE SAW TO A WORKBENCH
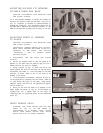
Before operating the saw, make sure it is firmly mounted to a workbench
or other supporting surface. Four holes (A) Fig. 36, are provided for
fastening the saw to a supporting surface.
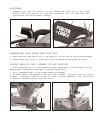
USING THE SAW ON SAW HORSES
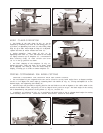
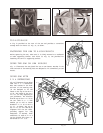
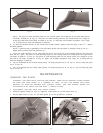
Fig. 37 illustrates the saw placed for use on saw horses. Notches in the
front and rear of the mounting feet are designed to fit conveniently on saw
horses.
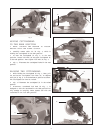
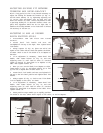
USING SAW WITH
2 X 4 EXTENSIONS
Fig. 38 illustrates the saw being
used with 2 x 4 extensions.
Note that notches in the front
and rear of the mounting feet
(K) are designed to fit and
fasten to the top of the two 2 x
4s (P). The length of the two 2
x 4 s (P) can vary depending on
your preference. The dist ance
from the top of the 2 x 4 s (P) to
the saw table is 3
1
… 2". This
enables you to nail or fasten
standard 2 x 4 s (R) to the 2 x
4 s (P), as shown. The top of
the 2 x 4 s (R) will then be in
alignment with the saw table,
providing support for long
workpieces. If desired, fence
extensions (S) made of 2 x 2 s
can be aligned with fence (T)
and bolted to 2 x 4 s (R).
Fig. 37
Fig. 38
T
R
S
K
P
K
P
P
R
S
P
Fig. 35
A
Fig. 36
A
A
AA


