


14
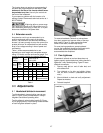
Figure 14
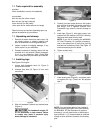
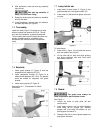
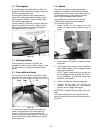
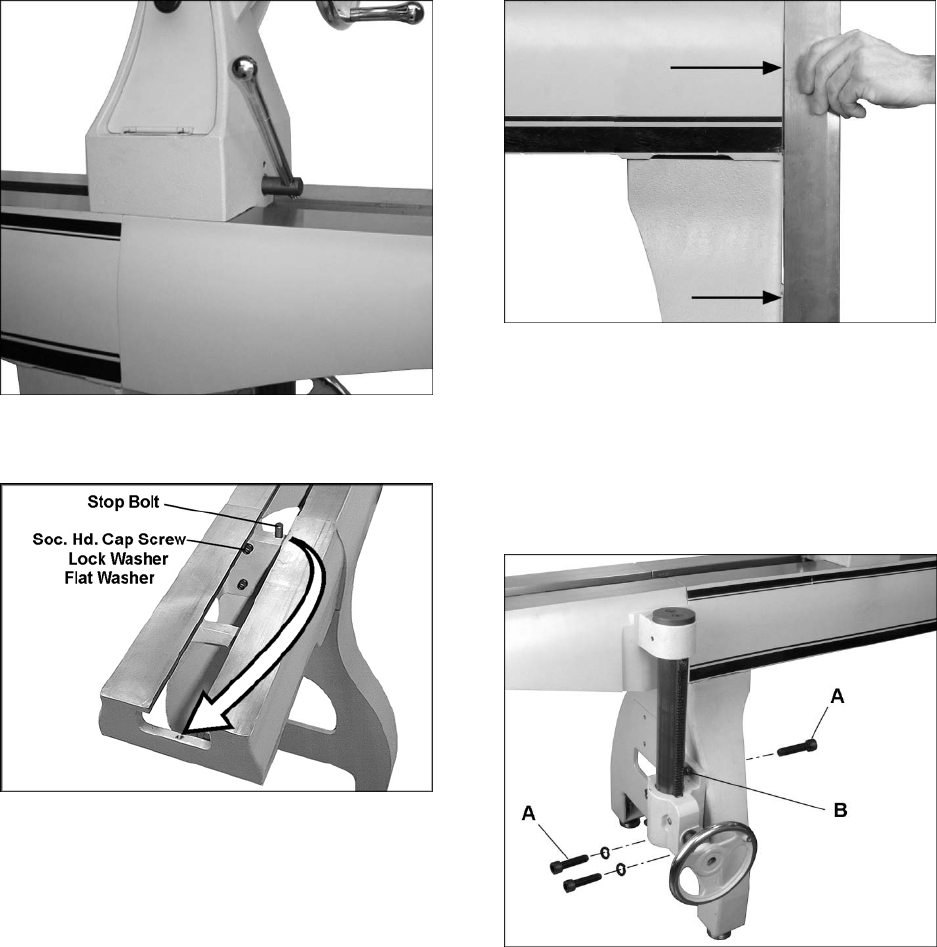
7. Unscrew stop bolt from lathe bed (Figure 15),
and insert it into hole at end of bed extension.
Figure 15
7.10.2 20” Bed Extension Kit (6294900)
Tools required:
8mm hex key
10mm hex key
Straight Edge
1. Slide tailstock away from edge of bed.
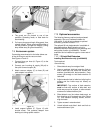
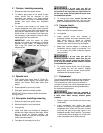
2. Place a straight edge against bed and raised
area of leg (Figure 16). These two areas
should be flush. If they are not, support the
lathe (with fork lift, hoist, etc. – USE
CAUTION!) and loosen the screws holding leg
to bed. Nudge leg as needed, then retighten
screws firmly.
3. Install 20-inch bed extension in the same
manner as described in section 7.10.1.
Figure 16
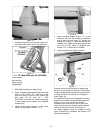
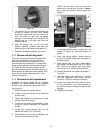
4. Install elevating system (Figure 17) to bed
extension with four 3/8" screws and washers,
and to lathe leg with three 1/2” screws and
washers (A, Figure 17). Note that top screw is
installed from inside the leg and secured with
the nylon nut (B). Refer to exploded view,
section 17.5.1 if clarification is needed.
5. Install handwheel and tighten setscrew.
Figure 17
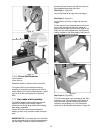
Remove screws in bed extension to swing away
the bed, or to move bed to lower set of holes. Note:
If heavy loading makes handwheel turning difficult,
a 19mm wrench can be used to turn hexagonal
shaft (Figure 18).
For outboard turning, where headstock is moved to
opposite end of lathe to accommodate large bowl
blanks, you can (1) mount the 20-inch bed
extension to the lower set of holes on the Lathe
frame, and (2) mount an extension post [included
with kit] to the tool rest base. See Figure 19.
For larger outboard work, an outboard turning
stand (# 6294732) is available; see section 13.0,
Optional Accessories.