


14
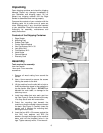
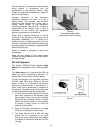
To adjust tracking, proceed as follows:
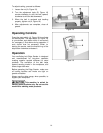
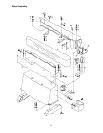
1. Loosen the nut (A, Figure 18).
2. Turn the adjustment knob (B, Figure 18)
counter-clockwise to shift the belt upward;
clockwise to shift the belt downward.
3. When the belt is centered and tracking
properly, tighten nut (A, Figure 18).
4. After adjustments are complete, close all
guards.
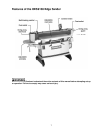
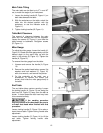
Operating Controls
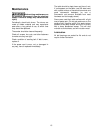
Press the start switch (A, Figure 19) to activate
the sanding belt. The stop button (B, Figure 19)
is a mushroom style button which is convenient
for "emergency" shut-downs during operation, if
such should ever be necessary. When re-
starting the sander, twist the knurled ring of the
stop button clockwise to release it.
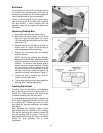
Operation
Your oscillating belt Edge Sander is designed
and manufactured for long-term operation
creating superior sanded surfaces for wood
products. The oscillation of the belt helps
prevent sanding marks in the workpiece, and
allows longer belt wear.
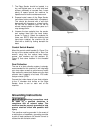
Before operating the Edge Sander, make sure
all locking handles and knobs are tight on
guards and tables.
Always use the miter gauge, when possible, to
support your workpiece.
This machine is suited for
sanding wood products only. Do not use this
machine for sanding metal products.
Figure 18
Figure 19