15
1. Disconnect sander from power source.
2. Loosen the lower hex nut (A, Figure 11/12)
on the motor base.
3. Tighten the top hex nut (B, Figure 11/12) to
lower the motor plate until proper tension is
achieved.
4. When the belt is properly tensioned, you
should be able to push in the belt
approximately 3/4” at a point midway
between the pulleys using moderate finger
pressure.
5. Re-tighten the bottom hex nut (B, Figure
11/12) against the bottom of the motor plate.
If installing a new v-belt, use the hex nuts to
raise the motor plate enough to remove the old
belt and mount the new one.
NOTE: When replacing v-belts on the main
motor, replace the entire set of three
simultaneously.
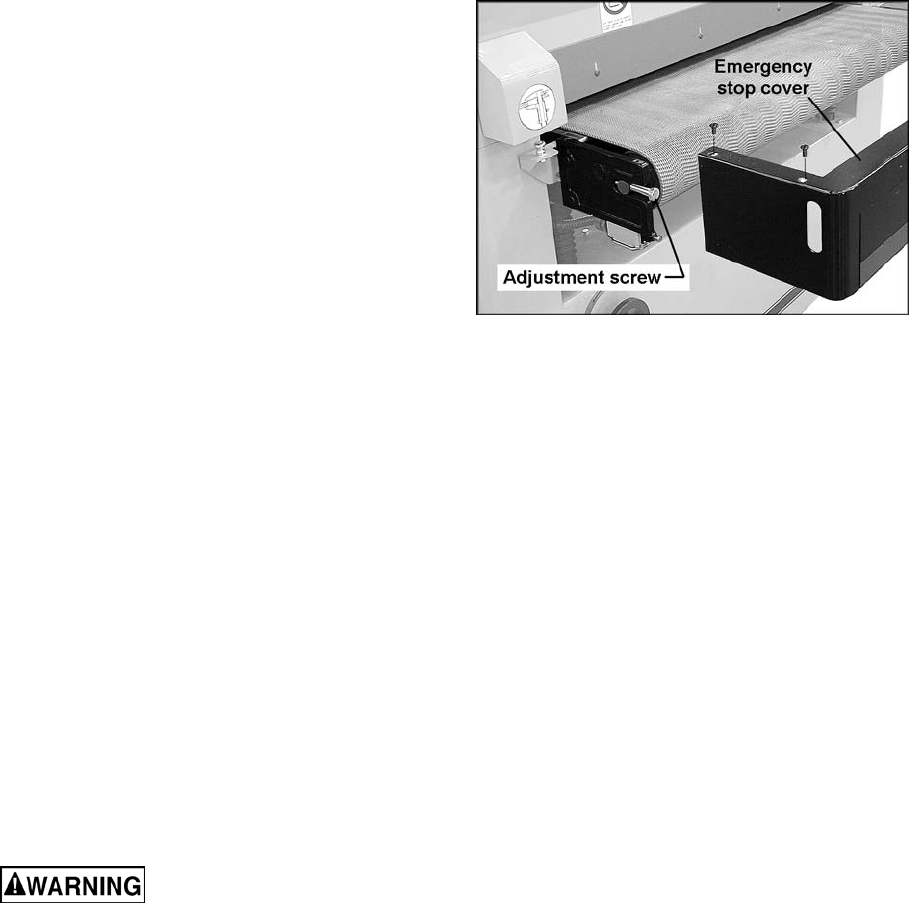
9.7 Conveyor Belt Tension
Check the tension of the conveyor belt on the
infeed and outfeed rollers – the conveyor belt
should be tight enough that you cannot shift it
with your hands. If the conveyor belt needs
tightening, proceed as follows.
1. Disconnect sander from power source.
2. Rotate the adjustment screws (the left one
is shown in Figure 13) as needed with a
19mm wrench. Rotate clockwise to increase
tension, counter-clockwise to decrease
tension. (NOTE: Removal of the emergency
stop cover is not necessary for tensioning.)
NOTE: Do not over-tighten the screws as this
will hasten wear of the conveyor belt.
9.8 Conveyor Belt Tracking
The conveyor belt should remain centered upon
the rollers during operation. If it approaches to
either the left or right side, adjustment is
necessary.
First check that the conveyor belt tension is
correct. If the tension needs adjustment, do this
first before you adjust the tracking (see
“Conveyor Belt Tension”). Then proceed as
follows.
Conveyor belt tracking should be adjusted while
the conveyor belt is running. Make adjustments
in increments and allow the conveyor belt time
to respond to each change.
Keep hands away from the
moving conveyor belt.
Figure 13


