10
3. Install the outer collar and tighten the set
screw.
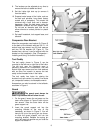
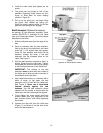
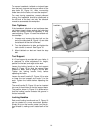
4. The guard can be pivoted to one of two
positions: Operating mode (shown on front
cover) or tilted back for stock loading
(shown in Figure 6).
5. Pull up on the spring pin, and begin tilting
the guard, then release the spring pin.
When the guard reaches either of the two
positions, the spring pin will engage.
Bed Extension (Optional Accessory)
An optional 18” bed extension assembly, stock
number 6294727B, is available for the Lathe
(see your Powermatic dealer). To mount the bed
extension to the Lathe:
1. Slide the tailstock away from the edge of the
bed.
2. Have an assistant hold the bed extension
flush to the end of the Lathe bed, and insert
three 3/8 x 1-3/4 socket head cap screws,
three 3/8 lock washers and three 3/8 flat
washers, through the holes in the bed
extension into the threaded holes on the
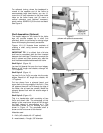
Lathe. See Figure 7.
3. Shift the bed extension upward so that it is
slightly higher than the Lathe bed. Tighten
the screws with an 8mm wrench just enough
to hold the bed extension to the Lathe bed.
IMPORTANT: The surface of the bed
extension must be level with the surface of
the Lathe bed to allow smooth movement of
the tailstock across the seam.
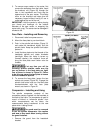
4. Use a dead blow mallet, or a hammer with a
block of wood, to tap down the bed
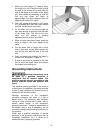
extension until it is flush with the Lathe bed.
See Figure 8. Never use a steel-faced
hammer directly against the bed
surfaces. Tap the bed extension where
needed until its surface is aligned with the
Lathe bed, and the inside ways are aligned.
5. Firmly tighten the three socket head cap
screws. Make sure your alignment of the
bed surfaces doesn’t shift while tightening
the screws.
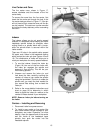
6. Unscrew the stop bolt from the Lathe bed
(Figure 7), and screw it into the hole at the
end of the bed extension.
Figure 6
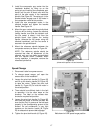
Figure 7
(optional 18” bed extension shown)
Figure 8


