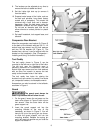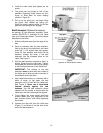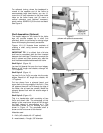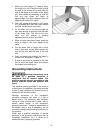
8
Assembly
Tools required for assembly
Forklift or hoist with straps/slings
14mm wrench
4mm and 8mm hex wrenches
The Lathe should be
disconnected from power during assembly.
1. Remove any screws or straps that hold the
Lathe parts to the pallet, and remove
protective wrapping.
2. The Lathe should be located in a dry area,
on a sturdy floor, and with sufficient lighting.
Leave plenty of space around the machine
for operations and routine maintenance
work.
If you have a hoist or forklift:
3. Lift the Lathe off the pallet using a forklift or
hoist, and move it to the desired location.
(Forks may need to be positioned more
toward the headstock to balance the
weight.) Proceed to step 6 to install the legs
and levelers while the Lathe is still off the
floor.
If you do NOT have a hoist or forklift:
4. If a forklift or hoist is not available, the use
of one or more assistants is mandatory. First
decrease the weight on the Lathe by
removing the headstock, tailstock and tool
support base (Refer to “Headstock and
Tailstock Movement” on page 13 for
removal instructions).
The headstock is heavy; use
caution when removing it from the lathe bed.
5. Lift the Lathe bed and set it upside down on
the floor (make sure padding/cloths have
been laid down to prevent scratching the
bed). Or, set the Lathe bed upon a table of
sufficient height to allow the legs and
levelers to be assembled, as shown in
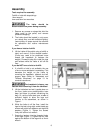
Figure 1.
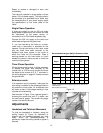
6. While the Lathe is off the floor, install the
legs to the bed using eight socket head cap
screws with eight lock washers and eight flat
washers (Figure 1). Tighten the screws
firmly with a 8mm hex wrench.
7. Screw the levelers into the threaded holes
of the legs (Figure 1). Tighten the hex nuts
against the bottom of the legs with a 14mm
wrench.
Figure 1


