9
8. The levelers can be adjusted at any time to
ensure the Lathe is stable and level.
9. Set the Lathe right side up (or remove it
from the table).
10. Exposed metal areas of the Lathe, such as
the bed and spindles, have been factory
coated with a protectant. This should be
removed with a soft cloth and a cleaner-
degreaser. Clean the bed areas under the
headstock, tailstock and tool support base.
Do not use an abrasive pad, and do not
allow solvents to contact painted or plastic
areas.
11. Re-install headstock, tool support base, and
tailstock.
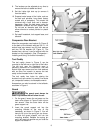
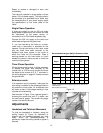
Comparator Rear Bracket
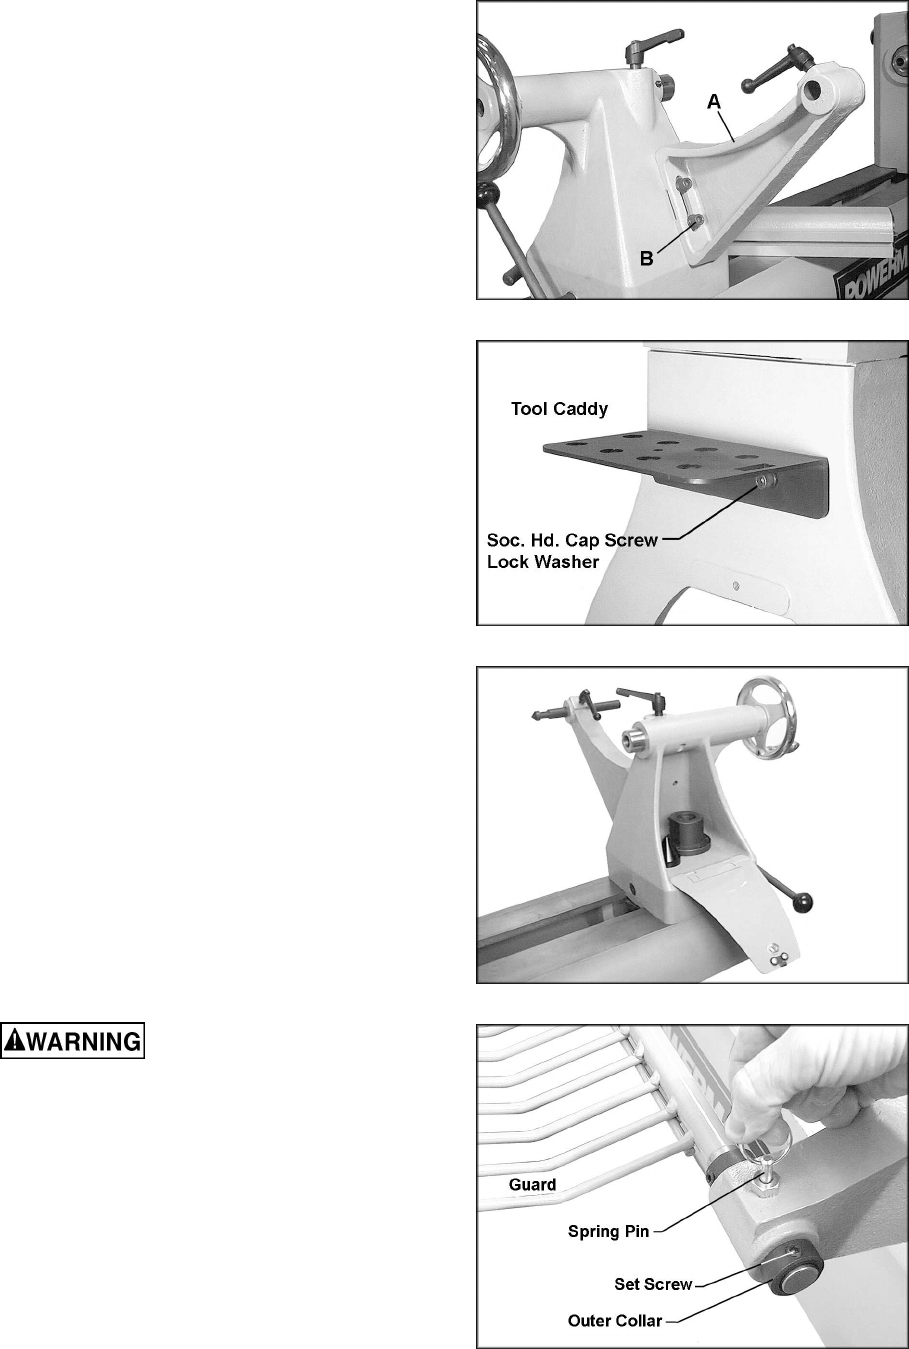
Mount the comparator rear bracket
(A, Figure 2)
to the back of the tailstock with two 3/8 x 1-1/4
socket head cap screws, two 3/8 lock washers
and two 3/8 flat washers (B, Figure 2). The
bracket has a slot so it can be aligned with the
bracket on the headstock. (See “Comparator –
Installing and Using” for further information.)
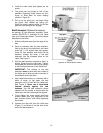
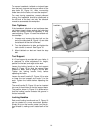
Tool Caddy
The tool caddy, shown in Figure 3, can be
mounted to the left end or right end of the Lathe.
The left end, near the headstock area, is
generally preferred for convenience. Use two
socket head cap screws and two lock washers
with an 8mm hex wrench to secure the tool
caddy to the threaded holes in the Lathe.
The tool caddy has holes for placing the
knockout rod, spur center, live center, live center
pin, comparator centers, and faceplate wrench.
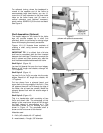
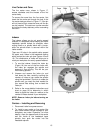
Accessories can also be stored in the tailstock,
as shown in Figure 4.
Guard
The guard must always be
used in operations that will allow its use.
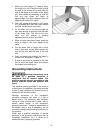
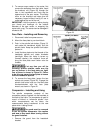
1. On the guard, loosen the set screw on the
outer collar (shown in Figure 5) with a 4mm
hex wrench. Slide the outer collar off the
guard support rod.
2. Insert the guard support rod into the
mounting bracket at the rear of the
headstock, as shown in Figure 5. You will
have to lift up on the spring pin, as shown,
to slide the guard support rod into the
mounting bracket. Release the spring pin
and it will snap into position as you slide the
support rod farther in.
Figure 2
Figure 3
Figure 4
Figure 5


