


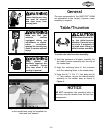
ASSEMBLY
-17-
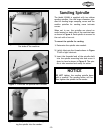
Sanding Sleeve
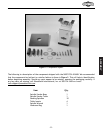
The Model W1686 is supplied with 10 sanding
sleeves. Use coarse (low #) grits for fast materi-
al removal and a rough finish. Use fine (high #)
grits for slower material removal and a smoother
finish. When changing from a coarse sleeve to a
finer sleeve on a particular sanding project,
never increase the grit number by intervals of
more than 50.
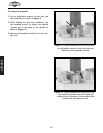
To change the sanding sleeve:
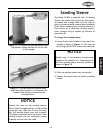
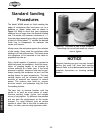
1. Loosen the hex nut located on the top of the
spindle as shown in Figure 11. The hex nut
and flange disk DO NOT need to be removed.
2. Slide the sanding sleeve from the spindle.
3. Reverse the above steps to install a sanding
sleeve.
NOTICE
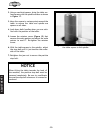
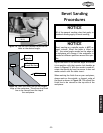
Spindle sizes
5
⁄
8" and smaller have setscrews
located in the retainer nut. These setscrews
hold the sanding sleeve onto the spindle as
shown in Figure 12.
NOTICE
Monitor the wear on the sanding sleeves.
Often times the upper portion of the sanding
sleeve gets very little use. If this is the case,
flip the sanding sleeve over and re-install.
This allows maximum use of the sleeve. Worn
sanding sleeves will not efficiently remove
material and can burn the wood.
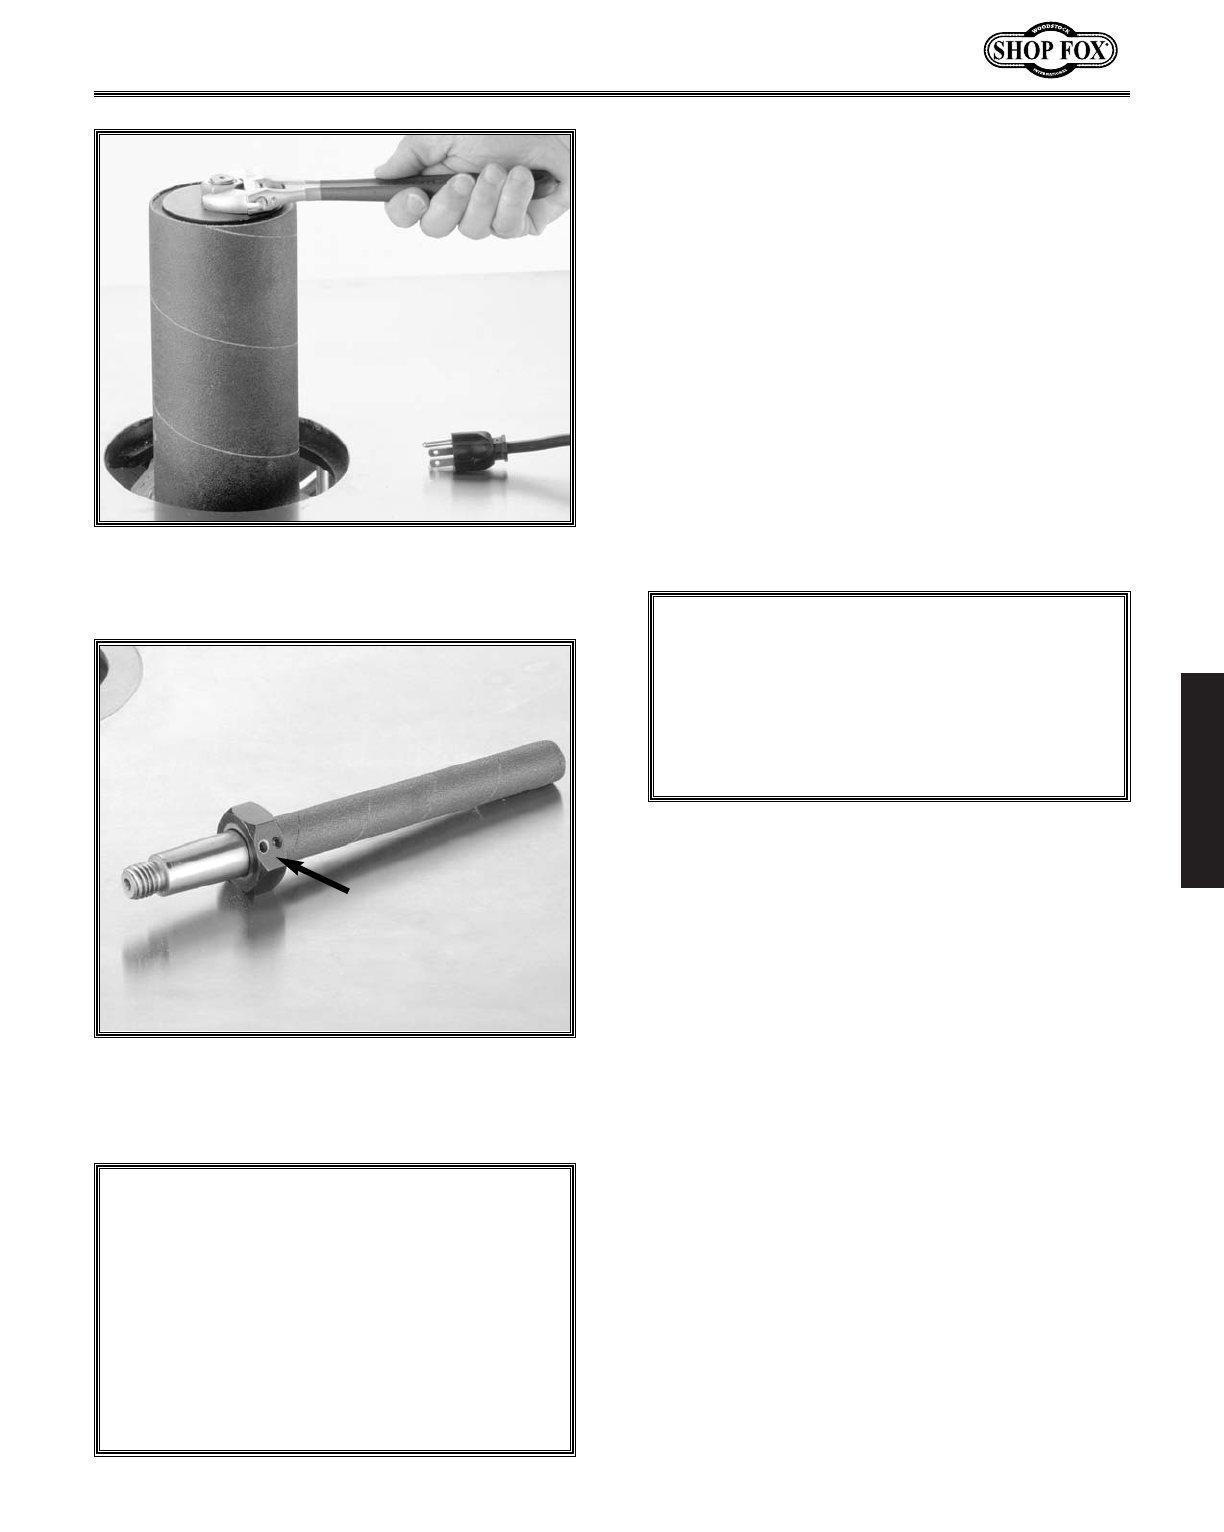
Figure 11. To remove the sanding sleeve from
the spindle, loosen the hex nut on the top
of the spindle.
Figure 12. The four smallest spindles have
small setscrews located in the retainer nut.
Loosen these setscrews to remove the
sanding sleeve.