


-34-
W1677/W1711 10" Table Saw
OPERATIONS
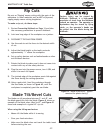
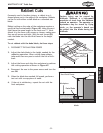
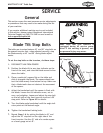
2. Pre-drill and countersink 8 holes approximately
3
⁄8"
from the bottom of the 5
1
⁄2" tall board.
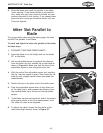
3. Glue the end of the 3" board, then clamp the boards
at a 90° angle with the larger board in the vertical
position as shown in
Figure 53.
4. Secure the joint with the wood screws.
Auxiliary Fence
The auxiliary fence is necessary if you are resawing wood
that is more than 3" tall. It should be no less than
1
⁄2"
shorter than the board to be resawn.
Components Needed for the Auxiliary Fence:
Hardwood or Plywood
3
⁄4" x (Height) x 27" .................1
Flat Head Screws
1
⁄4-20" x 1" .................................8
Hex Nuts
1
⁄4-20" .................................................8
Tools Needed for the Resaw Barrier:
Table Saw ........................................................
1
Jointer and Planer .............................
Recommended
Clamps ................................................2 Minimum
Drill and Drill Bits ...............................................
1
To build the auxiliary fence, do these steps:
1. Cut a
3
⁄4" thick board 27" long, then cut it no less
than
1
⁄2" shorter than the board to be resawn. If
you are using hardwood, cut the board oversize,
then joint and plane the board to the correct size to
make sure the board is square and flat.
Note: Only use furniture grade plywood or kiln dried
hardwood to prevent warping.
2. Pre-drill and countersink 8 holes 1
1
⁄4" from the bot-
tom of the board.
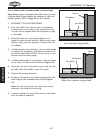
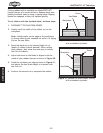
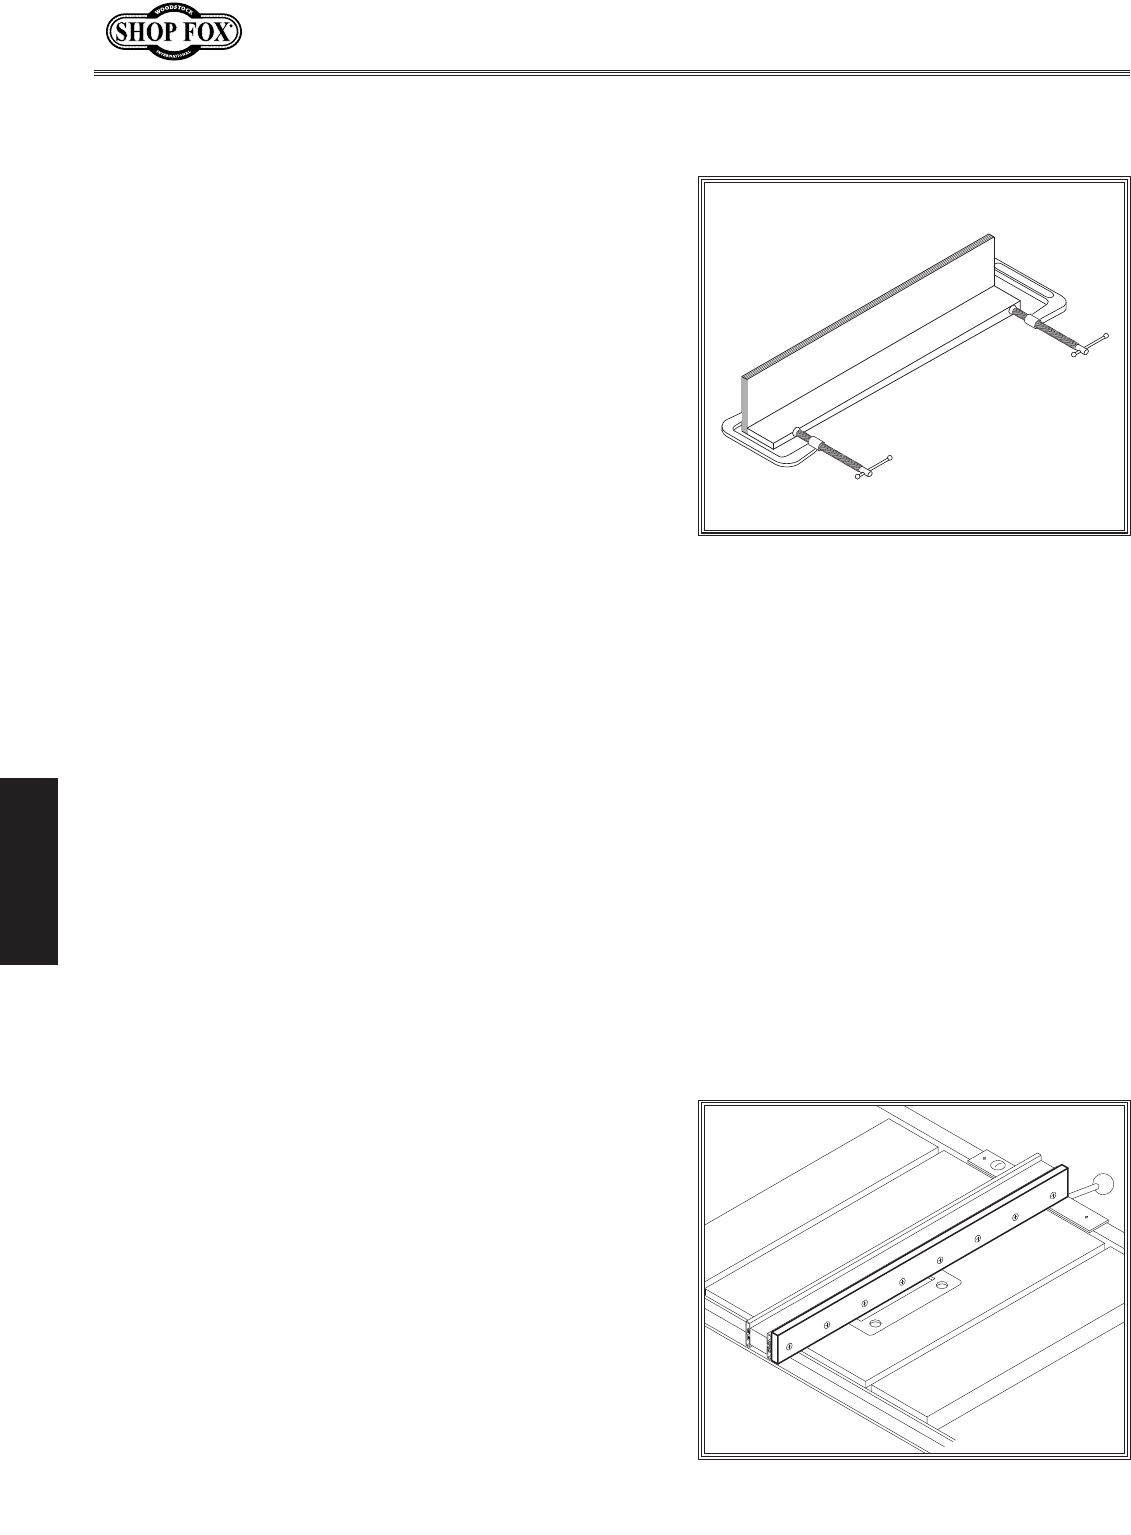
3. Pull an end cap off of the standard fence, then slide
the hex nuts into the T-slot and replace the end cap.
4. Thread the flat head screws through the auxiliary
fence and into the hex nuts in the standard fence,
and tighten securely as shown in
Figure 54.
Figure 53. Clamping the resawing barrier.
Figure 54. Auxiliary fence.