


-15-
W1816 Owner's Manual (Mfg. Since 10/09)
SETUP
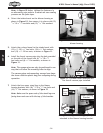
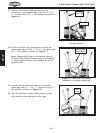
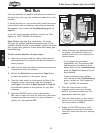
8. Connect the two upper stand braces to the upper
stand legs with (4)
3
⁄8"-16 x
3
⁄4" hex bolts and (4)
3
⁄8"
flat washers, as shown in Figure 13.
Note: Orient the braces so that the off-center third
hole is aligned with the two mounting holes in the
blower housing bracket, as shown in Figure 13.
These mounting holes are for attaching the remote
magnetic switch in the next step.
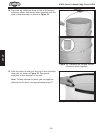
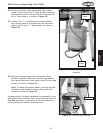
10. Slide the four stand leg connectors onto the upper
stand legs, then connect them with (16)
3
⁄8"-16 x
3
⁄4" hex bolts and (16)
3
⁄8" flat washers, as shown in
Figure 15.
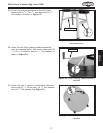
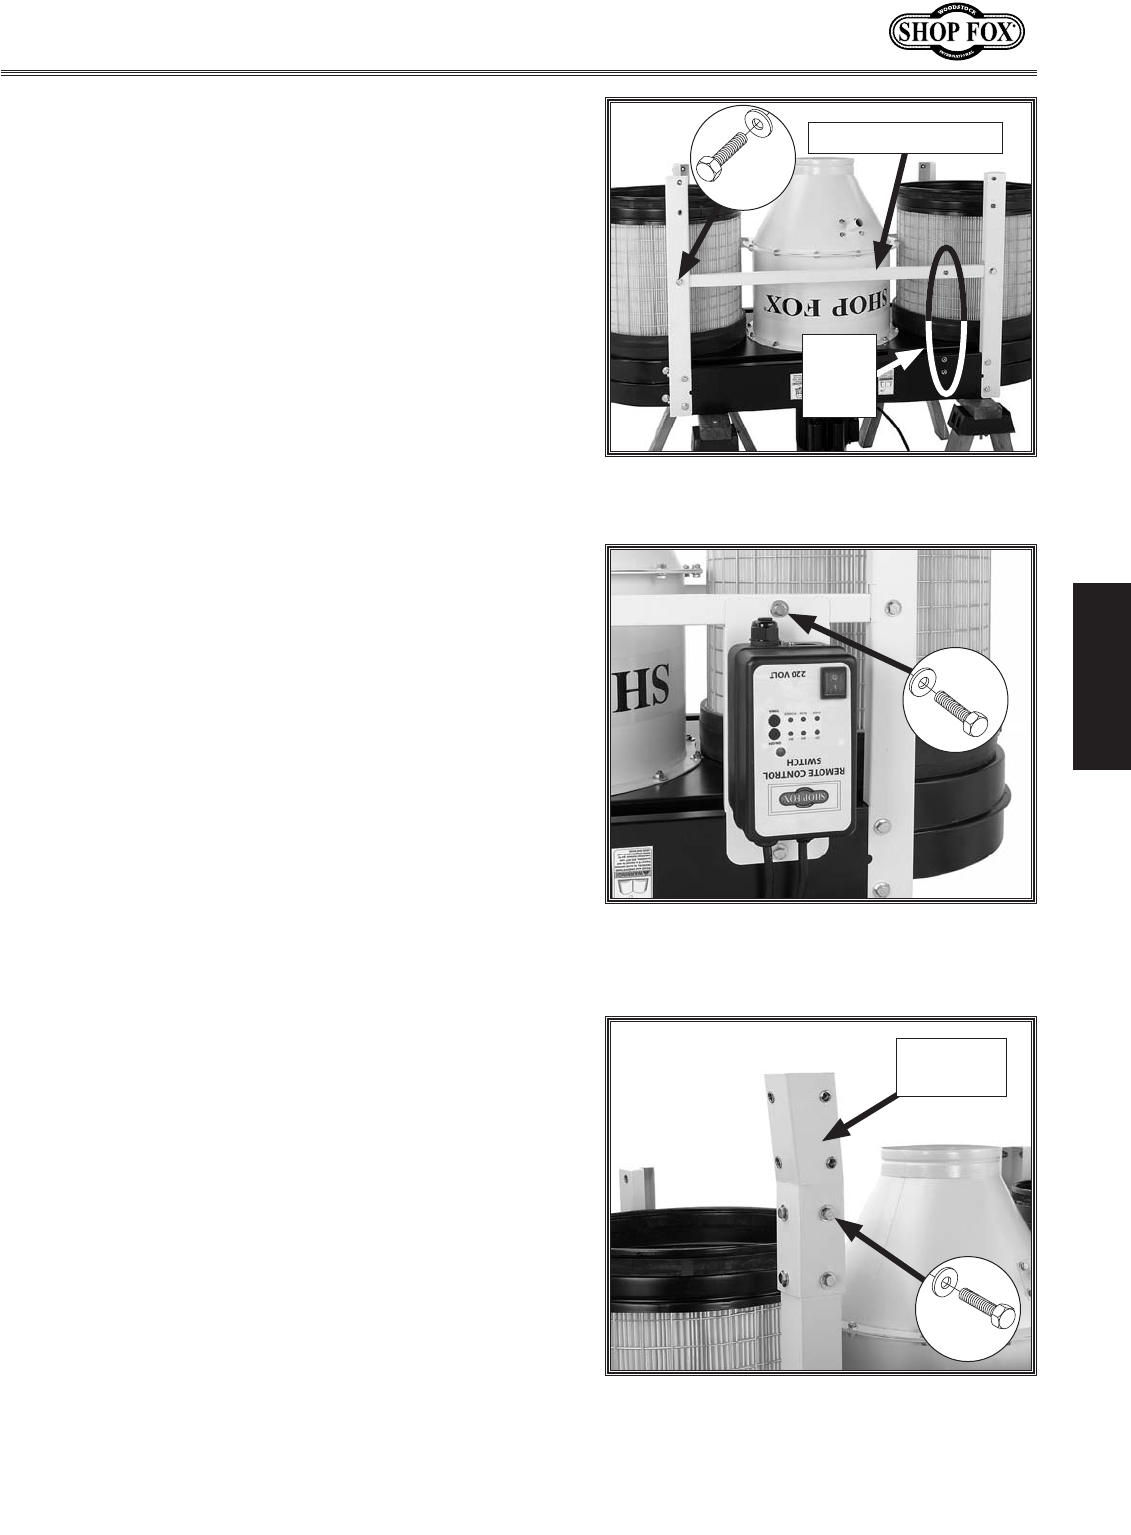
9. Attach the remote switch assembly to the blower
housing bracket and upper stand brace with (3)
3
⁄8"-
16 x
3
⁄4" hex bolts and (3)
3
⁄8" flat washers, as shown
in Figure 14.
Note: You may attach the switch assembly to either
side of the blower housing. Keep in mind that you
must have a line-of-sight between the remote
controller and the switch for proper operation.
Refer to Remote Control on Page 24 for additional
information.
Figure 15. Stand leg connector attached
to the upper stand leg.
Leg
Connector
x 16
Figure 14. Remote magnetic switch
attached.
x 3
Figure 13. Upper stand brace connected
to the upper stand legs.
Align
These
Holes
Upper Stand Brace
x 2