


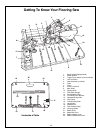
$5<A@@5:3
">1<->5:3%-C2;>$5<A@@5:3
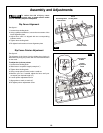
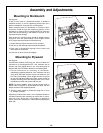
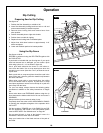
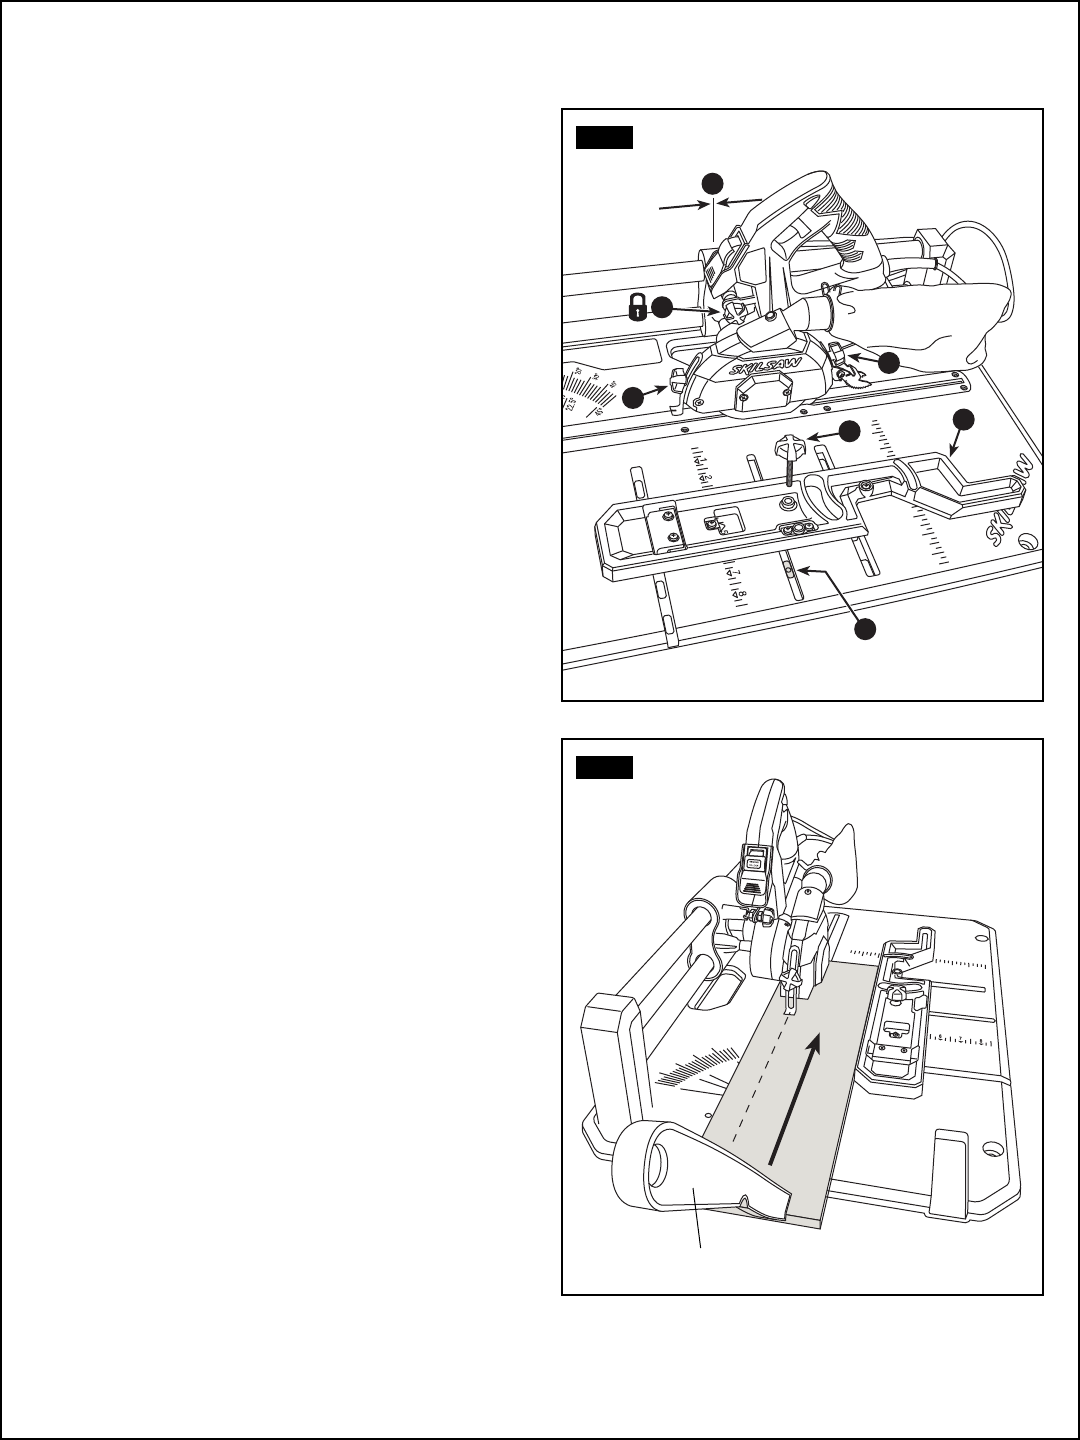
See figure 18.
1. Position the Saw Assembly on middle of rail.
2
. Insert Saw Assembly locking knob into hole on rail and
ensure saw assembly is locked into place.
3. Remove fence locking knob and remove fence from
m
iter position.
4. Position threaded piece to right side of table.
5. Position fence on table for ripping.
6. Replace fence locking knob in threaded piece.
7. Adjust front hold down bracket to approximately 1/16”
above workpiece.
8. Lower anti-kickback pawls to its lowest position.
'?5:3@41$5<1:/1
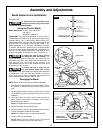
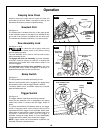
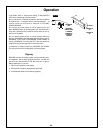
See figures 19 & 20.
RIPPING is performed using the RIP FENCE together with
the PUSH STICK.
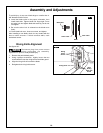
A push stick is included with your flooring saw. If your push
stick has become lost or damaged, you can make a push
stick using a piece of 1 x 2, as shown in figure 20.
Use a push stick whenever the fence is 1-3/4 inches or
more from the blade. Use a scrap wood piece when the
operation is too narrow (less than 1-3/4”) to allow the use of
a push stick.
Both a push stick or scrap wood piece should be used in the
place of the user’s hand to guide the material only between
the fence and blade.
When using a push stick or scrap wood piece, the trailing
end of the board must be square. A push stick or scrap
wood piece against an uneven end could slip off or push the
work away from the fence.
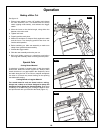
For your own safety, always observe the following safety
precautions in addition to the safety instructions on Pages
2-6.
Never make these cuts FREEHAND (without using the rip
fence because the blade could bind in the cut and cause a
KICKBACK.
Always lock the rip fence securely when in use.
Frequently check the action of the ANTIKICKBACK PAWLS
by passing the workpiece alongside of the spreader while
saw is OFF.
Pull the workpiece TOWARD you. If the PAWLS do not DIG
into the workpiece and HOLD it, the anti-kickback pawls
must be REPLACED. See “Maintenance” on Page 20.
Do not stand directly in front of the blade in case of a
KICKBACK. Stand to either side of the blade.
Keep your hands clear of the blade and out of the path of
the blade.
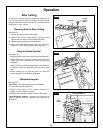
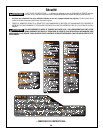
!<1>-@5;:
c
d
f
i
h
g
j
FIG. 19
FIG. 18
"A?4%@5/7