


Chapter3 Exchanging and updating data using a HotSync
®
operation
120
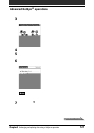
Advanced HotSync
®
operations
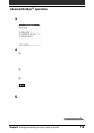
5
Place your CLIÉ handheld on the cradle and press the HotSync
button on the front panel of the cradle.
The HotSync operation starts. This HotSync operation records the
network information about your computer onto your CLIÉ handheld.
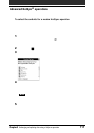
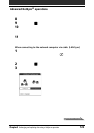
6
Check if your computer‘s network information (Primary PC
name and Primary PC address) is entered in your CLIÉ
handheld:
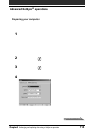
1 Rotate the Jog Dial navigator to select HotSync and press the Jog
Dial navigator. Or tap the HotSync
icon on the Application
Launcher screen.
The HotSync screen appears.
2 Tap the Menu
icon.
3 Tap Primary PC Setup from the Options menu.
The Primary PC Setup screen is displayed.
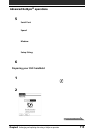
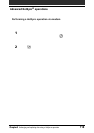
4 On your computer, click the HotSync
icon in the Windows task
tray and select Setup from the shortcut menu.
5 Click the Network tab, then click TCP/IP Settings to open the TCP/
IP Settings screen.
6 Confirm that the Primary PC name and Primary PC address on both
screens displayed in sub-steps 3 and 5 match. If they do not
match, change the Primary PC name and Primary PC address
entered in your CLIÉ handheld, then tap OK.
7 On your computer, tap OK to close the TCP/IP Settings screen and
the Setup screen.
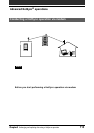
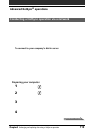
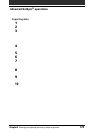
Preparing your CLIÉ handheld and performing a network HotSync
operation
When dialing into a network (Network Modem Sync)
1
Rotate the Jog Dial navigator to select HotSync and press the
Jog Dial navigator. Or tap the HotSync icon on the
Application Launcher screen.
The HotSync screen appears.
2
Tap the Menu icon.
Continued on next page