2 - 4 Rev A
5/15/07
Dolphin® 9500 Series User’s Guide
Step 6. Let Autoinstall Run
For each program that loads, a status bar indicates that the program is loading. Autoinstall occurs after each hard reset. Do NOT
touch the keyboard or the screen while programs are loading. All configurations of the Dolphin terminal install Demos and Power
Tools. If the terminal is configured with a wireless radio, the appropriate radio drivers and utilities for each radio install.
After Autoinstall is complete, the terminal performs a soft reset automatically. When it finishes booting up after the soft reset, the
Today screen appears; see Today Screen on page 4-2.
Step 7. Set the Time and Date
You need to re-set the time and date after every hard reset of the terminal. It is a good idea to set the time and date now before
you begin using the device.
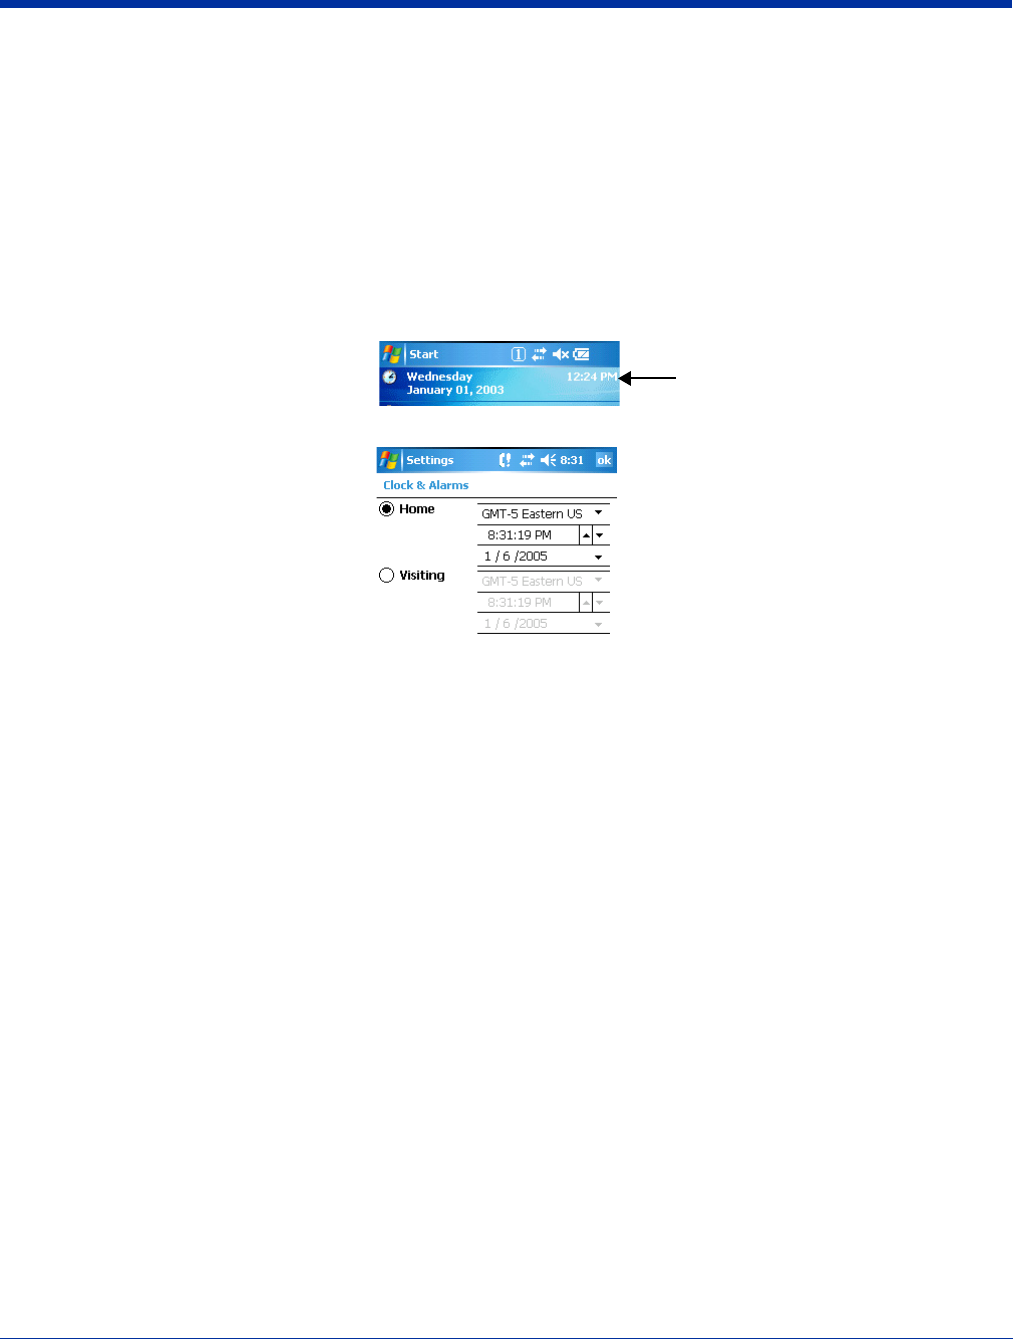
On the Today screen, tap the line that displays the time and date,
The Clock Settings screen appears.
The time zone defaults to GMT-5 Eastern US; tap the arrow to the right of GMT-5 Eastern US to select another time zone. Set
the correct time and date in the remaining fields and tap OK to save.
Step 8. Verify Imaging and Decoding with Demos
Dolphin terminals come loaded with Demos you can use to verify imaging and decoding.
Verify Imaging
The Image Demo enables you to use the imager to capture an image on the Dolphin 9500 and Dolphin 9550.
1. Tap Start > Demos > Imaging Demo. The image demo opens.
2. Point the terminal at an object and press the SCAN key. A preview of the object appears on the terminal screen.
3. Release the SCAN key. The image is captured. By default, the image saves to the \My Device\My Documents folder as
“imagedemo.jpg.” To save to a different location, tap File > Save As and select a new location.
4. Press the ESC key to close the demo.
For more information about taking an image, see Using the Image Engine on page 4-4.


