1
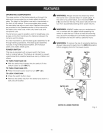
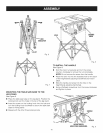
V SLOT
iNDiCATOR
Fig. 6
HOLE
LOCKING
KNOB
Fig. 7
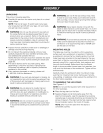
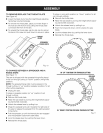
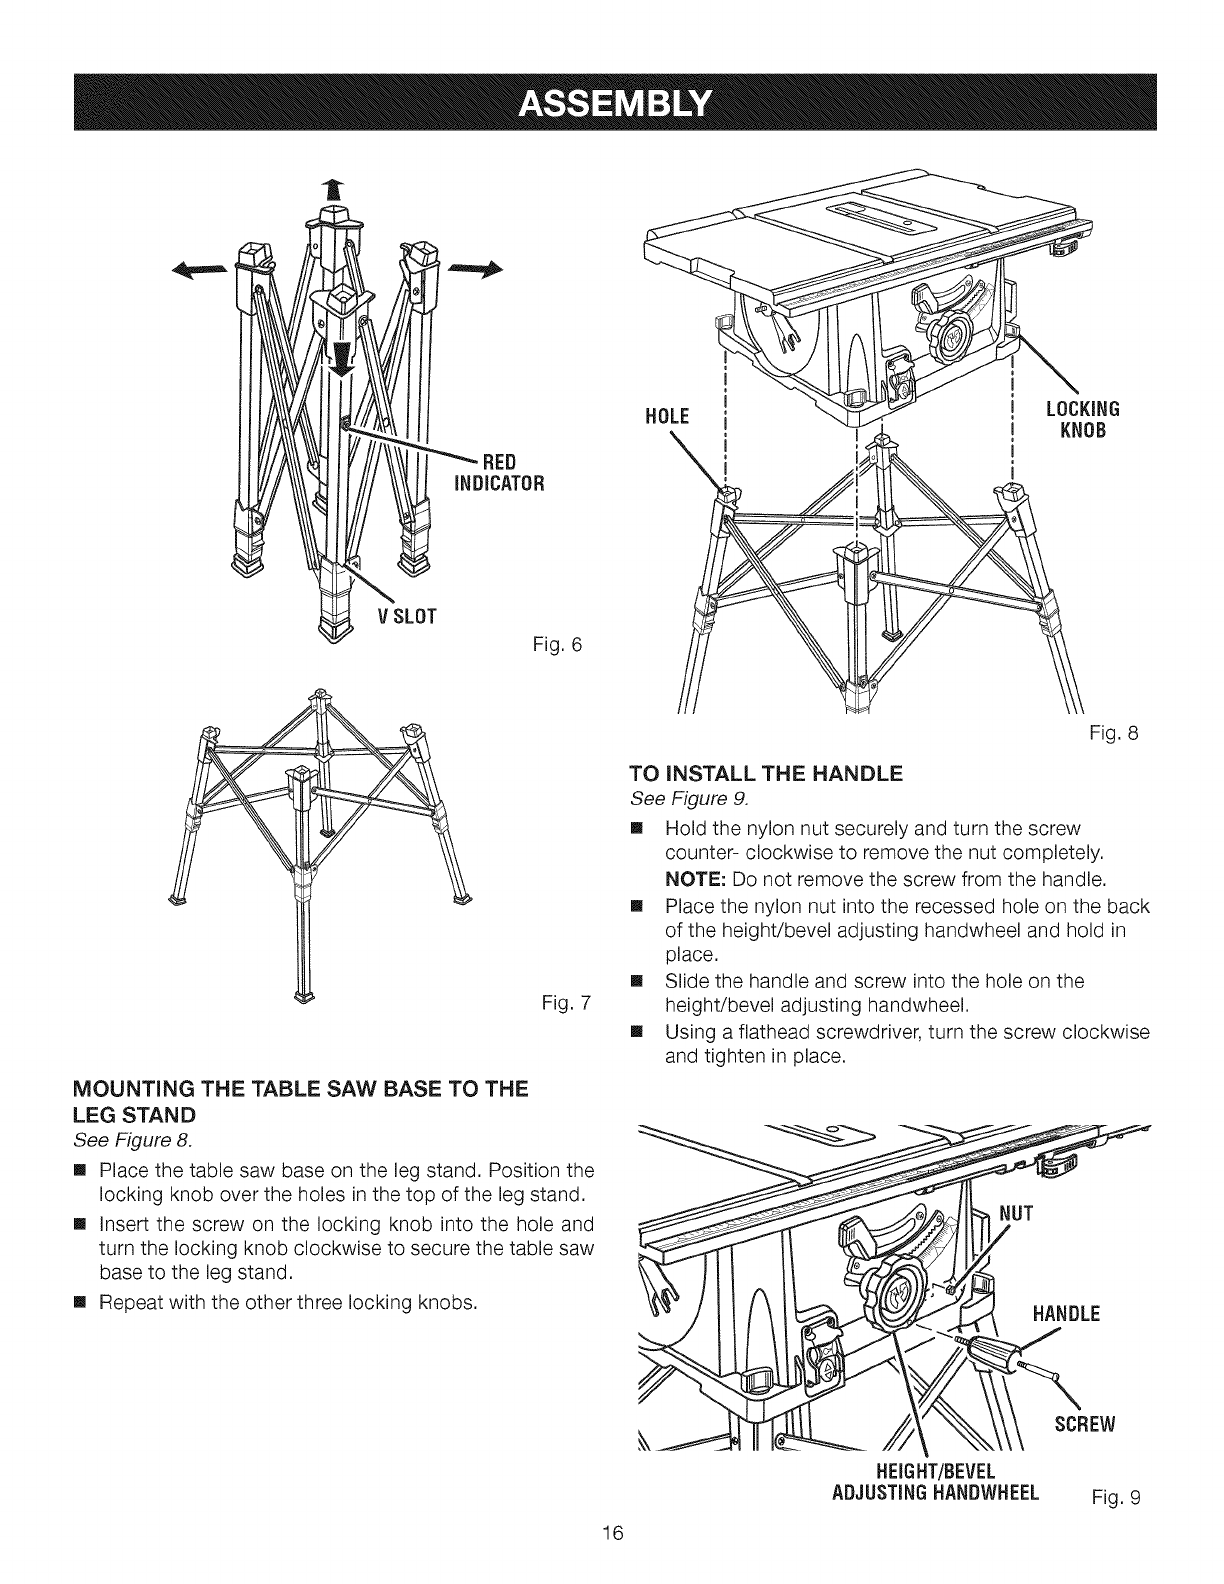
MOUNTING THE TABLE SAW BASE TO THE
LEG STAN D
See Figure 8.
[] Place the table saw base on the leg stand. Position the
locking knob over the holes in the top of the leg stand.
[] Insert the screw on the locking knob into the hole and
turn the locking knob clockwise to secure the table saw
base to the leg stand.
[] Repeat with the other three locking knobs.
Fig. 8
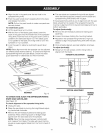
TO INSTALL THE HANDLE
See Figure 9.
[] Hold the nylon nut securely and turn the screw
counter- clockwise to remove the nut completely.
NOTE: Do not remove the screw from the handle.
[] Place the nylon nut into the recessed hole on the back
of the height/bevel adjusting handwheel and hold in
place.
[] Slide the handle and screw into the hole on the
height/bevel adjusting handwheel.
[] Using a flathead screwdriver, turn the screw clockwise
and tighten in place.
NUT
HANDLE
16
HEIGHT/BEVEL
ADJUSTING HANDWHEEL
SCREW
Fig. 9


