


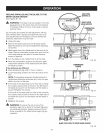
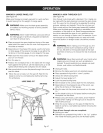
[] Positiontheworkpieceflatonthetablewiththeedge
flushagainsttheripfence.Letthebladebuildupto
fullspeedbeforefeedingtheworkpieceintotheblade.
[] Oncethebladehasmadecontactwiththeworkpiece,
usethehandclosestto theripfenceto guideit.
Makesuretheedgeoftheworkpieceremainsinsolid
contactwithboththeripfenceandthesurfaceofthe
table.Ifrippinganarrowpiece,useapushstickand/
orpushblocksto movethepiecethroughthecutand
pasttheblade.
[] Whenthecut ismade,turnthesawoff.Waitforthe
bladeto cometo acompletestopbeforeremoving
theworkpiece.
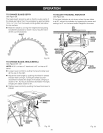
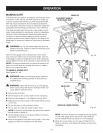
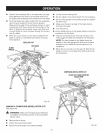
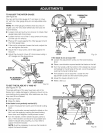
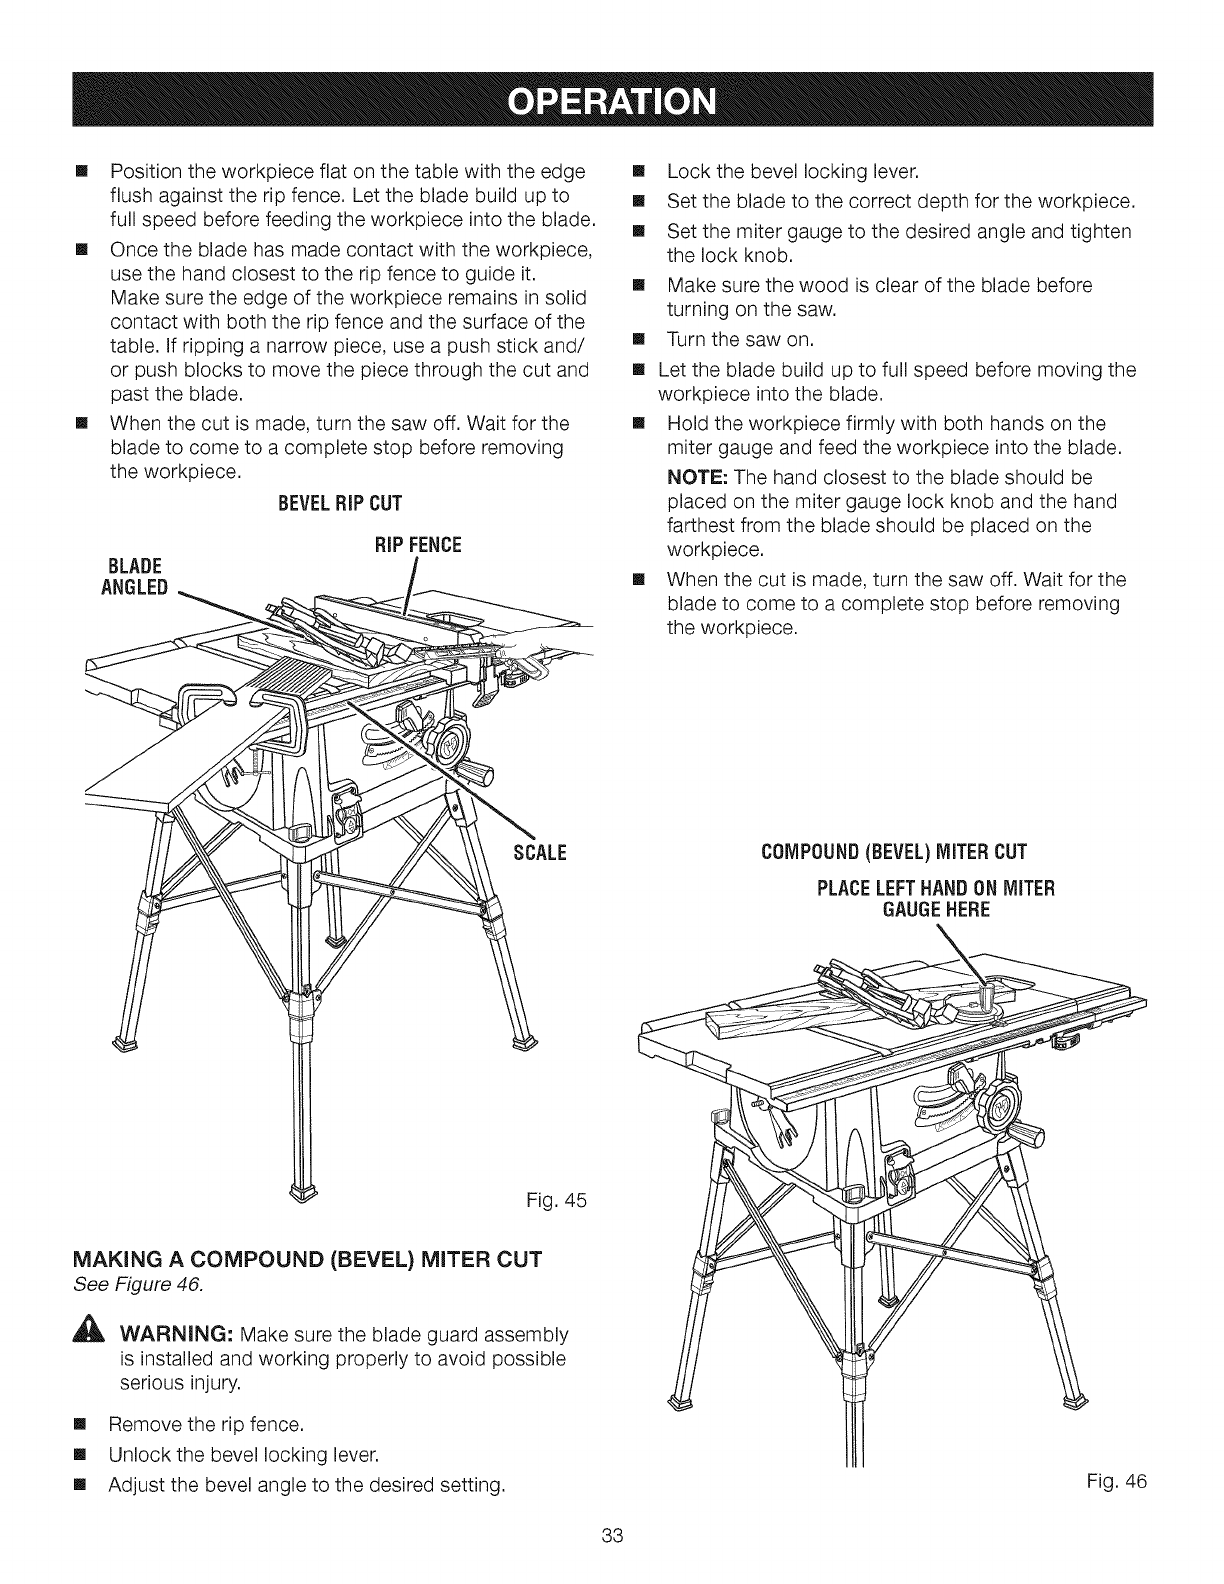
BEVELRiPCUT
BLADE
ANGLED
RiP FENCE
SCALE
[] Lock the bevel locking lever.
[] Set the blade to the correct depth for the workpiece.
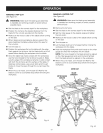
[] Set the miter gauge to the desired angle and tighten
the lock knob.
[] Make sure the wood is clear of the blade before
turning on the saw.
Turn the saw on.
[]
[]
Let the blade build up to full speed before moving the
workpiece into the blade.
[] Hold the workpiece firmly with both hands on the
miter gauge and feed the workpiece into the blade.
NOTE: The hand closest to the blade should be
placed on the miter gauge lock knob and the hand
farthest from the blade should be placed on the
workpiece.
[] When the cut is made, turn the saw off. Wait for the
blade to come to a complete stop before removing
the workpiece.
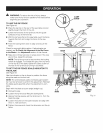
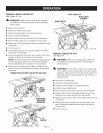
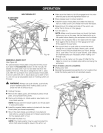
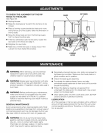
COMPOUND(BEVEL)MITERCUT
PLACELEFTHANDONMITER
GAUGEHERE
Fig. 45
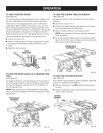
MAKING A COMPOUND (BEVEL) MITER CUT
See Figure 46,
A
WARNING: Make sure the blade guard assembly
is installed and working properly to avoid possible
serious injury.
[] Remove the rip fence.
[] Unlockthe bevel locking lever.
[] Adjust the bevel angle to the desired setting.
Fig. 46
33