i CRAFTSMAN°i
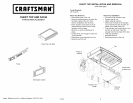
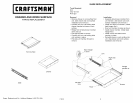
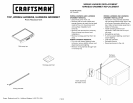
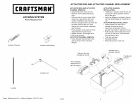
CHEST TOP AND FACIA
PARTS REPLACEMENT
S
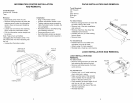
Facia
Chest Top with light
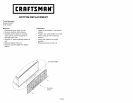
Information Center
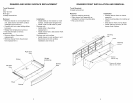
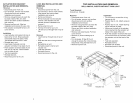
CHEST TOP INSTALLATION AND REMOVAL
(With task light)
Tools Required:
3/8" Wrench
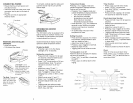
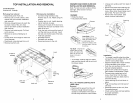
Chest Top Removal
• Disconnect power from unit.
• Remove enough drawers to reach the
top back inside of the unit. (See
Drawer installation and removal.)
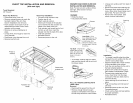
• Push actuator rod to back of unit to
disconnect from back of lock. Move
actuator rod for access.
• Remove (4) screws holding top in
place.
• Lift top off of unit enough to reach the
wiring harness.
• Disconnect wiring harness from unit.
• Remove top from unit.
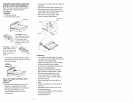
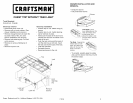
Chest Top Installation
• Connect wiring harness to top.
• Position top on unit.
• Attach using (4) screws.
• Make sure the back of the actuator
rod is inserted into the actuator rod
holder in the back of the unit.
• Push actuator rod toward back of unit
and line up with lock. Insert the
actuator rod into the back of the lock.
• Test lock operation.
• Reinstall drawers.
• Reconnect power to the unit.
Press to
release
Disconnect
actuator rod
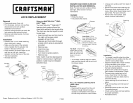
Sears, Roebuck and Co., Hoffman Estates, IL 60179, USA
F1612 2


