


13
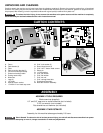
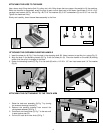
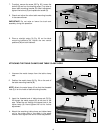
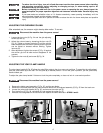
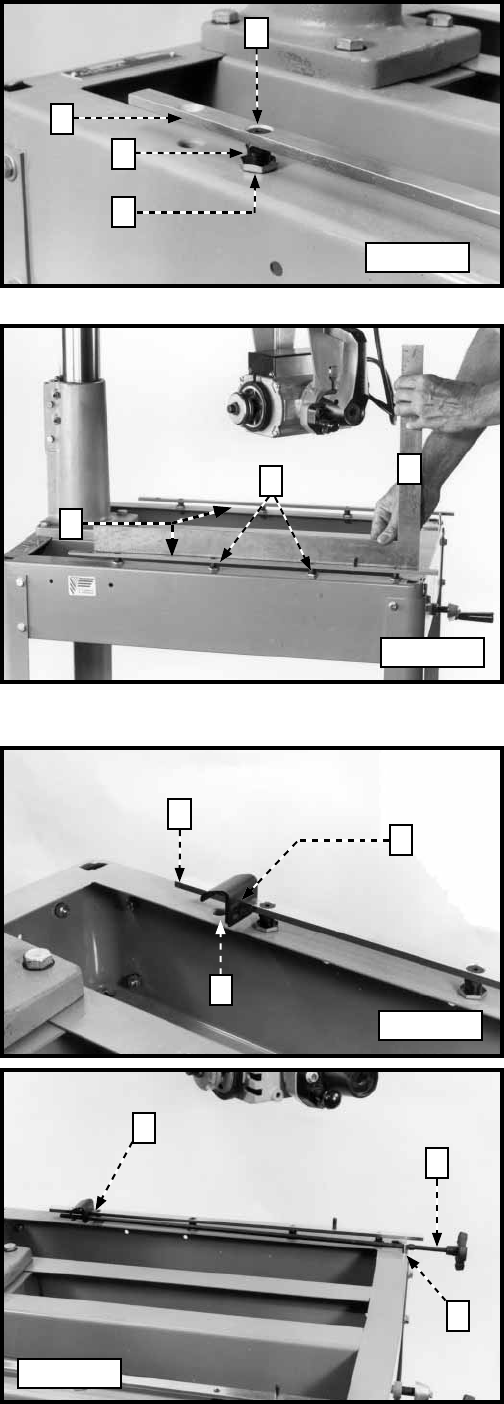
7. To adjust, remove the screw (R) Fig. 22. Loosen the
locknut (S) and turn the leveling screw (T) to raise or
lower table mounting bracket (N). After adjustment,
tighten the locknut (S) and replace the screw (R).
8. Check and adjust the other table mounting bracket
in the same manner.
IMPORTANT: Do not raise or lower the track arm
assembly during this operation.
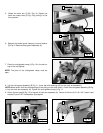
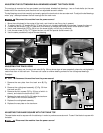
9. Place a straight edge (V) Fig. 23 on the table
mounting brackets (N). Adjust the two center
positions (W) on both brackets.
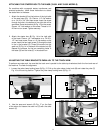
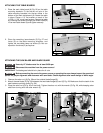
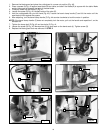
1. Unscrew the metal clamps from the table clamp
rods.
2. Position the metal clamp (A) Fig. 24 on the end of
the table mounting bracket (B).
NOTE: Attach the metal clamp (A) so that the threaded
hole (C) is on the inside of table mounting bracket.
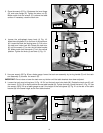
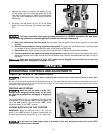
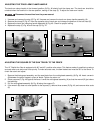
3. Insert the threaded end of table clamp rod (D) Fig.
25 through the metal support (E) at the front of the
saw. Thread the rod through the tapped hole in the
table clamp (A). Hand-tighten the rod for further
adjustment.
4. Attach the remaining table clamp and table-clamp
rod to the other side of the table in the same
manner. Hand tighten the rod for further adjustment.
Fig. 22
Fig. 23
Fig. 24
Fig. 25
ATTACHING THE TABLE CLAMPS AND TABLE CLAMP RODS
N
R
N
W
V
A
B
C
A
D
E
T
S