


14
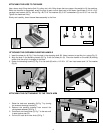
ATTACHING THE TABLE BOARDS
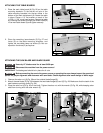
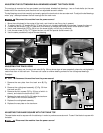
1. Place the main table board (A) Fig. 26 on the table
mounting brackets. Fit the the two roll pins in the
table mounting brackets into the two holes in the
bottom of the main table board (A). Fasten the table
in place, Place a 1/4" flat washer on each of the
1/4-20 x 1-3/4" round head screws. Secure the table
by inserting the screws through pre-drilled holes (B)
in the main table board (A) and tighten securely.
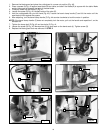
2. Place the re main ing loose boards (C) Fig. 27 and
fence (D) on the table mounting brackets, and
tighten the two table clamp rod knobs (E). You can
reposition the fence (D) as re quired.
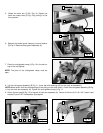
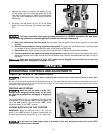
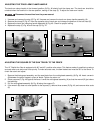
1. Remove the arbor nut (A) Fig. 28 and the outside blade flange (B).
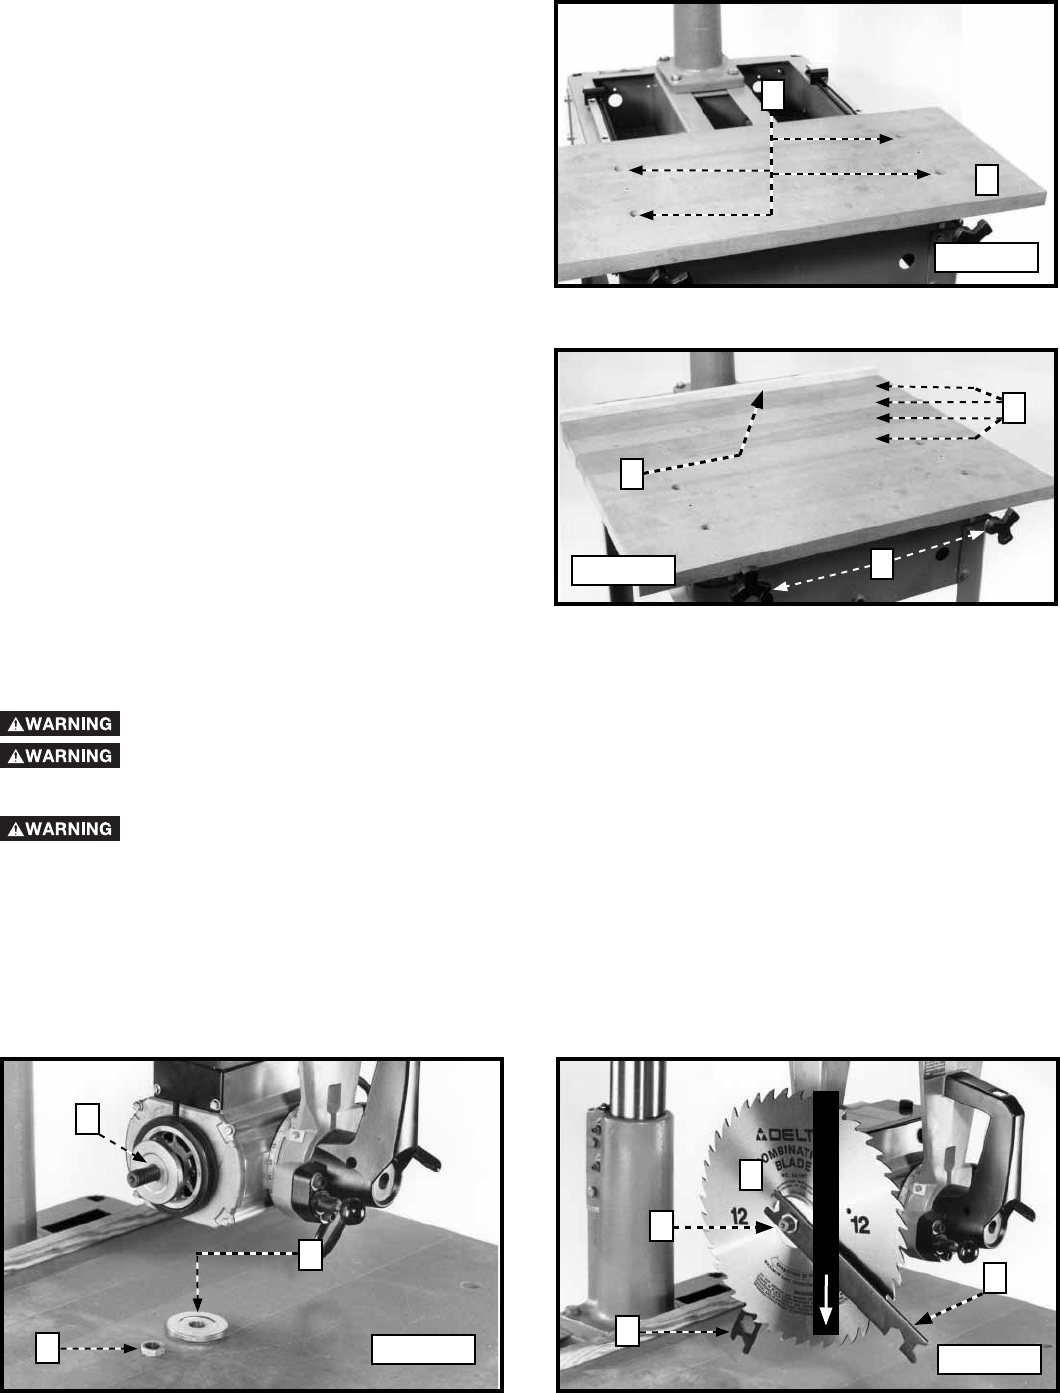
2. Attach the saw blade (D) Fig. 29 between the two blade flanges (B) and (C) Fig. 28. Make sure that the teeth of the
saw blade are pointing down (Fig. 29).
3. Place the arbor nut (A) Fig. 29 on the shaft. Tighten the arbor nut with the wrench (E) Fig. 29, while keeping arbor
shaft from turning with the other wrench (F).
Fig. 26
Fig. 28
Fig. 27
Fig. 29
ATTACHING THE SAW BLADE AND BLADE GUARD
Use only 12” blades rated for at least 3450 rpm.
Disconnect the machine from the power source!
B
L
A
D
E
T
E
E
T
H
5.
A
B
D
C
E
C
A
B
D
A
F
E
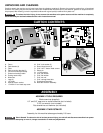
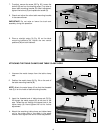
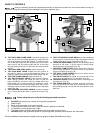
Before connecting the saw to the power source or operating the saw, always inspect the guard and
splitter for proper alignment and clearance with saw blade. Check alignment after each change of bevel angle.
IMPORTANT: The blade guard should be in place for all cuts.