22
sticks may interfere with the blade guard. That flat
pushboard can be made as shown in Fig. 124A.When
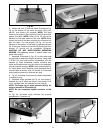
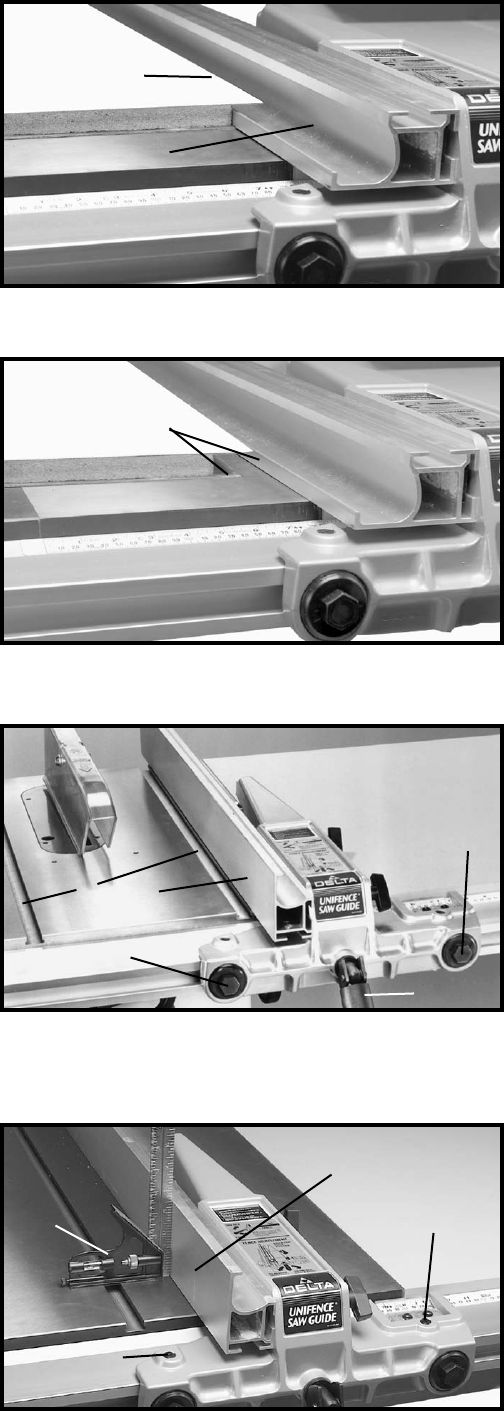
ripping material with a veneer facing that extends over the
material, the fence (A) should be in the horizontal position
with the veneer (B) extending over the lip of the fence, as
shown in Fig. 76.
When ripping material with a veneer facing and the
material is not thick enough for the veneer to extend over
the lip of the fence or if the veneer facing (B) is on both
sides of the material, as shown in Fig. 77, the fence can
be positioned slightly above the surface of the table. The
veneer can be placed between the fence and the table or
the veneer can straddle the fence with the material solidly
against the fence.
Fig. 76
Fig. 77
A
B
B
Fig. 78
Fig. 79
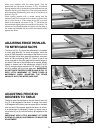
ADJUSTING FENCE PARALLEL
TO MITER GAGE SLOTS
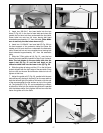
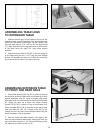
The fence (A) Fig. 78, should be adjusted so it is parallel
to miter gage slots (B). To check and adjust, move the
fence (A) until the bottom front edge of the fence is in line
with the edge of the miter gage slot as shown, and push
down on fence clamping lever (C). Check to see if the
fence is parallel to the miter gage slot the entire length of
the table. If the rear of the fence must be moved, slightly
tighten or loosen one of the adjustment plugs (D) or (E)
Fig. 78, using the arbor wrench or a 7/8" wrench, until the
fence is parallel with the miter gage slot. IMPORTANT:
DO NOT OVER-TIGHTEN PLUGS (D) AND (E) FIG. 78.
VERY LITTLE MOVEMENT OF THESE PLUGS IS
NECESSARY WHEN ADJUSTING THE FENCE
PARALLEL WITH THE MITER GAGE SLOT.
ADJUSTING FENCE 90
DEGREES TO TABLE
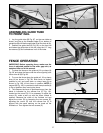
The fence must be adjusted so that the face of fence (A)
Fig. 79, is 90 degrees to the table. To check if the fence
is 90 degrees to the table, place a square (B) on the table
with one end of the square against the fence, as shown.
If an adjustment is necessary, tighten or loosen one of
two screws (C) or (D) until the fence is 90 degrees to the
table.
IMPORTANT: VERY LITTLE MOVEMENT OF THESE
SCREWS (C) AND (D) IS NECESSARY TO MAKE THIS
ADJUSTMENT.
A
B
C
D
E
B
A
D
C


