Troubleshooting
I
WARNING
To reduce the risk of serious injury, including fluid injection, splashing fluid or solvent in the eyes or on the
skin, or injury from moving parts, always follow the Pressure Relief Procedure Warning on page 10 when-
ever you shut off the pump, when checking or servicing any part of the spray system, when installing, clean-
ing or changing spray tips, and whenever you stop spraying.
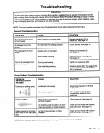
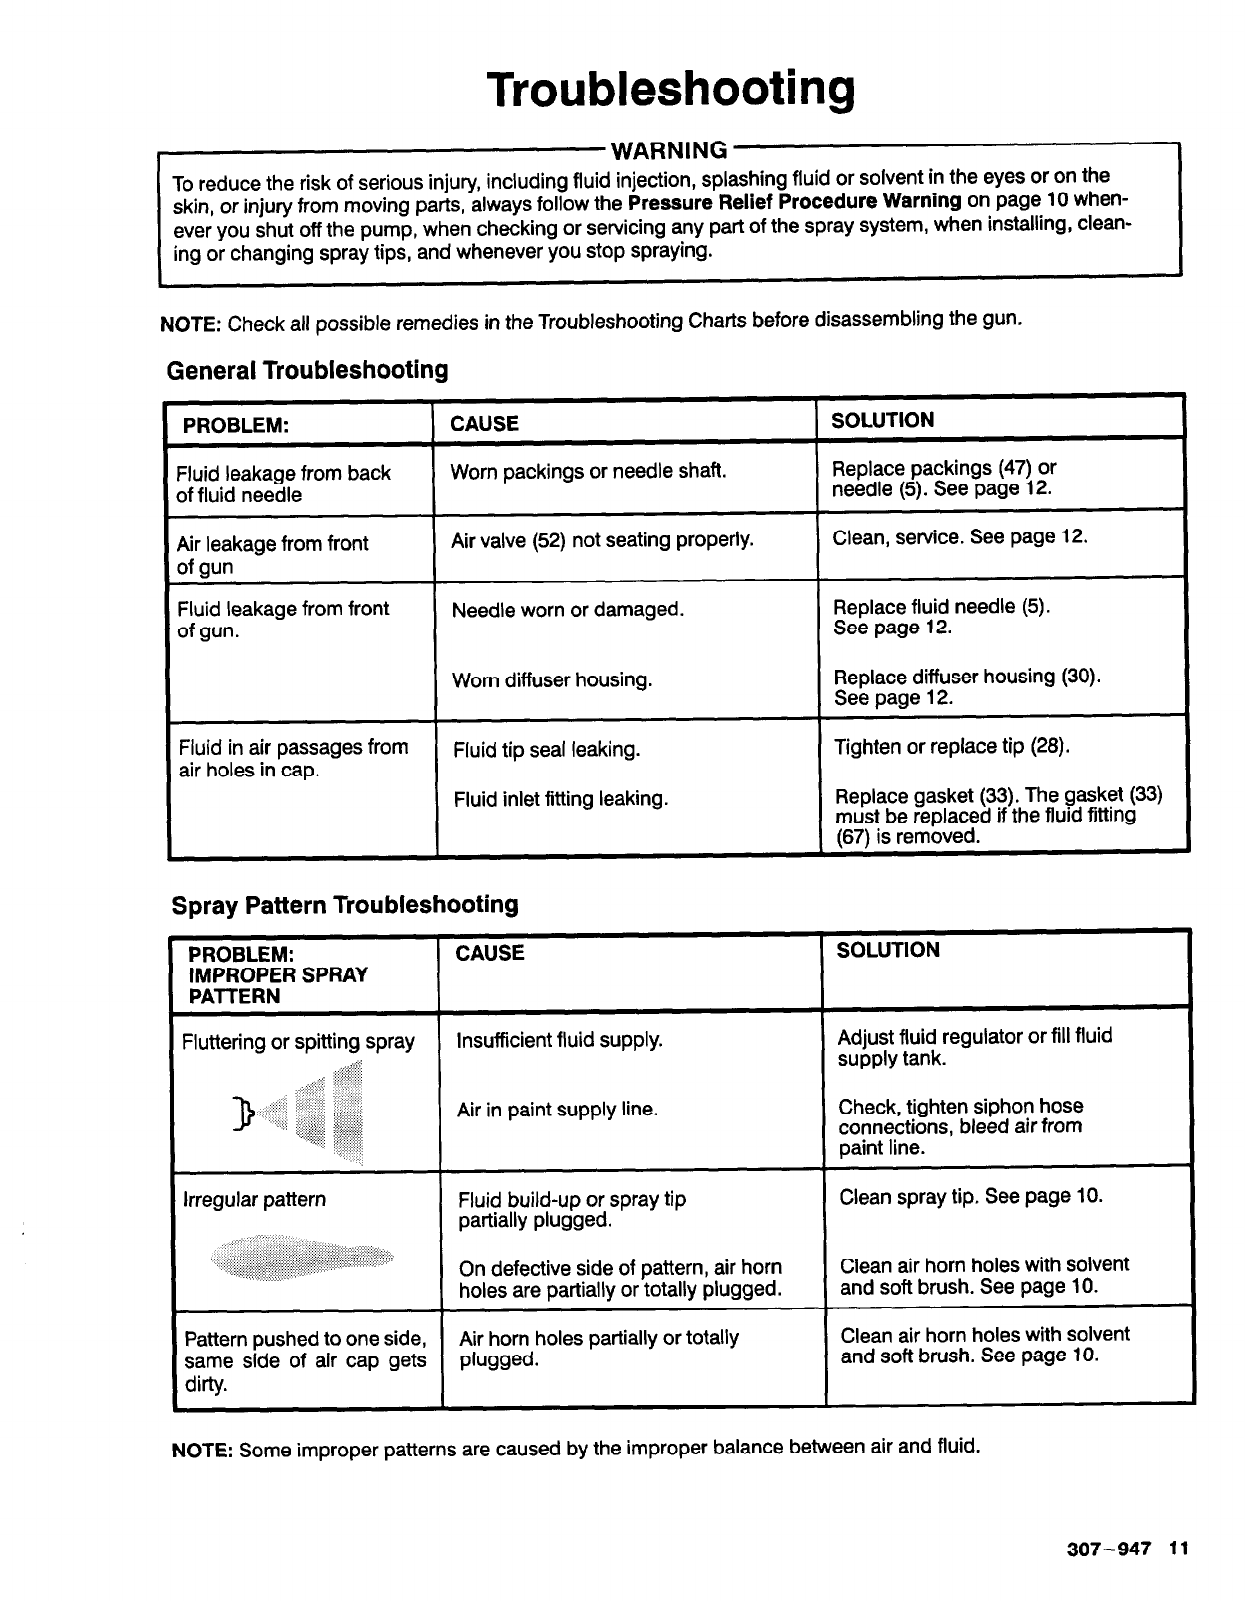
NOTE: Check all possible remedies in the Troubleshooting Charts before disassembling the gun.
General Troubleshooting
I
Fluid leakage from back
Worn packings or needle shaft.
I
Replace packings (47) or
of fluid needle
needle (5). See page 12.
Air leakage from front
of gun
Fluid leakage from front
of gun.
Fluid in air passages from
air holes in cap.
Air valve (52) not seating properly.
Needle worn or damaged.
Worn diffuser housing.
Fluid tip seal leaking.
Fluid inlet fitting leaking.
Clean, service. See page 12.
Replace fluid needle (5).
See page 12.
Replace diffuser housing (30).
See page 12.
Tighten or replace tip (28).
Replace gasket (33). The gasket (33)
must be replaced if the fluid fitting
(67) is removed.
Spray Pattern Troubleshooting
PROBLEM:
IMPROPER SPRAY
PATTERN
Fluttering or spitting spray
Irregular pattern
Pattern pushed to one side,
same side of air cap gets
dirty.
CAUSE
Insufficient fluid supply.
Air in paint supply line.
Fluid build-up or spray tip
partially plugged.
On defective side of pattern, air horn
holes are partially or totally plugged.
Air horn holes partially or totally
plugged.
SOLUTION
Adjust fluid regulator or fill fluid
supply tank.
Check, tighten siphon hose
connections, bleed air from
paint line.
Clean spray tip. See page 10.
Clean air horn holes with solvent
and soft brush. See page 10.
Clean air horn holes with solvent
and soft brush. See page 10.
NOTE: Some improper patterns are caused by the improper balance between air and fluid.
307-947 11


