-34-
G0456 Variable Speed Wood Lathe
The Model G0456 features a DC motor, which
uses heavy-duty carbon brushes. While these
brushes are designed for extended life, they will
eventually wear out, causing a loss of power or
faulty starting. This procedure takes approxi
-
mately 45 minutes to complete and requires you
to remove and discard the sandpaper disc if it is
installed. If you need help locating any parts of
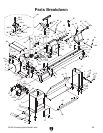
the machine, refer to the parts breakdown.
Tools Needed Qty
Socket or Wrench 12mm ...................................
1
Socket or Wrench
1
⁄2" ........................................ 1
Hex Wrench 6mm ..............................................
1
Hex Wrench 5mm ..............................................
1
Hex Wrench 4mm ..............................................
1
Phillips Screwdriver ...........................................
1
Notepad and Pen/Pencil ....................................
1
Flashlight ........................................................... 1
To replace the motor brushes:
1. DISCONNECT LATHE FROM POWER!
2. Remove the table, dust port, and sandpaper
from the sanding disc.
3. Remove the left-handed cap screw (Figure
47 on Page 33) in the center of the sanding
disc and slide the sanding disc off.
4. Remove the five cap screws (Figure 47 on
Page 33) that secure the disc housing to the
headstock, and remove the disc housing.
5. Loosen the motor mount bolts, shown in
Figure 48 on Page 33, slide the motor
toward the spindle pulley, and remove the
belt.
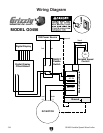
6. Look inside of the cabinet and trace the three
motor wires to the back of the control panel.
7. Make a note or quick sketch of the position
and color of the current carrying wires, so
you will be able to connect them properly
after you disconnect them.
Replacing Motor
Brushes
8. Disconnect the three motor wires and ensure
that the wires will not get tangled around
other wires when you remove the motor.
9. Remove the motor mount bolts and the motor
from the headstock.
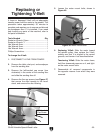
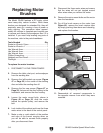
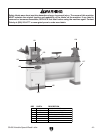
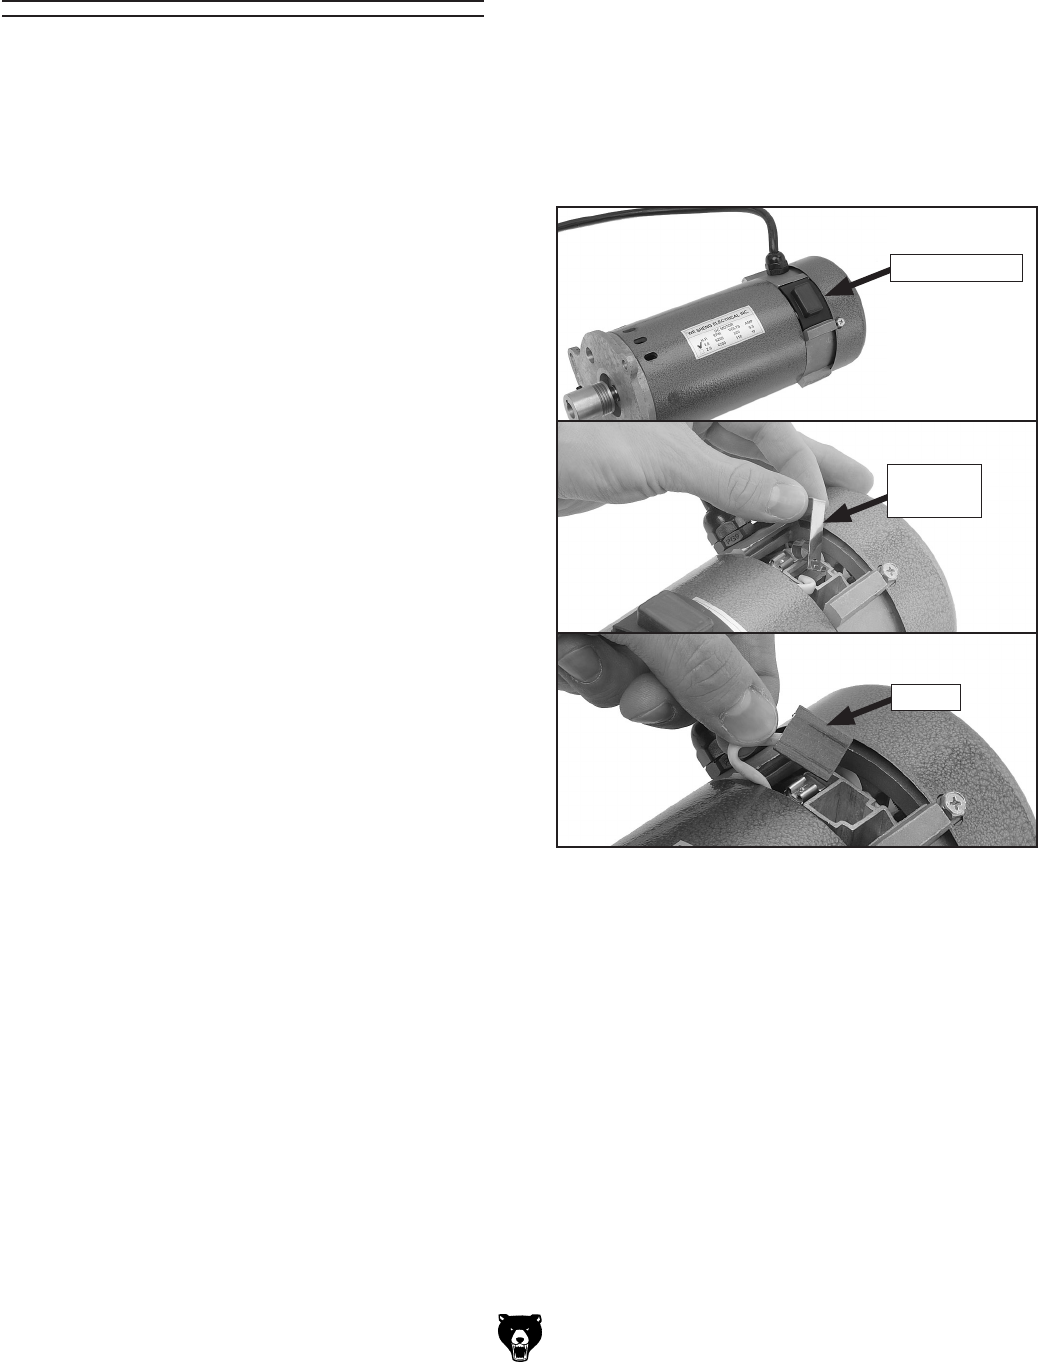
10. Pry off the brush covers on the motor (see
Figure 49), remove the brush retainer clips
by simply pushing them down and releasing,
and replace the brushes.
Figure 49. Replacing motor brushes.
11. Reassemble all removed components in
the opposite manner from which they were
removed.
Brush Cover
Brush
Retainer
Brush


