-26-
G0588/G0591 12" Sliding Table Saws
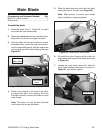
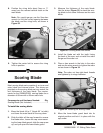
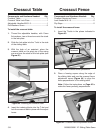
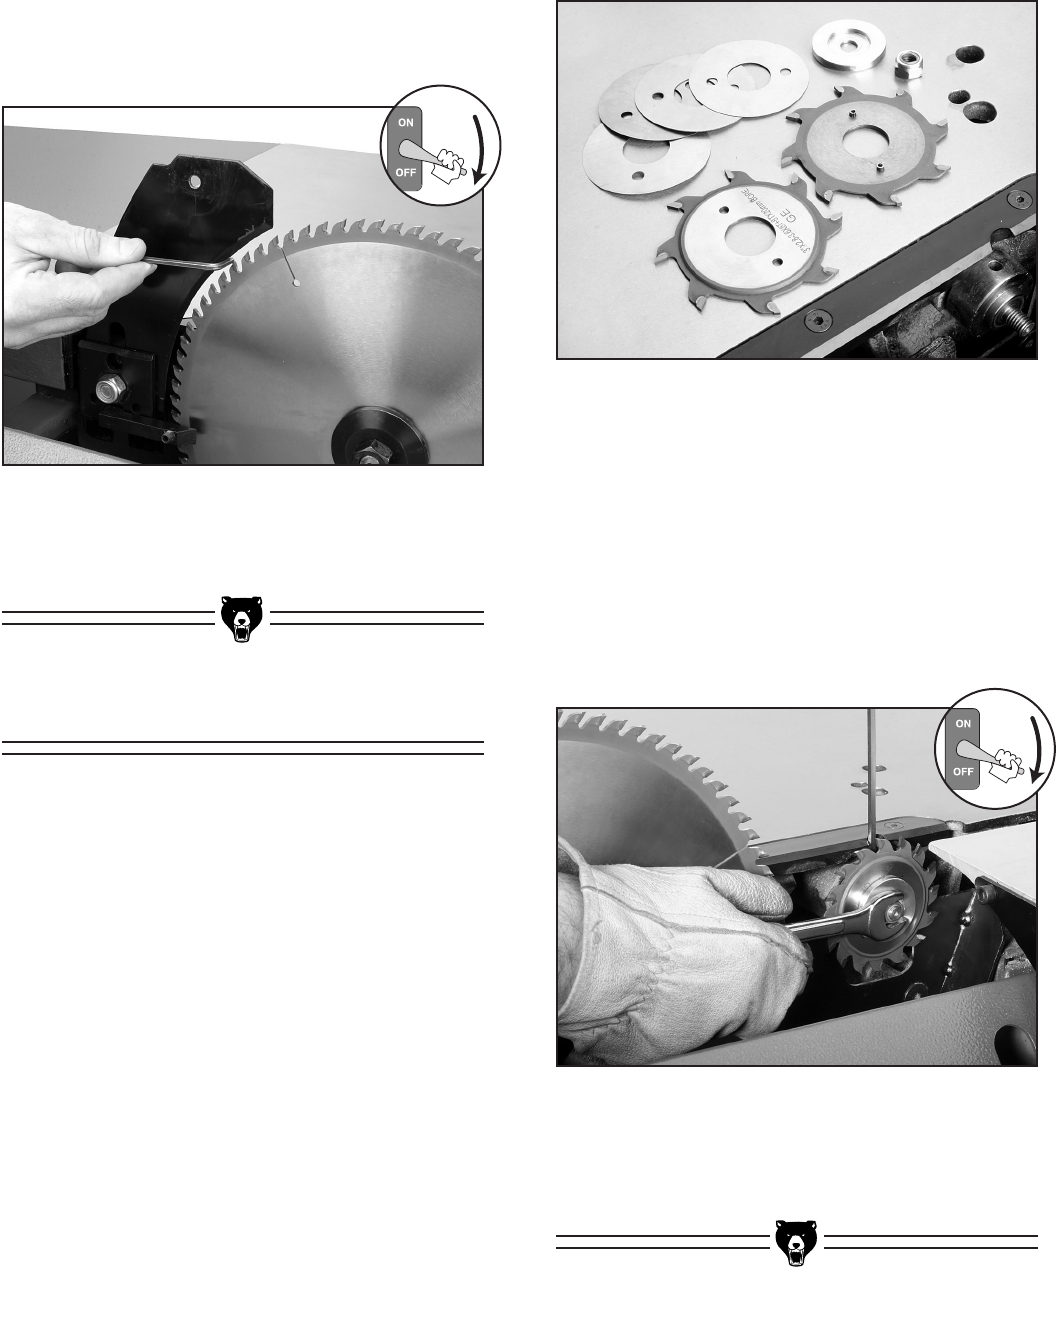
8. Position the riving knife about 3mm or
1
⁄8"
away from the nearest carbide tooth on the
main blade.
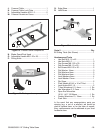
Note: For a quick gauge, use the 3mm hex
wrench to find the correct spacing between
the blade and the riving knife, as shown in
Figure 32.
9. Tighten the center bolt to secure the riving
knife in position.
Figure 32. Adjusting the riving knife.
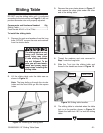
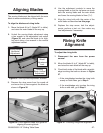
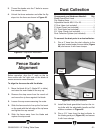
Figure 34. Installing the scoring blade.
4. Install the blade set with the teeth facing
the back of the saw, and re-install the arbor
flange and the arbor nut.
5. Place a hex wrench in the hole in the arbor
and use the arbor wrench to tighten the arbor
nut as shown in
Figure 34.
Note: The arbor nut has right-hand threads
and tightens by turning clockwise.
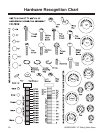
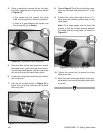
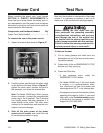
Figure 33. Scoring blade with shims.
6. Move the lower blade guard back into its
original position and lock it in place with the
cap screw.
Scoring Blade
3. Measure the thickness of the main blade.
Use the shims (
Figure 33) to stack the scor-
ing blade to the same thickness as the main
blade.
Most scoring blade sets consists of an inner and
outer blade and internal shims. The shims are
provided so the scoring blade set can match the
kerf thickness of the main blade. The require
-
ments for the G0588/G0591 scoring blade are a
diameter of 80mm with a 20mm arbor hole.
Components and Hardware Needed: Qty
Scoring Blade (Not Included) .............................1
To install the scoring blade:
1. Move the blade tilt to 0˚ (blade 90˚ to table)
and lower the main blade all the way down.
2. Slide the table all the way forward to access
the blade arbor, loosen the cap screw secur
-
ing the lower blade guard, slide the cap screw
up, and pull open the lower blade guard.


