-16-
H7761 2" x 27" Belt & 6" Disc Combo Sander
Installing Dust
Collection Hose
The dust ports are located behind both the sand-
ing belt and the sanding disc. Each opening is
1
1
⁄2" in diameter and can be connected to a utility
vacuum or a dust collector.
To connect a dust port to a dust collection
system:
1. Place a hose clamp over the dust hose.
2. Slide the hose over the dust port.
3. Secure the hose airtight with the hose
clamp.
4. Check the hose with a light tug to ensure it is
secure.
5. Turn the sander ON and then immediately
OFF. The belt is tracking properly if it stays
centered on the drive drums. If the belt
moves to the side, return to
Step 3.
Note: Listen for any unusual noises, vibra-
tions or rubbing while adjusting the tracking.
If anything sounds unusual, stop the sander
immediately. Disconnect the machine from
the power source and find the source of the
problem before operating further. If you can-
not locate the source of an unusual noise or
vibration, feel free to contact our Technical
Support department for help.
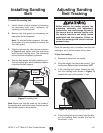
To install the back stop:
1. Ensure that the belt is tracking evenly and
properly, as outlined on Page 13
.
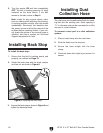
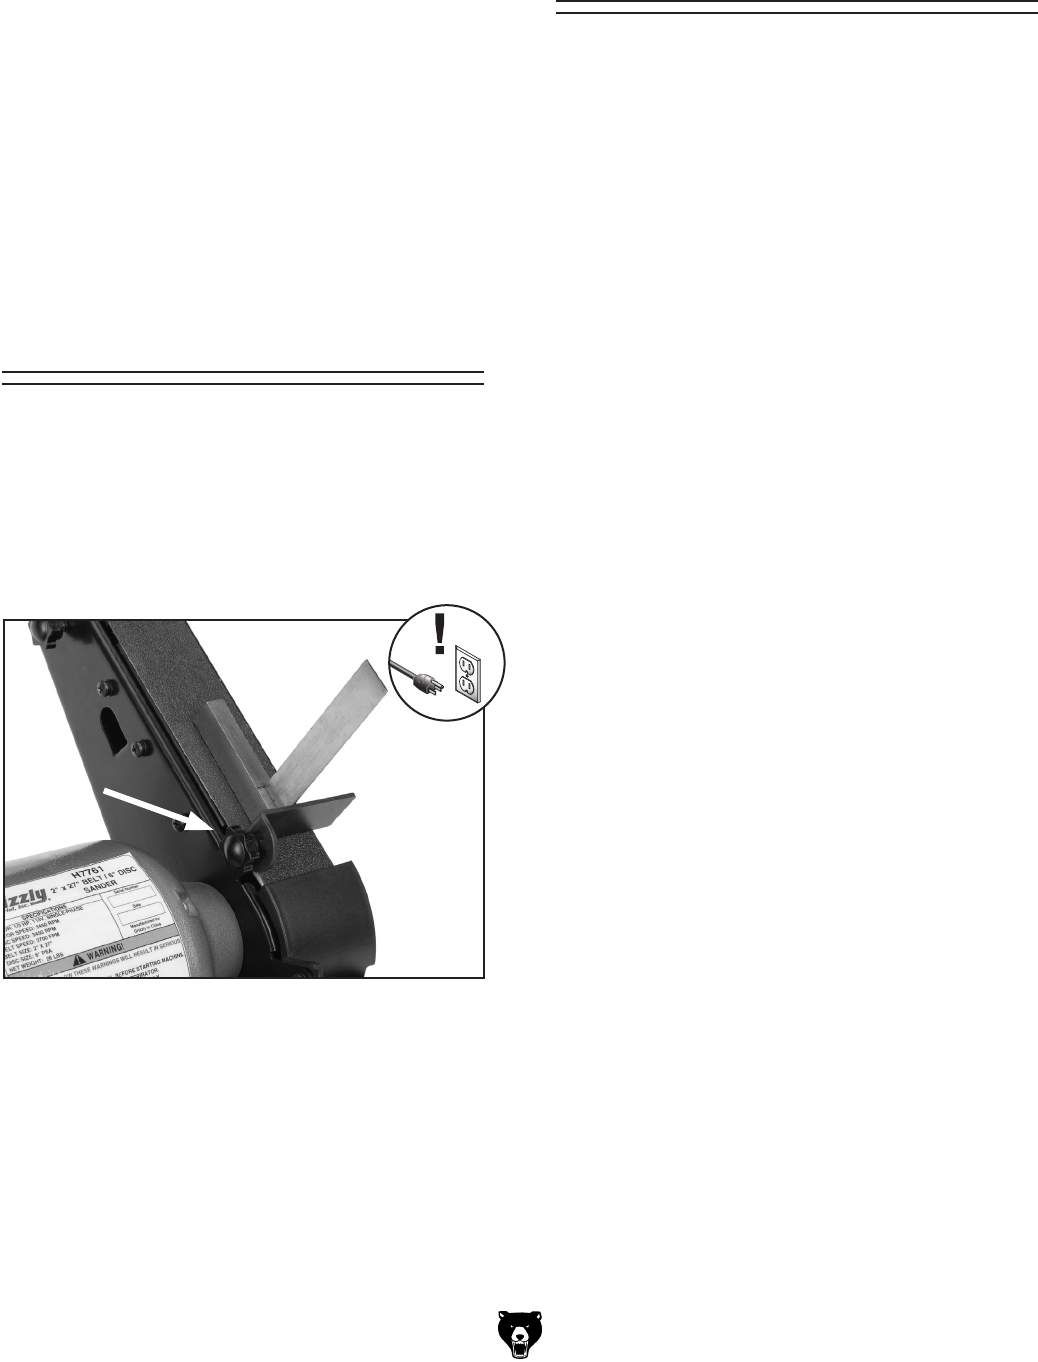
2. Attach the back stop with the knob, washer
and hex nut as shown in
Figure 8.
Installing Back Stop
Figure 8. Squaring the back stop
3. Square the back stop as shown in Figure 8 and
tighten the back stop knob.


