


IRN37 - 160K - CC & IRN50 - 200H & IRN75 - 160K - 2S & IRN - 100 - 200H - 2S & IRN 250 - 300H - 2S
http://air.irco.com
75
9.0 OPERATING INSTRUCTIONS
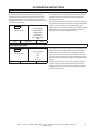
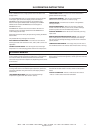
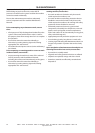
9.9 ALARM HISTORY
Alarm History displays each of the Alarm messages for the last
15 Alarms experienced by the machine. It also gives access to
displaying the machine operating conditions that existed at the
time of each Alarm. The first one shown, “Alarm History 1”, was
the most recent Alarm to occur. Note that multiple, consecutive
EMERGENCY STOP Alarms are not recorded as separate Alarms, only
the first one will be shown.
100 PSI
READY TO START
−ALARM HISTORY−
ALARM HISTORY 1
BLOWER MOTOR
OVERLOAD
ALARM HISTORY 2
HIGH AIREND DISCH
TEMP
STATUS MAIN MENU SELECT
Each of the last 15 Alarm messages can be seen by moving the
Alarm History list up and down using the arrow buttons. Pressing
the SELECT button when one of the Alarms is highlighted will
display the list of machine values that existed at the time that
particular Alarm occurred.
The name and value of each of the items can be seen by moving the
list up and down using the arrow buttons. Pressing the ALARM HIST.
button will return the display to the ALARM HISTORY screen.
Alarm histories can be exited by pressing either the STATUS or MAIN
MENU buttons. If no buttons are pressed within 30 seconds, the
display will return to the CURRENT STATUS screen.
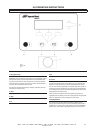
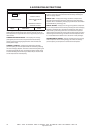
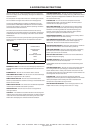
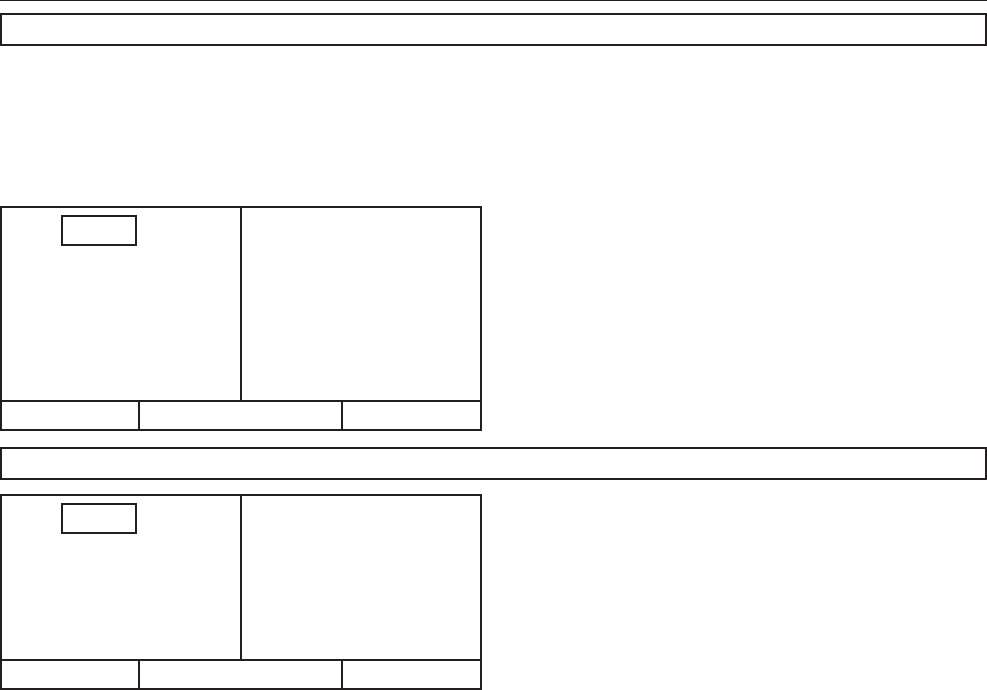
9.10 CLOCK FUNCTIONS
100 PSI
READY TO START
−CLOCK FUNCTIONS−
Time
01:15
Date
Jan 01, 00
STATUS MAIN MENU SELECT
The date and time for the real time clock is set through the CLOCK
FUNCTIONS screen. Use the up and down arrows to highlight either
TIME or DATE. Select the highlighted setting by pressing SELECT.
If TIME is selected, first the hours will be highlighted. Adjust the
hours (00−23 hour clock) by using the up and down arrows. Once
the correct time is in the display, press SET to highlight the minutes.
Adjust the minutes (00−59) and then press SET to complete setting
the time.
If DATE is selected, first the month will be highlighted. Adjust the
month by using the up and down arrows and then press SET to
highlight the date. Once the correct date is displayed, press SET to
highlight the year. Once the correct year is displayed, press SET to
complete setting the date.