


12
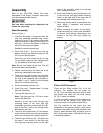
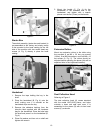
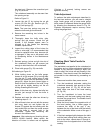
Pulleys and Belts
The belt and pulley assembly are on the left side
of the planer. To inspect for pulley alignment
and correct belt tension, remove the four hex
head screws (10mm) holding the cover in place.
Figure 9 shows the assembly with the cover
removed.
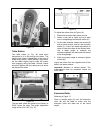
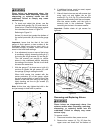
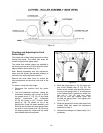
Pulley Alignment
1. Place the edge of a metal ruler so it rests
perpendicular against the flat sides of the
motor and cutterhead pulleys (Fig. 11).
If the pulleys lie in straight plane (Fig. 11)
they are aligned.
Figure 9
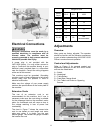
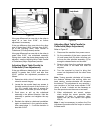
If the pulleys need to be aligned:
2. Loosen four bolts (12mm) on the motor
mounting base plate (Fig. 10), which will
allow the motor to move from side-to-side.
Figure 10
3. Adjust the motor until the pulleys are in the
aligned position as shown in Figure 11.
4. Re-tighten all bolts.
Figure 11
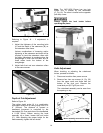
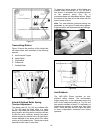
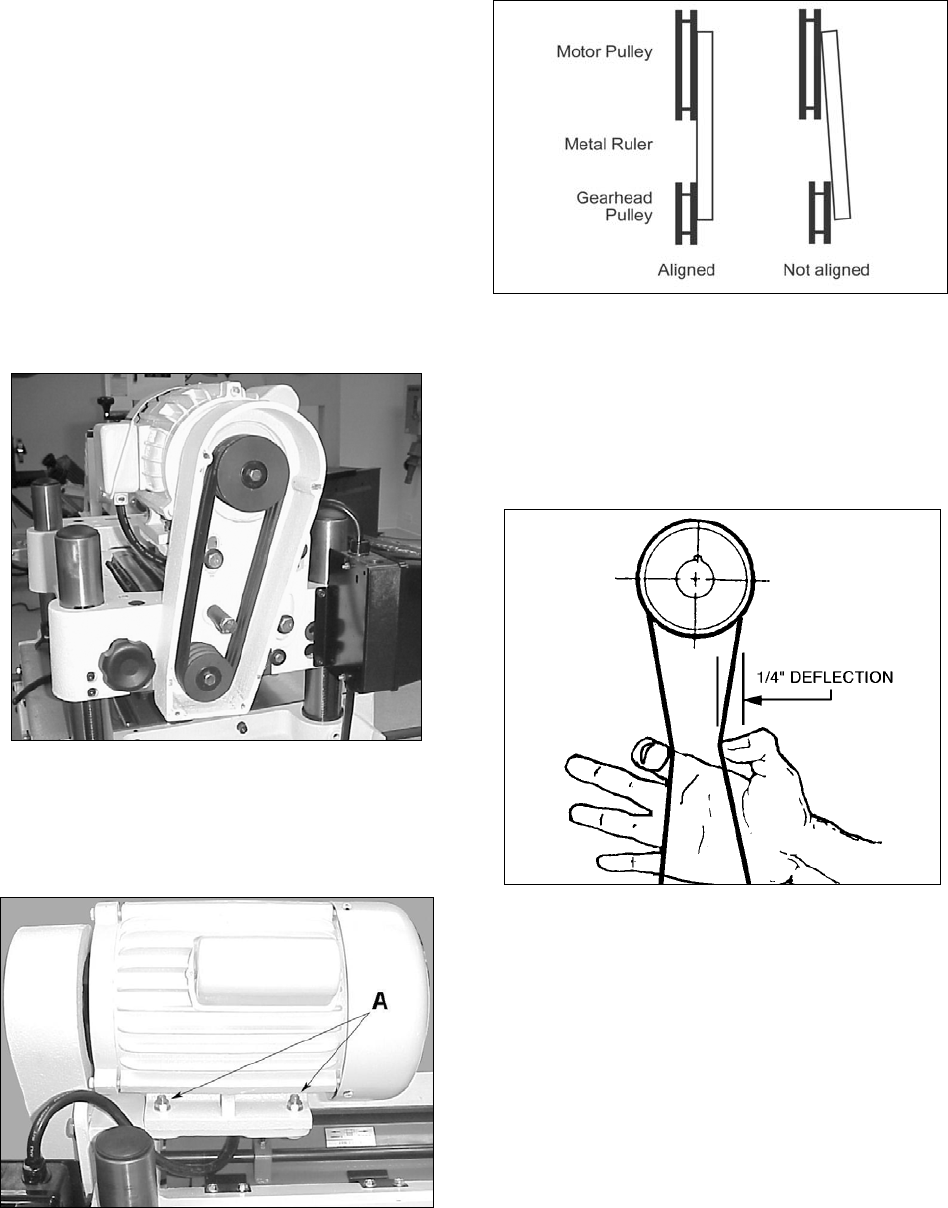
Belt Tension
Check the belt tension by squeezing the belts
together in the middle (between the motor and
cutterhead pulleys as shown in Fig. 12) with
moderate pressure. Proper tension is indicated
when there is approximately 1/4” deflection.
Figure 12
To adjust the belt tension:
1. Loosen the two 17mm bolts (A, Fig. 13) that
hold the motor/pulley assembly to the
planer.
2. Using a lever, raise the motor to increase
the belt tension.
Note: Belts will rarely be too tight. Adjustment
typically requires belt tightening.
3. Tighten the bolts and check the belt tension
again.
4. Verify that the pulleys are still in alignment.