. A complete Parts List is available on-line at www.MillerWelds.com
OM-225 311 Page 12
SECTION 4 − INSTALLATION
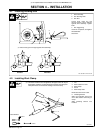
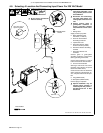
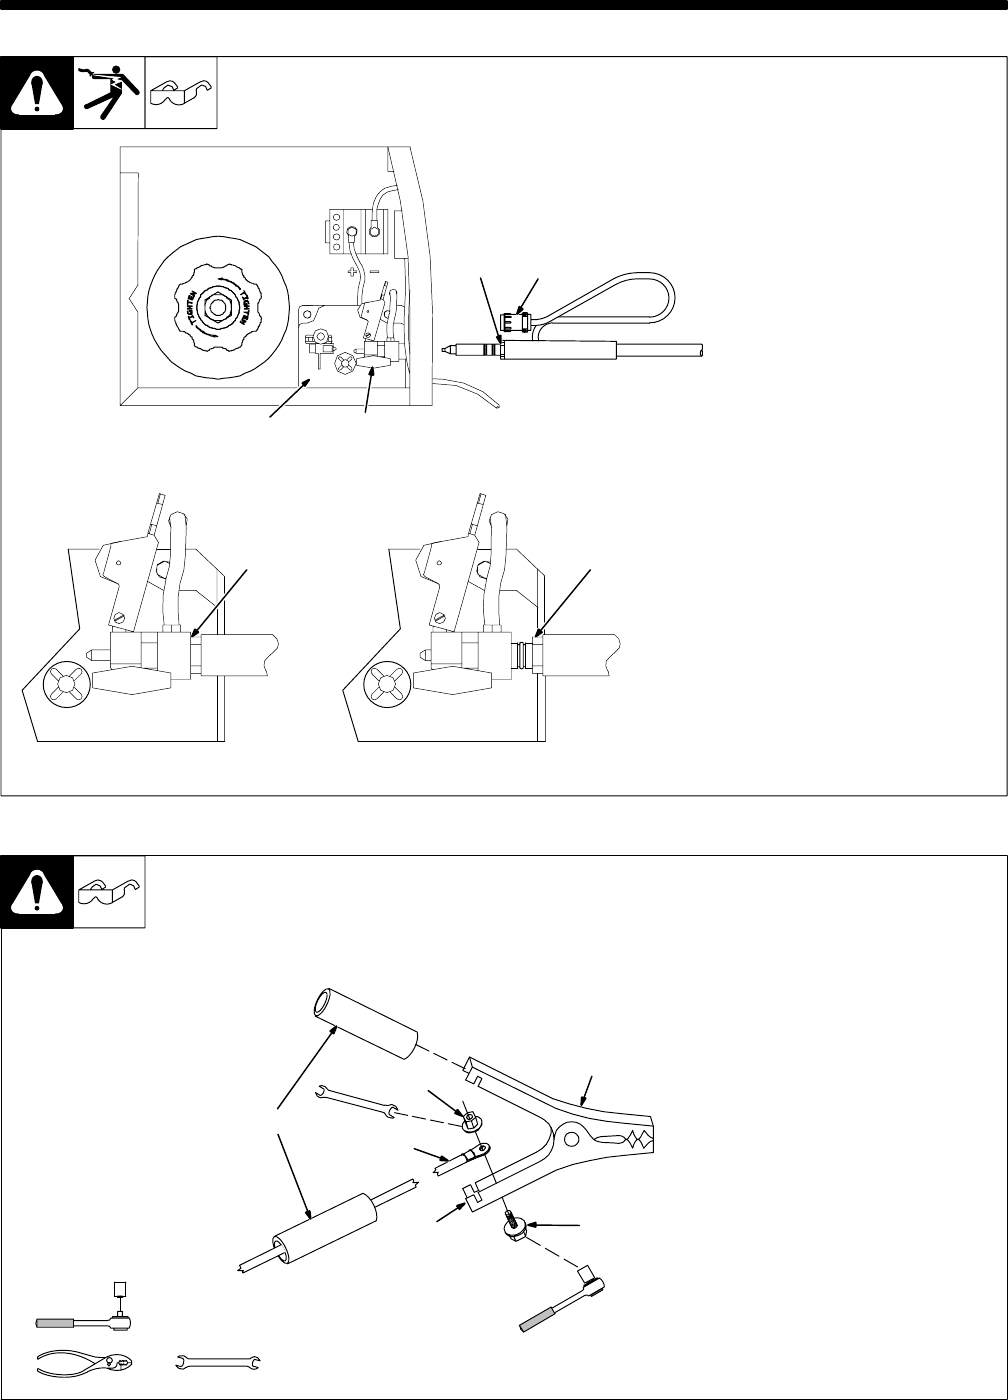
4-1. Installing Welding Gun
Ref. 802 982-A / Ref. 801 987
1 Drive Assembly
2 Gun Securing Knob
3 Gun End
Loosen knob. Insert gun end
through opening until it bottoms
against drive assembly. Tighten
knob.
4 Gun Trigger Plug
Insert into receptacle, and tighten
threaded collar.
Close door.
Correct Incorrect
. Be sure that gun end is tight against drive assembly.
4
3
33
21
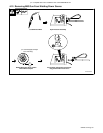
4-2. Installing Work Clamp
1 Nut
2 Work Cable From Unit
3 Work Clamp
4 Screw
5 Work Clamp Tabs
Bend tabs around work cable.
6 Insulating Sleeves
Slide one insulating sleeve over
work cable before connecting to
clamp.
Slide insulating sleeves over
handles.
802 456-A
. Connection hardware must be tightened with proper tools. Do not just
hand tighten hardware. A loose electrical connection will cause poor
weld performance and excessive heating of the work clamp.
1
2
3
4
5
Tools Needed:
7/16 in
6
7/16 in


