


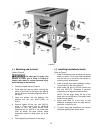

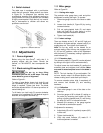
16
Figure 17
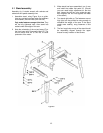
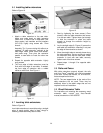
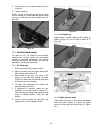
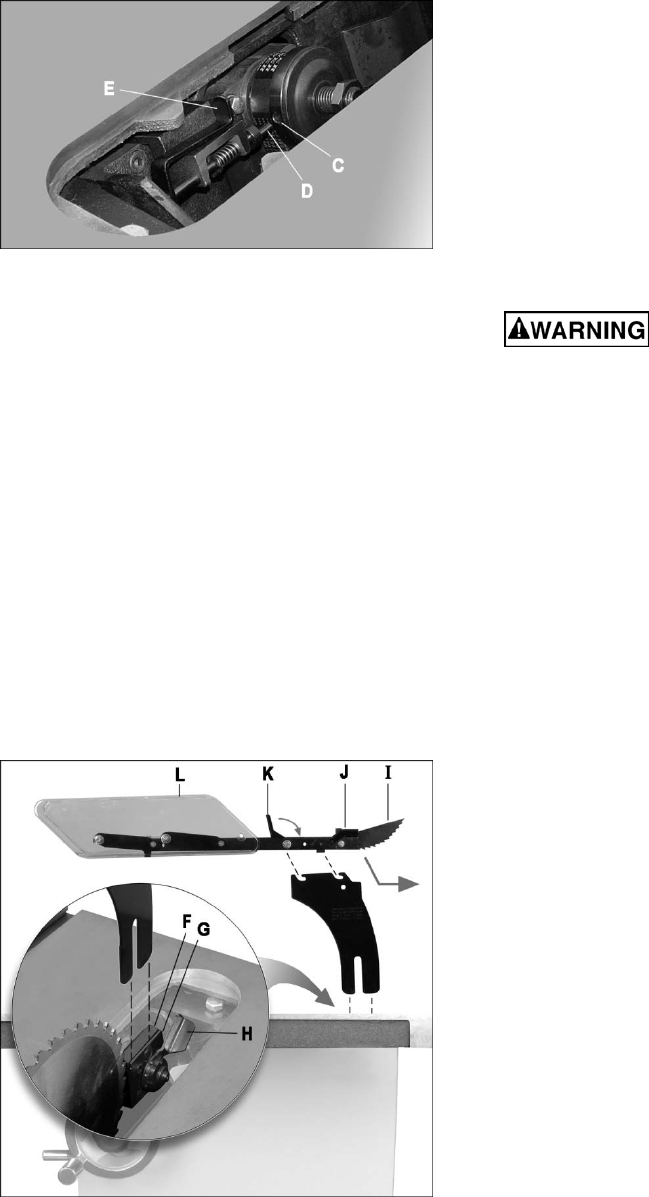
8.14 Riving knife
Refer to Figure 18.
The saw is supplied with two riving knives: One
extends above the blade and accepts the blade
guard; the other is a low-profile knife that acts
alone for non-through cutting.
To install a riving knife:
1. Remove table insert, and raise arbor all the
way up.
2. Slide prongs of riving knife into slot between
block (F, Figure 18) and plate (G), and push
riving knife down as far as it will go.
3. Push lever (H) downward, toward blade, until
tight.
4. The riving knife must be parallel to saw blade.
See section 10.5.
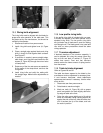
Figure 18
8.15 Blade guard
Refer to Figure 18.
1. Lift the anti-kickback pawls (I) and secure
them with the latch (J).
2. Push guard down so that the pins slide into the
slots in the riving knife, then pull guard
backward to seat.
3. Secure with top latch (K).
4. The transparent guard leaves (L) should drop
freely to the table.
5. Lift the latch (J) to free the pawls. Pawls must
be lowered into operating position before using
the saw!
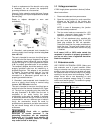
9.0 Electrical connections
Electrical connections must
be made by a qualified electrician in
compliance with all relevant codes. This
machine must be properly grounded to help
prevent electrical shock and possible fatal
injury.
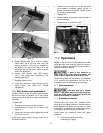
The 64B table saw is rated at 115/230V power, and
is pre-wired for 115 volt. The table saw comes with
a plug designed for use on a circuit with a
grounded outlet that looks like the one pictured in
A, Figure 19.
Before connecting to power source, be sure switch
is in off position.
It is recommended that the table saw, when
operated on 115 volt power, be connected to a
dedicated 30 amp circuit with a 30 amp circuit
breaker or time-delay fuse marked “D”. When
operated on 230 volt power, it is recommended
that the table saw be connected to a dedicated 20
amp circuit with a 20 amp circuit breaker or time-
delay fuse marked “D”. Local codes take
precedence over recommendations.
9.1 Grounding instructions
1. All Grounded, Cord-connected Tools:
In the event of a malfunction or breakdown,
grounding provides a path of least resistance for
electric current to reduce the risk of electric shock.
This tool is equipped with an electric cord having
an equipment-grounding conductor and a
grounding plug. The plug must be inserted into a
matching outlet that is properly installed and
grounded in accordance with all local codes and
ordinances.
Do not modify the plug provided - if it will not fit the
outlet, have the proper outlet installed by a
qualified electrician.
Improper connection of the equipment-grounding
conductor can result in a risk of electric shock. The
conductor with insulation having an outer surface
that is green with or without yellow stripes is the
equipment-grounding conductor.