


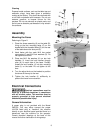

9
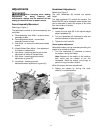
Cleaning
Exposed metal surfaces, such as the table top and
extension wings, have been given a protective
coating at the factory. This should be removed with
a soft cloth moistened with kerosene. Do not use
acetone, gasoline, or lacquer thinner for this
purpose. Do not use solvents on plastic parts, and
do not use an abrasive pad because it may scratch
the surfaces.
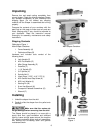
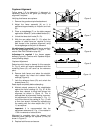
Assembly
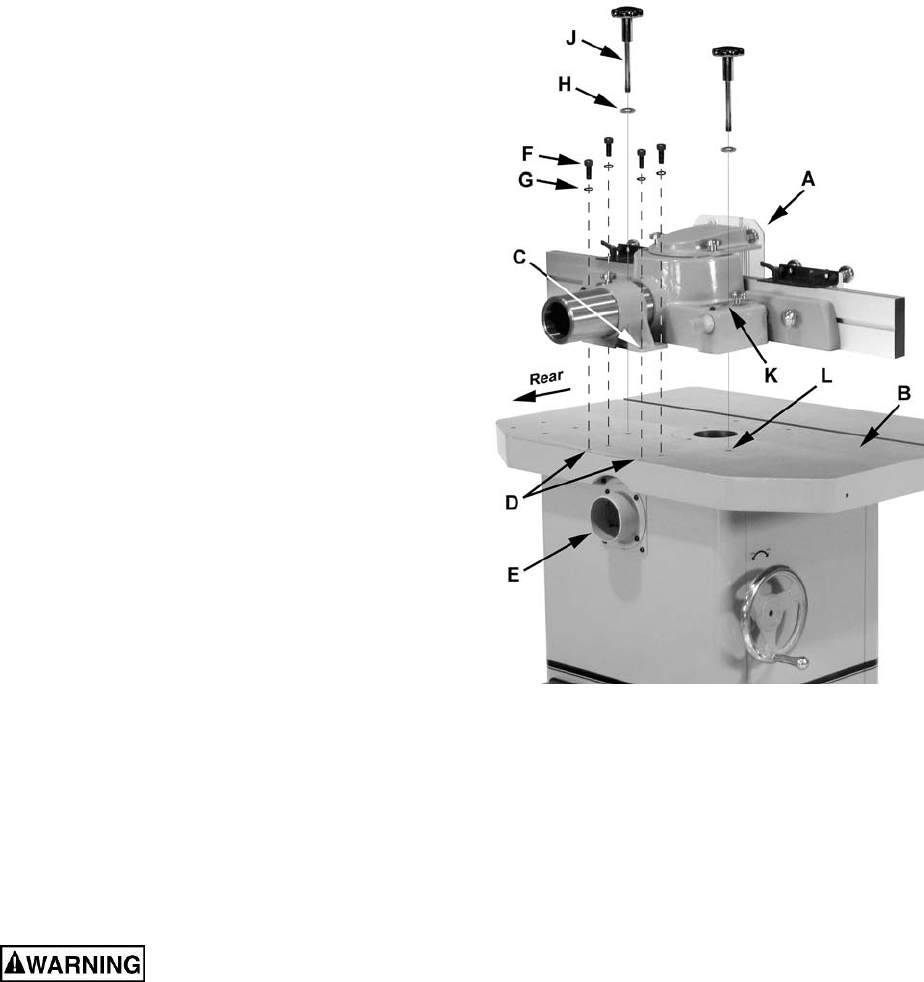
Mounting the Fence
Referring to Figure 2:
1. Place the fence assembly (A) on the table (B),
lining up the four mounting holes (C) on the
bracket with the threaded holes (D) on the rear
of the table above the dust port (E).
2. Hand fasten with four each M10 hex socket
cap screws (F) and M10 lock washers (G). Do
not tighten at this time.
3. Place two M13 flat washers (H) on two lock
handles (J). Insert the lock handles through
slots (K) on each side of the base. Partially
thread the lock handles (J) into two mounting
holes (L) on the table. Do not tighten at this
time.
4. Turn the adjust knob on the bracket to position
the fence all the way to the rear.
5. Tighten the lock handles (J) sufficiently to
prevent the fence from movement.
Electrical Connections
Electrical connections must be
made by a qualified electrician in compliance
with all relevant codes. This machine must be
properly grounded to help prevent electrical
shock and possible fatal injury.
General Information
A power plug is not provided with the Model
PM2700. You may either connect the proper
UL/CSA listed plug or “hardwire” the machine
directly to your electrical panel provided there is a
disconnect near the machine for the operator.
Consult electrical drawings at the back of this
manual for further clarification of wiring setup.
Figure 2