


19
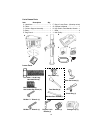
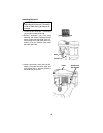
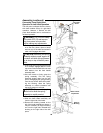
Installing Light Bulb
WARNING: To reduce the risk of
electrical shock, unplug the tool before
installing light bulb.
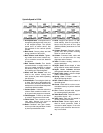
1. Remove the amber colored lens cover
by removing the two Phillips screws.
2. Install a light bulb (not larger than 60
watt) into the socket inside the head.
3. Replace the lens cover.
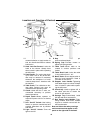
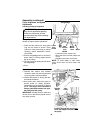
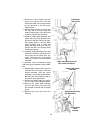
Adjusting the Table Square To
Head
NOTE: The combination square must be
“true”. See “Unpacking and Checking
Contents” section for method.
1. Insert precision round steel rod or
straight drill bit approximately 3” long
into chuck and tighten.
2. With table raised to working height and
locked on column, place combination
square flat on table beside rod or bit.
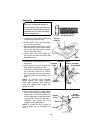
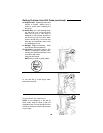
3. If an adjustment is necessary, loosen the
set screw under bevel lock with 3mm “L”
wrench, then loosen the table bevel lock
bolt with the 24mm hex box wrench
(included). (This adjustment is located
under the table).
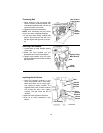
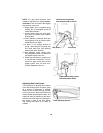
4. Align the table square to the rotor bit by
rotating table until the square and rod or
bit are in line.
5. Retighten table bevel lock.
6. Retighten set screw.
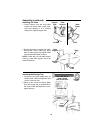
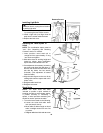
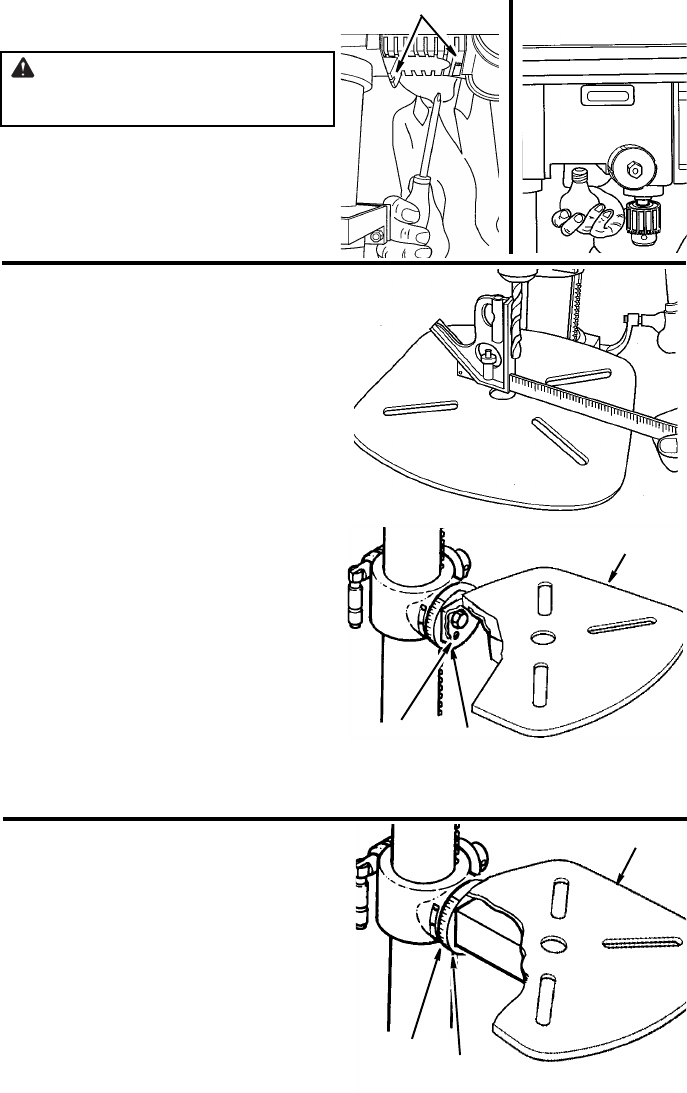
Bevel Scale
NOTE: The bevel scale has been
included to provide a quick method for
beveling the table to approximate angles.
If precise accuracy is necessary, a
square, or other precision measuring tool
should be used to position the table.
1. To use the bevel scale do the following.
a.Loosen set screw and table bevel
lock (see step 3 above).
b. Move table so desired angle on bevel
scale is straight across from zero line
on pointer.
c. Retighten table bevel lock and set screw.
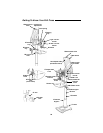
Remove Screws
Set
Screw
Table Bevel
Lock
Table
Pointer
Scale
Table